Howdy Magento Pals,
The article describes How to Create Custom Order Status in Magento 2. Our previous tutorial was about, Magento 2: How to enable “Notify me when back in stock”.
When an order is being placed the customers as well as the store admin is been notified through the order status option. The status of an order is determined by its state in the workflow. Order status helps the store owners to take quick actions to avoid delays in the delivery of the products. And, it keeps the customers updated with the orders they have placed. Check out Quick Order extension for Magento 2 stores to allow your users to order in bulk without visiting different product pages.
Here, I have explained how to create custom order status, assign a state to the order status, alter the existing order status, and unassign order status from the store backend. Let’s begin ?
How to Create Custom Order Status in Magento 2:
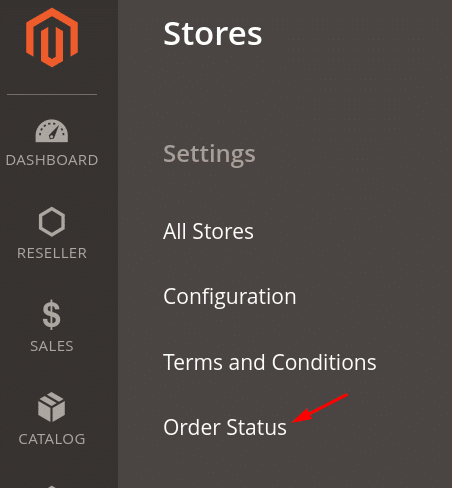
Step 1: Compose a custom order status
- From the Admin Account, browse to Stores > Settings > Order Status
In the Order Status page, press Create New Status.
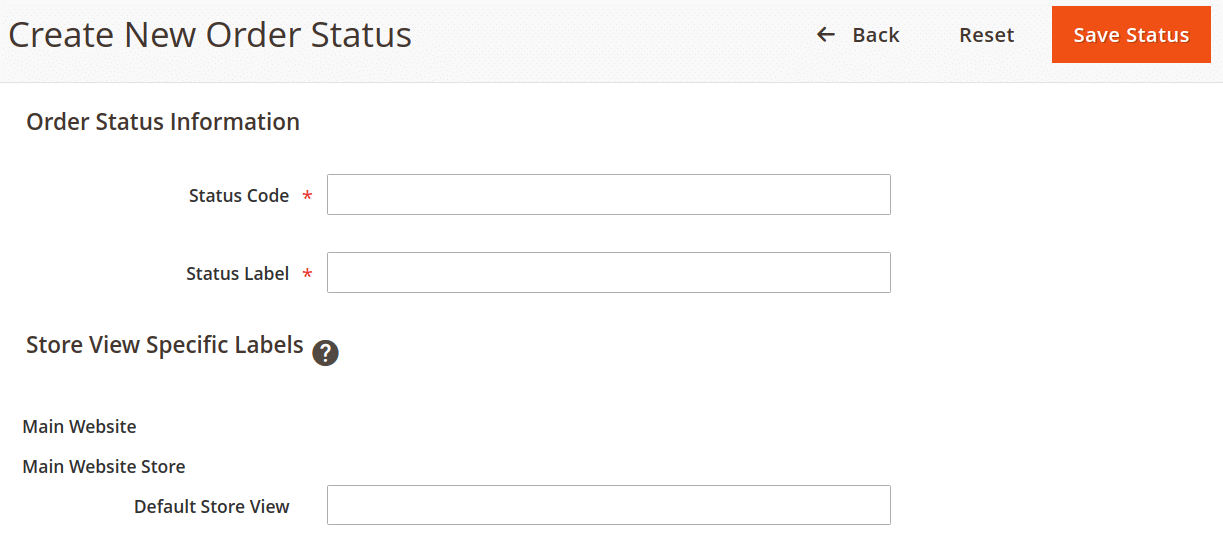
Inside the Order Status Information segment,
- Enter the Status Code that is used for backend reference. The code can be a mixture of letters (a-z) or numbers (0-9) but make sure that the first character must be a letter.
- Give a name to the status into a Status Label field.
- Next is the Store View Specific Labels segment, insert separate labels for different store views.
- Finish up by tapping on Save Status.
Step 2: Assign a status to the state
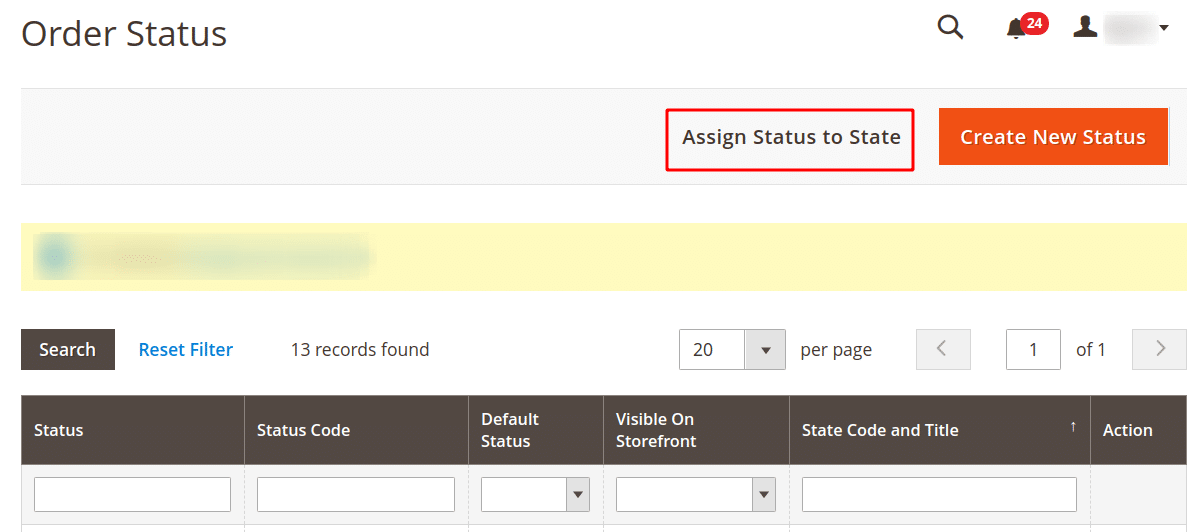
Again, go to Stores > Settings > Order Status
In the Order Status page, click Assign Status to State.
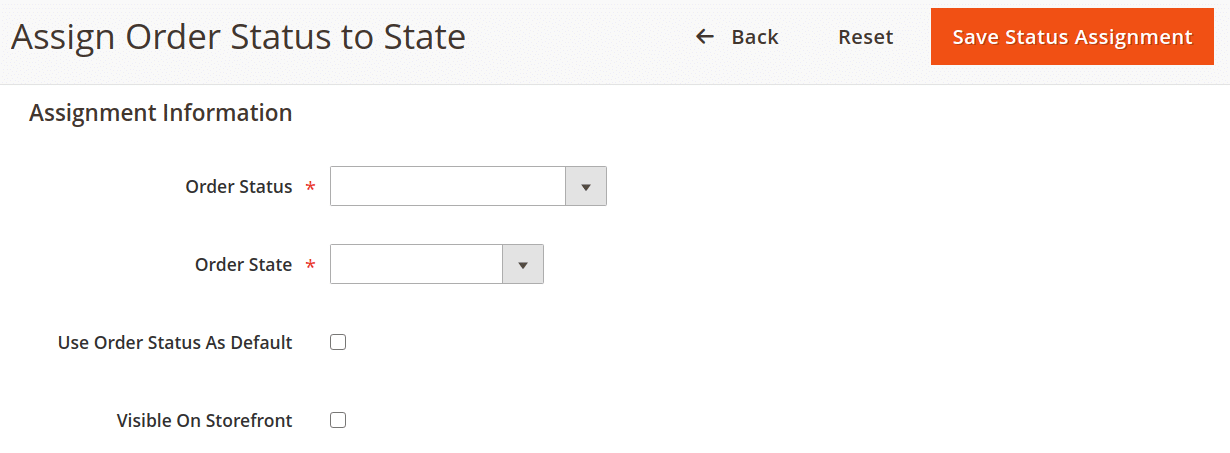
- Into the Assignment Information segment,
- Select the Order Status to assign from the list.
- Choose the Oder State for the assigned order status.
- Checkmark the Use Order Status As Default, to accept the order status as default status.
- Checkmark the Visible On Storefront, to show up order status in store frontend.
- Lastly, hit the Save Status Assignment button.
Step 3: Modify the available order status
- From the list of order status, find out the one you want to change and open it in the edit mode.
- Change the information as per the requirement.
- And, Save Status to complete the modification.
Step 4: Delete an order status from the existing state
Note – One cannot unassign the order if it is in use.
- Locate the order status from the list that you want to unassign
- Into the respective row, click Unassign under the Action column.
- Immediately, it will show a message of success. But the order status will still remain in the list.
Concluding Words:
Thereby, this way you can execute various settings for order status from the admin panel. However, one can even Create Custom Order State and Status Programmatically in Magento 2. Any difficulty in the above solution, let me know in the comment section. Do share it with other Magento store holders.
Additionally, the Magento 2 Order Status plugin allows the store admin to create and manage customized order statuses with no limit and also keep your store customers updated with it.
Happy Configuring ?