Hello Magento Friends,
In the current Magento 2 tutorial, I will describe the steps to Provide Access to your Custom Folder in the Media Gallery for your Magento 2 store.
When it comes to managing media files in Magento 2, the default setup includes folders like ‘catalog,’ ‘product,’ and ‘category,’ which organize images and videos related to products and other store elements. However, there are times when you may need to create custom folders to organize media files for specific purposes, such as marketing campaigns, seasonal promotions, or user-generated content.

While creating custom folders is relatively straightforward, ensuring they are accessible through the Magento 2 admin panel’s media gallery interface requires a few additional steps. In this guide, we’ll walk you through the process of providing access to your custom folder in the media gallery, empowering you to streamline your media management workflow.
Steps to Provide Access to your Custom Folder in the Media Gallery for Magento 2:
Step 1: We need to create a “config.xml“ file inside our extension at the following path.
app\code\Vendor\Extension\etc\config.xml
Then add the code as follows
<config xmlns:xsi="http://www.w3.org/2001/XMLSchema-instance" xsi:noNamespaceSchemaLocation="urn:magento:module:Magento_Store:etc/config.xsd">
   <default>
      <system>
         <media_storage_configuration>
            <allowed_resources>
               <media_gallery_image_folders>
                  <your_custom_folder_name>your_custom_folder_name</your_custom_folder_name>
               </media_gallery_image_folders>
            </allowed_resources>
         </media_storage_configuration>
        </system>
   </default>
</config>

NOTE:
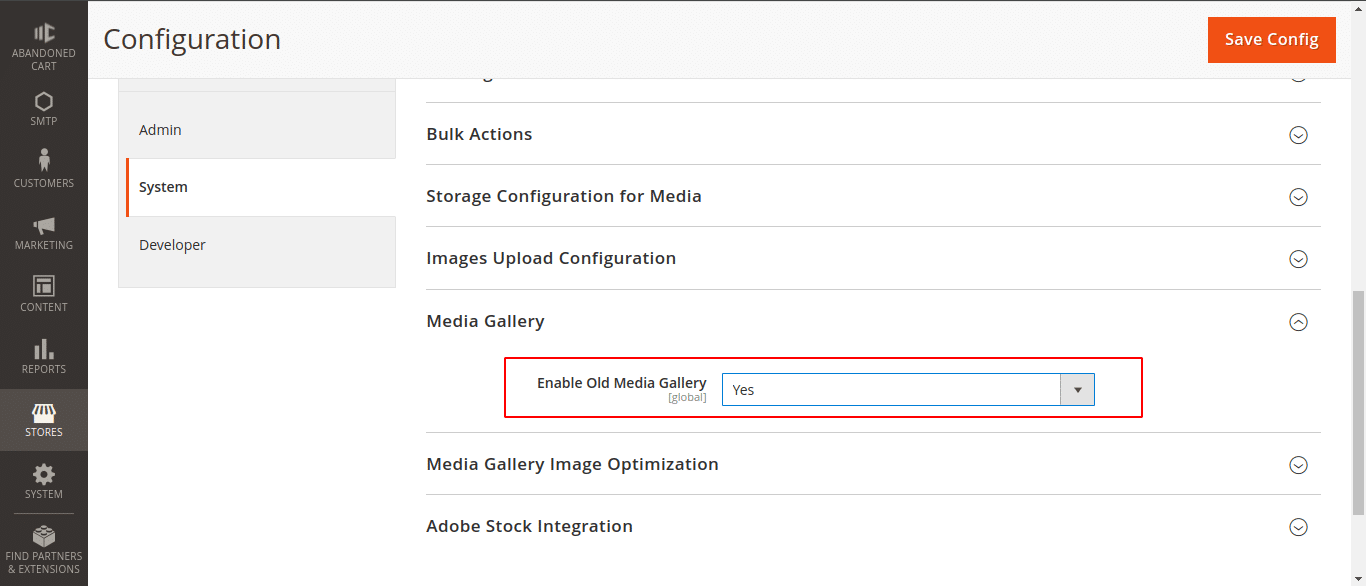
If you want to provide access to your old images in the media gallery, you need to enable the following admin configuration:
Stores > Configuration > Advanced > Media Gallery > Enable Old Media Gallery
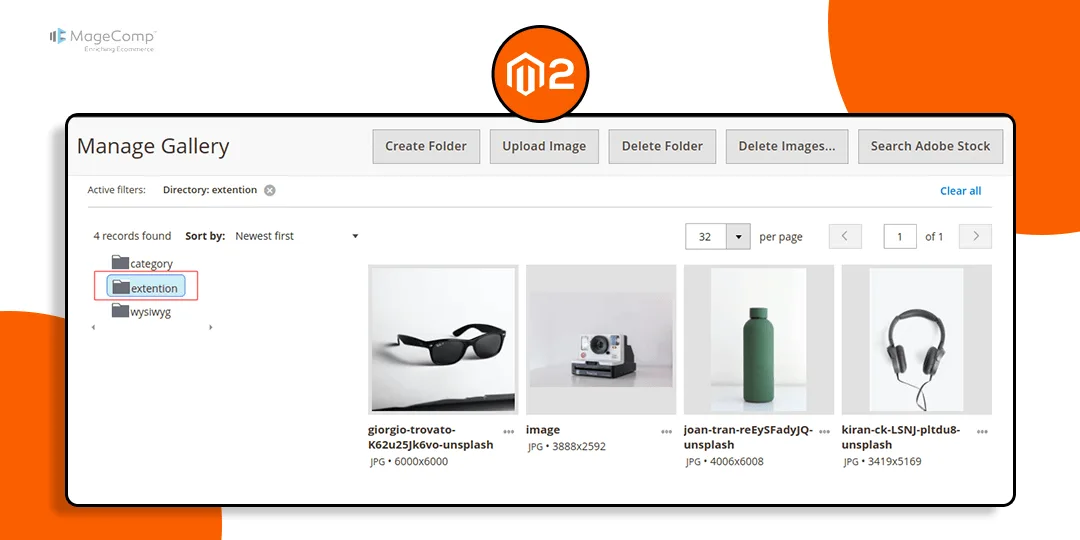
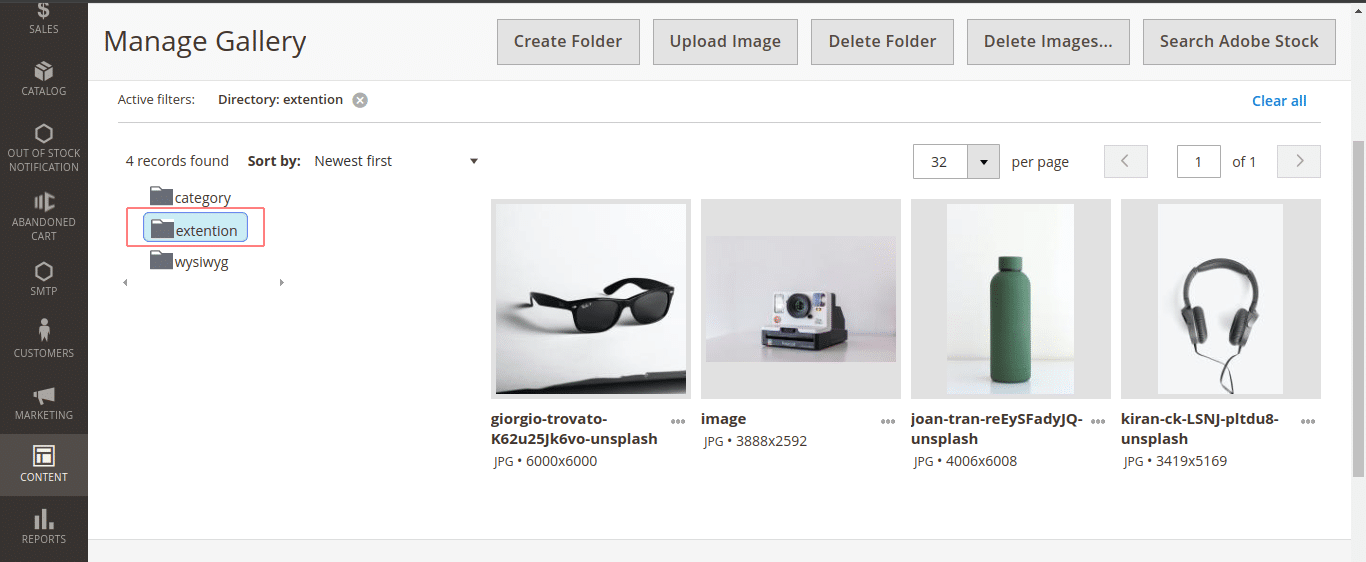
Output:
Conclusion:
By following these steps, you can seamlessly integrate custom folders into Magento 2’s media gallery, providing a centralized location for managing your store’s media assets. Whether you’re organizing images for marketing campaigns, user-generated content, or any other purpose, this customization empowers you to maintain a tidy and efficient media management workflow within your Magento 2 store.

Hire Magento Developer to help you manage the media gallery of your Magento 2 store.
Happy Coding!