
Hello Shopify Friends,
In today’s blog, I will explain How to use the Shopify Image Editor and the image editing functionality it provides to edit your product images.
In today’s competitive e-commerce landscape, visual appeal is key. Captivating images can make or break a sale, which is why having an effective image editing tool is crucial for any online store owner.

Shopify, a leading e-commerce platform, recognizes this need and provides users with a powerful built-in image editor. This intuitive tool allows sellers to enhance their product images and create an engaging shopping experience for their customers.
In this guide, we will delve into the steps for leveraging the Shopify Image Editor to its full potential.
Before that, find out How to Add a Product Image on Shopify and How to Add Multiple Product Images in Shopify via CSV File.
Steps for Utilizing the Shopify Image Editor:
Step 1: Accessing the Shopify Product Image Editor
- Login to the Shopify Admin Dashboard.
- Navigate to the Products section from the left menu.
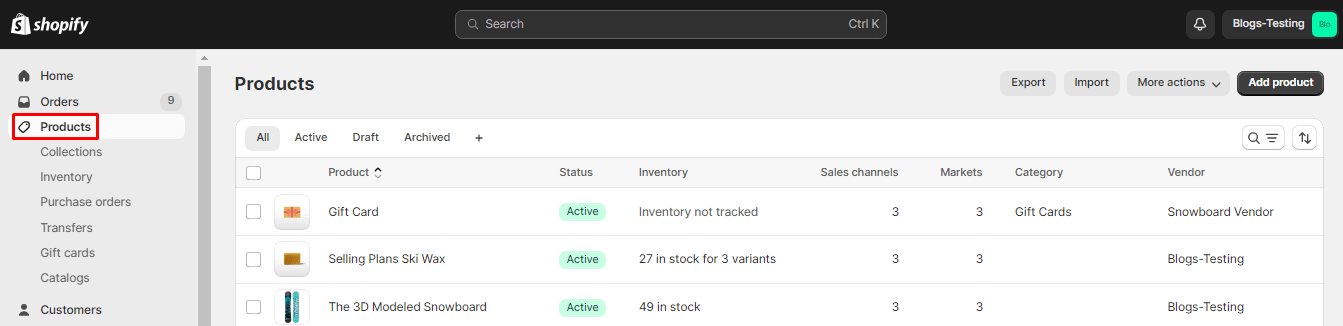
- Select the product whose image you want to edit.
- Move to the Media tab and click the image that you want to edit.
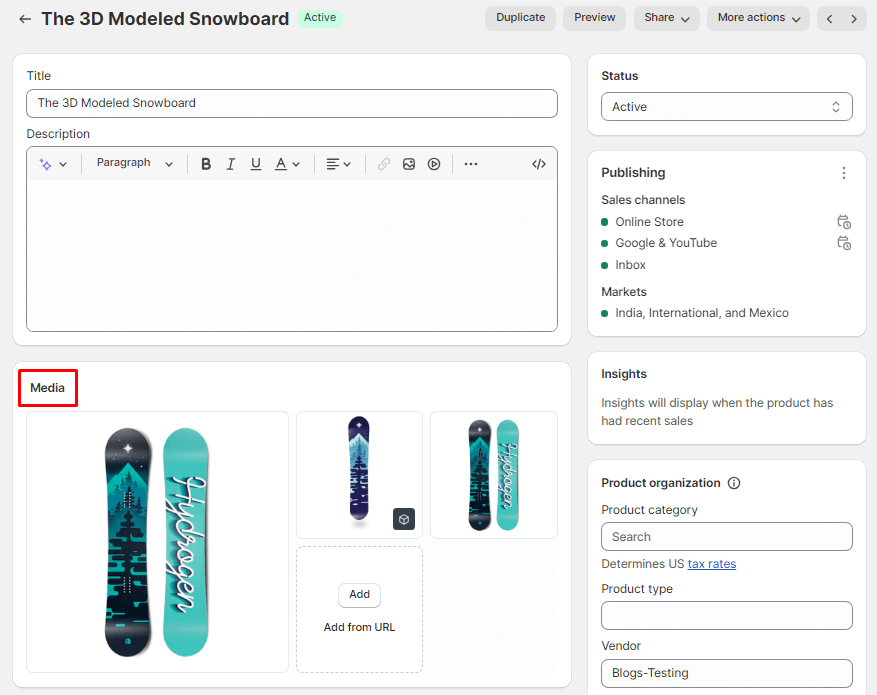
- This will lead you to the Shopify Image Editor.
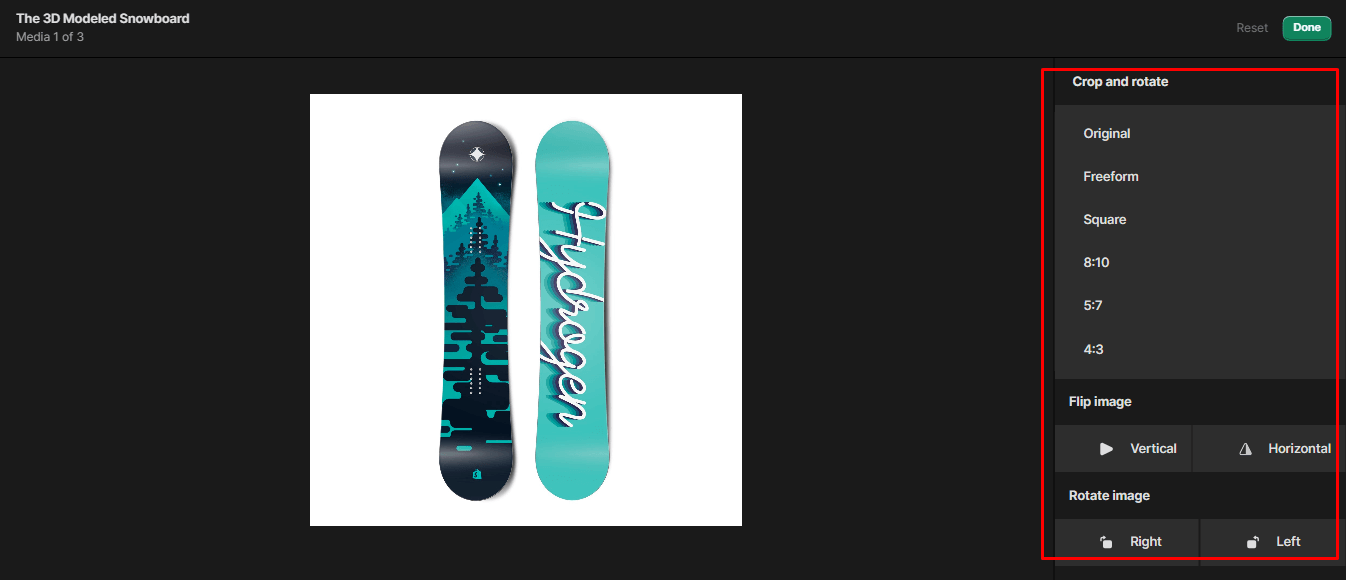
Step 2: Crop and Rotate the Image
- Click on the Crop and Rotate icon available at the bottom left corner of the Shopify Image Editor.
![]()
- This will give you various options to crop the image with various dimensions like freeform, square, 8:10, 5:7, and 4:3
- You can flip the image vertically or horizontally and rotate it right or left side.

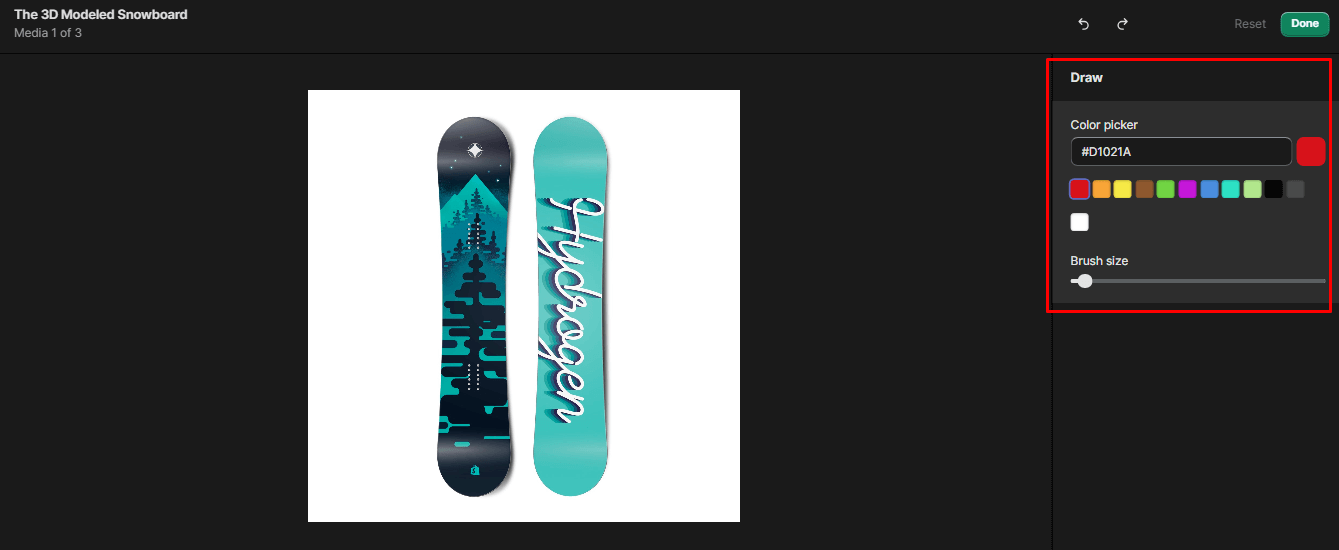
Step 3: Draw on the Image
- Click on the Draw icon available at the bottom left corner of the Shopify Image Editor.
![]()
- You can add the color code or select any color from the palette and set the brush size as per your requirements.
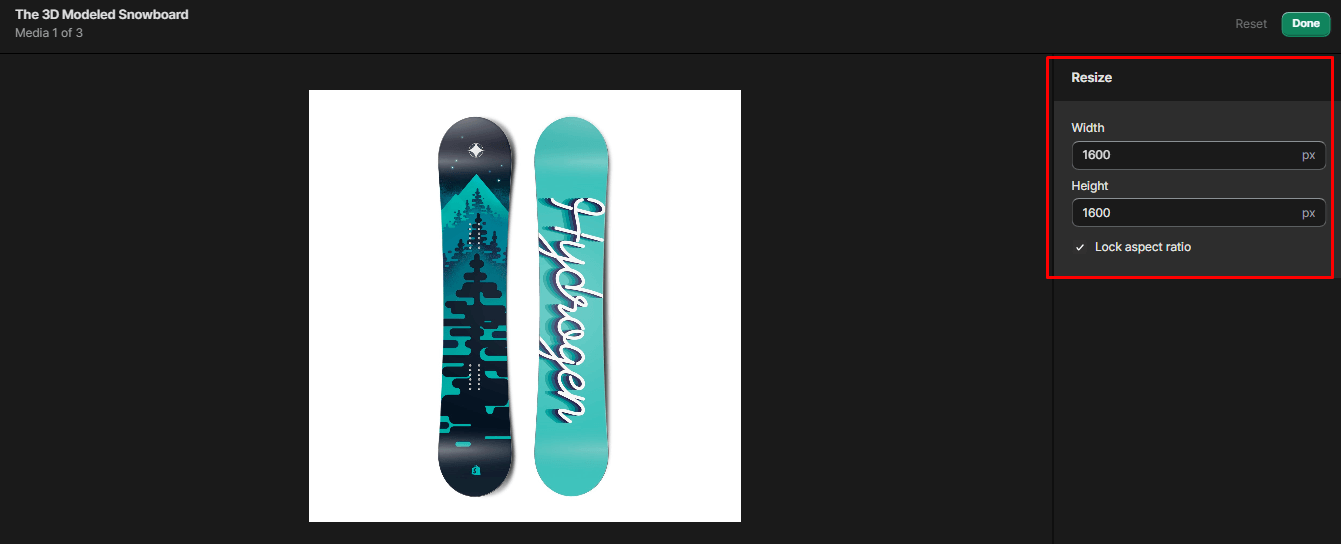
Step 4: Resize the Image
- Click on the Resize icon available at the bottom left corner of the Shopify Image Editor.
![]()
- You can set the width and height of the image to change its size. It also provides the option to lock or unlock the aspect ratio.
Also, check – How to Resize Product Images in Shopify.
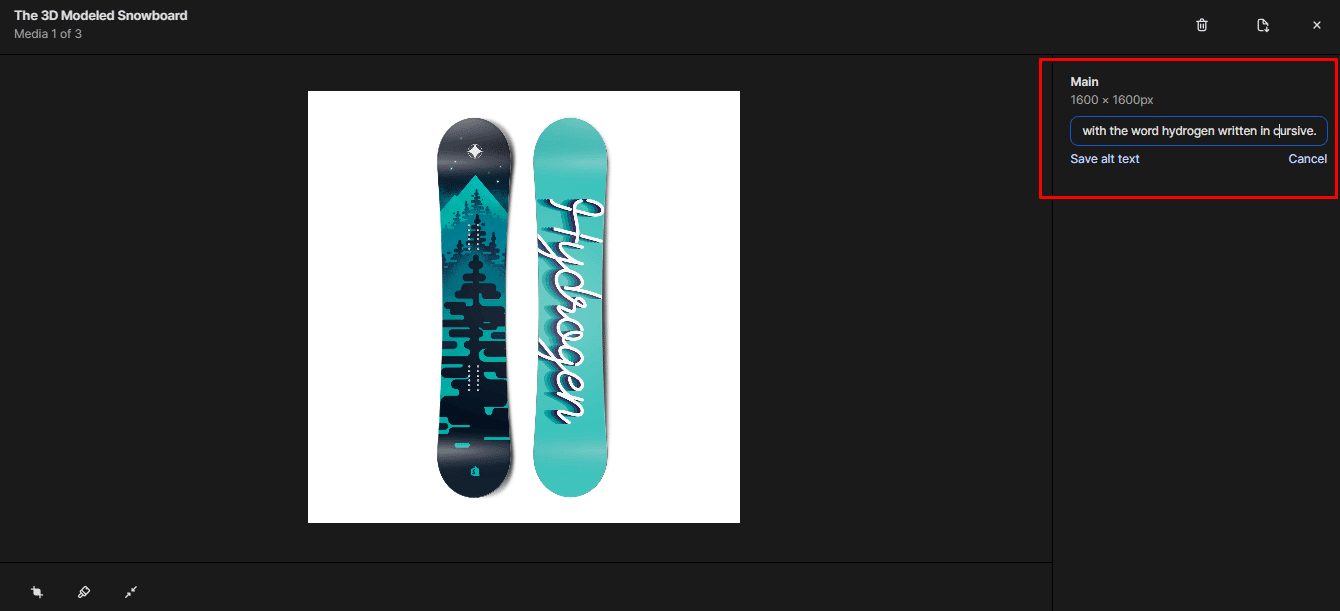
Step 5: Edit Image Alt Text
- Select the Edit alt text option from the right menu of Shopify Image Editor.
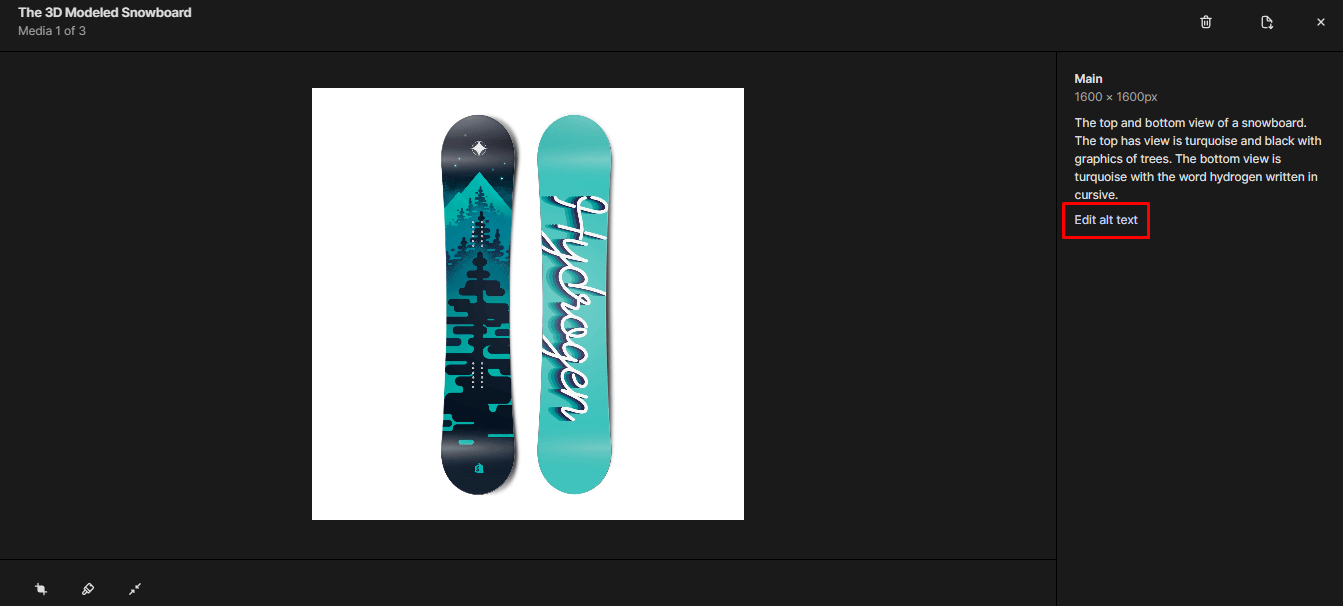
- You can update the alt text and save the changes.
Step 6: Download Image
- Click on the Download icon available at the upper right corner of the Shopify Image Editor.
![]()
- The image will be successfully downloaded to your device.
Step 7: Delete Image
- Click on the Delete icon available at the upper right corner of the Shopify Image Editor.
![]()
- It will ask for your confirmation before finally deleting the image.
Wrapping Up:
By following these steps and mastering the Shopify Image Editor, you can significantly enhance the visual appeal of your online store, ultimately leading to increased customer engagement and higher conversion rates. With its user-friendly interface and powerful editing capabilities, the Shopify Image Editor proves to be an indispensable tool for any e-commerce entrepreneur looking to make a lasting impression in the digital marketplace.

Share the tutorial with your friends to help them efficiently edit product images within the Shopify platform.
Happy Reading!