
Modern web applications demand instant feedback without full page reloads or bloated third-party JavaScript libraries. Historically, WordPress developers leaned on jQuery $.ajax or complex React compilation workflows to achieve live form validation and asynchronous submissions.
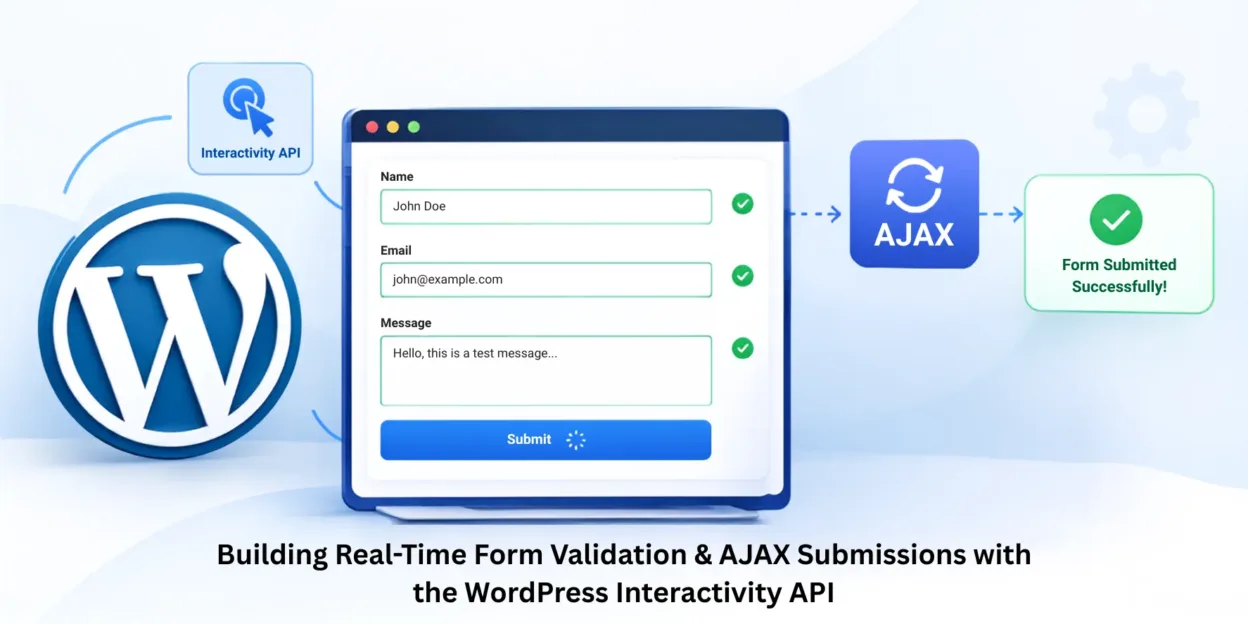
With the native WordPress Interactivity API, you can create ultra-fast, reactive frontend experiences using lightweight declarative HTML directives and modular client-side stores. This hands-on guide walks through building an ultra-compact newsletter subscription feature with real-time inline email validation as the user types, asynchronous REST API form submissions, dynamic loading states, and error handling – built completely with native WordPress APIs with only 3 files and zero build steps.

What This Example Does
- Real-time inline validation: Inspects user keystrokes as they type and validates email syntax on the fly without waiting for form submission.
- Dynamic DOM bindings: Toggles disabled states on the submit button, applies conditional error CSS classes, and updates feedback notices reactively without manual DOM queries.
- Native config passing: Shares the REST endpoint URL and security nonce from PHP to the client using wp_interactivity_config() and getConfig().
- Asynchronous REST submission: Intercepts the default HTML form submit event (event.preventDefault()) and dispatches an asynchronous POST request to a custom WordPress REST API route using generator functions.
- Universal Shortcode ([mc_newsletter]): Works seamlessly in the Gutenberg Shortcode block, Classic Editor, Elementor, Divi, or theme widget areas without complex block compilation.
- Clean 3-File Architecture: Pure script module approach requiring zero npm dependencies.
Code:
Folder Structure
The entire plugin consists of only 3 files:
mc-newsletter/
├── mc-newsletter-interactivity.php <– Plugin entry, shortcode, script module registration & REST API
├── view.js <– Client-side reactive store
└── view.asset.php <– Script module dependency declaration (@wordpress/interactivity)
- mc-newsletter-interactivity.php: Registers the script module, shortcode [mc_newsletter], REST API route, and passes config to the store.
- view.asset.php: Informs WordPress core that view.js depends on @wordpress/interactivity.
- view.js: Contains client-side keystroke validation and asynchronous generator submission logic.
Step 1: Declare Script Module Dependencies in view.asset.php
When loading a script module without a Webpack compiler, WordPress needs an asset file to map internal module imports.
Create view.asset.php:
<?php
/**
 * Script module dependencies for view.js.
 */
return array(
    'dependencies' => array( '@wordpress/interactivity' ),
    'version'      => '1.0.0',
);
Explanation
‘dependencies’ => array( ‘@wordpress/interactivity’ ): Instructs WordPress core to generate an import map in the browser header, resolving import { store } from ‘@wordpress/interactivity’ directly from core scripts.
Step 2: Register Script Module, Shortcode & REST API in mc-newsletter-interactivity.php
Create the main plugin entry file. This file registers the script module with wp_register_script_module(), passes configuration via wp_interactivity_config(), defines the [mc_newsletter] shortcode, and handles incoming form requests.
Create mc-newsletter-interactivity.php:
<?php
/**
 * Plugin Name:       MC Newsletter with Interactivity API
 * Description:       Ultra-compact reactive newsletter form with real-time validation built with WordPress Interactivity API.
 * Version:           1.0.0
 * Author:            MageComp
 * Text Domain:       mc-newsletter
 */

if ( ! defined( 'ABSPATH' ) ) {
	exit;
}

// 1. Register the Script Module and Interactivity Config.
add_action( 'init', function () {
	wp_register_script_module(
		'mc-newsletter-view',
		plugin_dir_url( __FILE__ ) . 'view.js',
		array( '@wordpress/interactivity' ),
		'1.0.0'
	);

	if ( function_exists( 'wp_interactivity_config' ) ) {
		wp_interactivity_config( 'mc/newsletter', array(
			'apiUrl' => esc_url_raw( rest_url( 'mc/v1/subscribe' ) ),
			'nonce'  => wp_create_nonce( 'wp_rest' ),
		) );
	}
} );

// 2. Shortcode [mc_newsletter] to output the reactive form anywhere.
add_shortcode( 'mc_newsletter', function () {
	// Enqueue script module only when the form is rendered on the page
	wp_enqueue_script_module( 'mc-newsletter-view' );

	$default_context = array(
		'email'          => '',
		'errorMessage'   => '',
		'successMessage' => '',
		'isValid'        => false,
		'isSubmitting'   => false,
	);

	ob_start();
	?>
	<div
		class="mc-newsletter-card"
		data-wp-interactive="mc/newsletter"
		data-wp-context="<?php echo esc_attr( wp_json_encode( $default_context ) ); ?>"
		style="max-width:460px; margin:24px auto; padding:24px; border:1px solid #e2e8f0; border-radius:8px; background:#fff; font-family:sans-serif;"
	>
		<form data-wp-on--submit="actions.handleSubmit" novalidate>
			<label for="mc-email-input" style="display:block; margin-bottom:8px; font-weight:600; color:#1e293b;">
				<?php esc_html_e( 'Subscribe to our updates', 'mc-newsletter' ); ?>
			</label>

			<div style="display:flex; gap:8px;">
				<input
					id="mc-email-input"
					type="text"
					inputmode="email"
					placeholder="developer@example.com"
					data-wp-on--input="actions.validateEmail"
					data-wp-bind--disabled="context.isSubmitting"
					data-wp-class--has-error="context.errorMessage"
					style="flex:1; padding:10px 14px; border:1px solid #cbd5e1; border-radius:6px; font-size:15px; outline:none;"
					required
				/>

				<button
					type="submit"
					data-wp-bind--disabled="!context.isValid"
					style="padding:10px 18px; background:#004aad; color:#ffffff; border:none; border-radius:6px; font-weight:600; cursor:pointer;"
				>
					<span data-wp-text="context.isSubmitting ? 'Submitting...' : 'Subscribe'"></span>
				</button>
			</div>

			<!-- Inline Real-Time Error Notice -->
			<p
				style="color:#dc2626; font-size:13px; margin:8px 0 0;"
				data-wp-text="context.errorMessage"
				data-wp-bind--hidden="!context.errorMessage"
			></p>

			<!-- Asynchronous Success Feedback -->
			<div
				style="margin-top:12px; padding:10px 14px; background:#dcfce7; color:#15803d; border-radius:6px; font-size:14px; font-weight:500;"
				data-wp-text="context.successMessage"
				data-wp-bind--hidden="!context.successMessage"
			></div>
		</form>
	</div>
	<?php
	return ob_get_clean();
} );

// 3. Register the REST API Route for AJAX form submissions.
add_action( 'rest_api_init', function () {
	register_rest_route(
		'mc/v1',
		'/subscribe',
		array(
			'methods'             => WP_REST_Server::CREATABLE,
			'callback'            => 'mc_newsletter_handle_subscription',
			'permission_callback' => '__return_true', // Verified via nonce check
			'args'                => array(
				'email' => array(
					'required'          => true,
					'type'              => 'string',
					'sanitize_callback' => 'sanitize_email',
					'validate_callback' => function( $param ) {
						return is_email( $param );
					},
				),
			),
		)
	);
} );

function mc_newsletter_handle_subscription( WP_REST_Request $request ): WP_REST_Response {
	$nonce = $request->get_header( 'X-WP-Nonce' );
	if ( ! wp_verify_nonce( $nonce, 'wp_rest' ) ) {
		return new WP_REST_Response(
			array( 'message' => __( 'Security verification failed.', 'mc-newsletter' ) ),
			403
		);
	}

	$email = $request->get_param( 'email' );

	return new WP_REST_Response(
		array(
			'success' => true,
			'message' => __( 'Thank you! You have successfully subscribed.', 'mc-newsletter' ),
		),
		200
	);
}
Explanation
- wp_register_script_module(): Registers view.js using the native WordPress 6.5+ Script Modules API.
- wp_enqueue_script_module(): Loads the script module conditionally only when [mc_newsletter] is present on the page.
- data-wp-interactive=”mc/newsletter”: Connects the HTML tree to the JavaScript store namespace.
- data-wp-context: Seeds initial reactive values server-side.
- wp_interactivity_config(): Passes API URL and CSRF nonce securely to the client store.
Step 3: Define the Reactive Store & Async Logic in view.js
Create the client-side store containing synchronous validation and generator-based asynchronous HTTP requests using getConfig().
Create view.js:
import { store, getContext, getConfig } from '@wordpress/interactivity';

store('mc/newsletter', {
	actions: {
		/**
		 * Validates email syntax on every keystroke.
		 */
		validateEmail(event) {
			const context = getContext();
			const inputVal = (event.target.value || '').trim();
			context.email = inputVal;

			const emailRegex = /^[^\s@]+@[^\s@]+\.[^\s@]{2,}$/;

			if (inputVal === '') {
				context.errorMessage = '';
				context.isValid = false;
			} else if (!emailRegex.test(inputVal)) {
				context.errorMessage = 'Please enter a valid email address.';
				context.isValid = false;
			} else {
				context.errorMessage = '';
				context.isValid = true;
			}
		},

		/**
		 * Asynchronous submission action using generator yielding.
		 */
		*handleSubmit(event) {
			event.preventDefault();
			const context = getContext();
			const config = getConfig('mc/newsletter');

			if (!context.isValid || context.isSubmitting) {
				return;
			}

			context.isSubmitting = true;
			context.errorMessage = '';
			context.successMessage = '';

			try {
				// Yielding fetch maintains block context across network delays
				const response = yield fetch(config.apiUrl, {
					method: 'POST',
					headers: {
						'Content-Type': 'application/json',
						'X-WP-Nonce': config.nonce,
					},
					body: JSON.stringify({ email: context.email }),
				});

				const data = yield response.json();

				if (response.ok) {
					context.successMessage = data.message || 'Subscribed successfully!';
					context.email = '';
					context.isValid = false;
					event.target.reset();
				} else {
					context.errorMessage = data.message || 'Failed to submit form.';
				}
			} catch (error) {
				context.errorMessage = 'A network error occurred. Please try again.';
			} finally {
				context.isSubmitting = false;
			}
		},
	},
});
Explanation
- getConfig(‘mc/newsletter’): Pulls the REST endpoint and nonce registered in PHP without relying on window globals.
- validateEmail(): Runs on every keystroke, checking the input against standard email regex and mutating context.errorMessage and context.isValid in real time.
- *handleSubmit(): Written as a generator function (* with yield). In the Interactivity API, generators maintain context integrity across network delays without loss of reactive scope.
How to Display and Test the Signup Box on Your Website
1. Activate the Plugin:
In the WordPress Admin Dashboard, navigate to Plugins > Installed Plugins, and ensure “MC Newsletter with Interactivity API” is activated.
2. Add the Shortcode to Any Page or Widget:
Insert the following shortcode into any page, post, or widget area (via the Shortcode block in Gutenberg or in Classic Editor):
[mc_newsletter]
3. Test Interactivity on the Frontend:
– Initial State: View the published page; the submit button is disabled by default.
– Real-Time Validation: Type an incomplete address (e.g., developer@). The red error message appears immediately and the button stays disabled. Enter a full address (developer@example.com); the error disappears and the Subscribe button activates.
– Async Submission: Click Subscribe. The button dynamically transitions to “Submitting…”, posts to the REST API route asynchronously, displays the green confirmation message, and clears the input without a full page refresh.
Real-Life Use Cases
- E-Commerce Postal/Zip Code Checkers: Instantly validate postal codes on WooCommerce single product pages to inform customers if express delivery is available before they add an item to the cart.
- Lead Generation & Newsletter Signup Bars: Embed high-converting newsletter forms in theme footers or blog sidebars without pulling in bulky third-party form builders or heavy front-end scripts.
- Instant Coupon Code Validation: Check if a coupon is valid and display the calculated discount amount right next to the checkout input field prior to submitting order forms.
- Live Product Inquiry / Contact Modals: Allow prospective clients to send quick inquiries with instant client-side validation and immediate visual confirmations while keeping page weight minimal.
Conclusion
The WordPress Interactivity API provides a lightweight way to build responsive and interactive forms without relying on jQuery, React build tools, or heavy third-party libraries. With real-time email validation, reactive DOM bindings, asynchronous REST API submissions, loading states, and error handling, you can create a smooth user experience using only native WordPress APIs.
The 3-file newsletter example keeps the implementation simple while demonstrating how script modules, reactive stores, REST API routes, and Interactivity API directives work together. The same approach can also be extended to use cases such as postal code validation, coupon checking, lead generation forms, and product inquiries.
FAQ
1. What is the WordPress Interactivity API?
The WordPress Interactivity API is a native framework for creating reactive and interactive frontend experiences using declarative HTML directives and client-side stores.
2. Can this approach be used for other interactive WordPress features?
Yes. The same pattern can be adapted for postal code checkers, coupon validation, newsletter forms, product inquiries, and other interactive features that need instant feedback and asynchronous requests.