
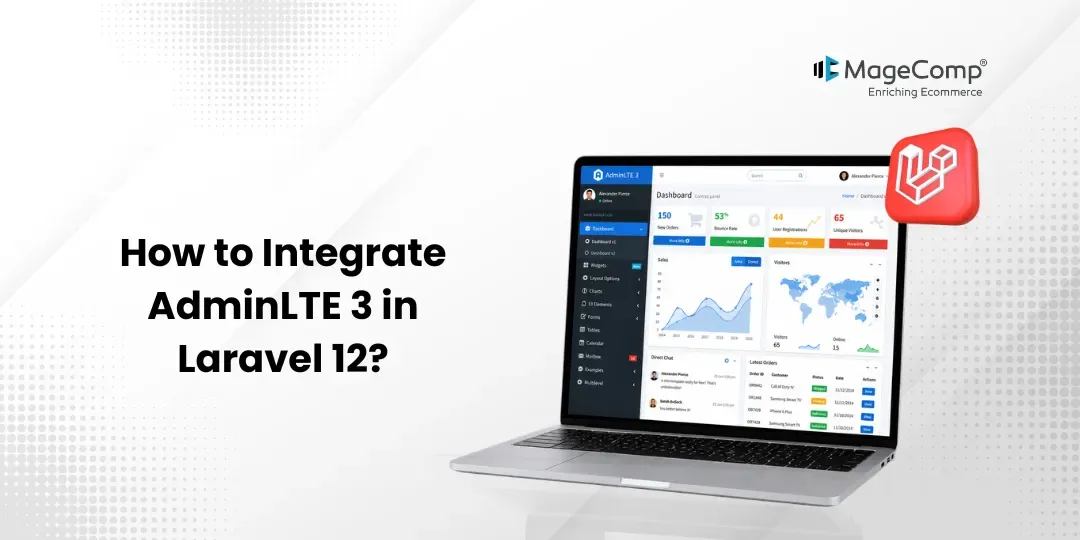
Laravel version 12 offers a powerful and elegant solution for building modern-day web applications. But building a cool-looking admin dashboard requires time. This is where the AdminLTE 3 template comes in handy. AdminLTE is one of the best free admin dashboard templates powered by Bootstrap, which includes an enormous range of UI elements.
In this post, you will learn how to include the AdminLTE 3 template in your Laravel 12 app.

What is AdminLTE?
AdminLTE is an open-source admin dashboard template that contains HTML, CSS, and JS code used to create admin panels/dashboards of any web application. These templates come with various components like tables, charts, forms, etc., making the process of designing and development more convenient and fast.
Now, let us move towards the installation of the Bootstrap 5 AdminLTE 3 admin theme in a Laravel application.
Steps to Integrate AdminLTE 3 Theme in Laravel 12:
Step 1: Install Laravel 12
Step 2: Install jeroennoten/laravel-adminlte
Step 3: Install AdminLTE 3 Theme
Step 4: Install Laravel UI for Auth Scaffolding
Step 5: Use AdminLTE Sections
Run Laravel App
Step 1: Install Laravel 12
This step is optional; however, if you haven’t yet installed the Laravel application, you can go ahead and execute the command below:
composer create-project laravel/laravel example-appStep 2: Install jeroennoten/laravel-adminlte
In this step, we need to install the AdminLTE composer package. Hence, execute the following command to get the AdminLTE started:
composer require jeroennoten/laravel-adminlteStep 3: Install AdminLTE 3 Theme
Now, let’s install the AdminLTE theme in your application. Execute the following command:
php artisan adminlte:installThis command installs AdminLTE configurations, CSS/JS files, and views. You will find the configuration file in the config/adminlte.php.
Step 4: Install Laravel UI for Auth Scaffolding
To install the Laravel UI and bootstrap auth scaffolding, run the following command:
composer require laravel/ui
php artisan ui bootstrap --auth
Next, you can replace views using the following Artisan command:
php artisan adminlte:install –only=auth_viewsStep 5: Use AdminLTE Sections
In the last step, you can now use the following AdminLTE sections:
resources/views/home.blade.php
@extends('adminlte::page')
@section('title', 'Dashboard')
@section('content_header')
    <h1>Dashboard</h1>
@stop
@section('content')
    <p>Welcome to this beautiful admin panel.</p>
@stop
@section('css')
    {{-- Add here extra stylesheets --}}
    {{-- <link rel="stylesheet" href="/css/admin_custom.css"> --}}
@stop
@section('js')
    <script> console.log("Hi, I'm using the Laravel-AdminLTE package!"); </script>
@stop
You can use the AdminLTE theme now.
Conclusion
In this article, we have managed to integrate AdminLTE 3 with the Laravel 12 app by leveraging the Laravel-AdminLTE package. Some of the things we have discussed include installing the package, publishing necessary assets, authentication scaffolding, and creating dashboard views with AdminLTE design.
The AdminLTE dashboard gives you a very good experience in terms of usability and responsiveness. By leveraging AdminLTE 3, together with Laravel 12, you’ll get an opportunity to focus only on developing features for your applications and take advantage of the pre-built admin panel design. You can further modify your theme and incorporate other plugins to enhance your dashboard.

FAQ
1. What is AdminLTE 3?
AdminLTE 3 is a free template designed using Bootstrap and allows developers to create beautiful admin panels.
2. Can I use AdminLTE 3 with Laravel 12?
Yes, it is possible to use AdminLTE 3 with Laravel 12 using jeroennoten/laravel-adminlte package.
3. Is AdminLTE 3 responsive?
Yes, the AdminLTE 3 template is very responsive and supports various kinds of devices like desktops, Tablets, Mobile phones, etc.