
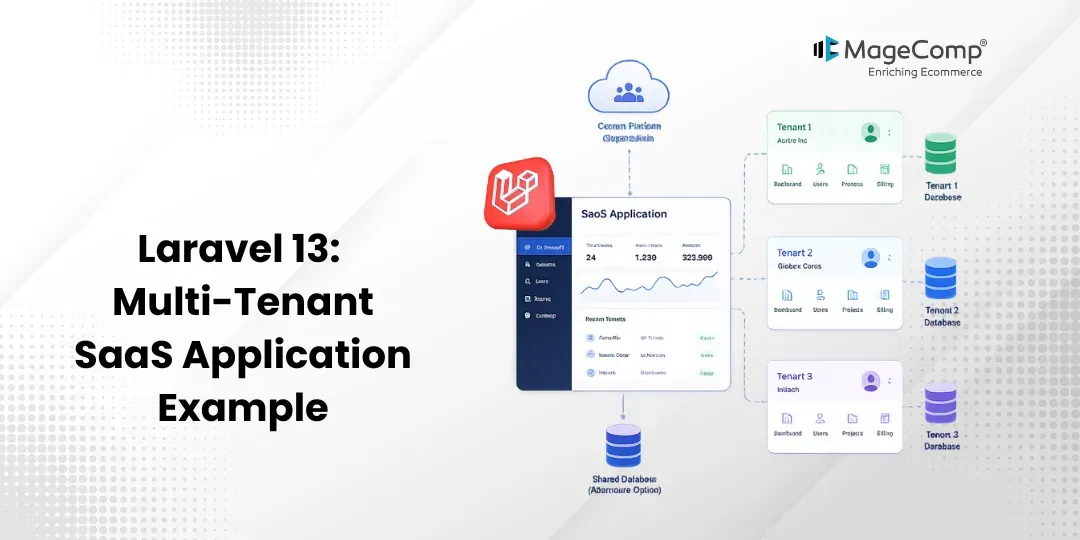
The multi-tenancy architecture is one where a single system can be used by different clients while ensuring that their datasets are not interconnected. Laravel 13 is one of the best frameworks for designing a SaaS product and is made much simpler by making use of Stancl Tenancy packages.
This post will show you how to build a multi-tenant SaaS application from scratch using Laravel 13 as part of that process.

Steps for Laravel 13 Multi-Tenant SaaS Application
Step 1: Install Laravel 13
Step 2: Install the Tenancy Package
Step 3: Configure Tenancy
Step 4: Run the Migrations
Step 5: Create Tenant
Step 6: Configure Tenant Routes
Step 7: Create Tenant Controller
Step 8: Test Multi-Tenant Application
Run Laravel App
Step 1: Install Laravel 13
Create a new Laravel project by issuing the following command:
composer create-project laravel/laravel multi-tenant-appStep 2: Install the Tenancy Package
Next, go ahead and install the Stancl Tenancy package.
composer require stancl/tenancyPublish the package’s configuration file and migrate its database tables by running the following command:
php artisan tenancy:installStep 3: Configure thr Tenancy Package
Then, you’ll need to run the tenancy migration.
php artisan migrateThis will create the tables required for multi-tenancy, specifically the tenants and domains tables.
Step 4: Run Migrations
Now open your .env file and set your database connection:
DB_CONNECTION=mysql
DB_HOST=127.0.0.1
DB_PORT=3306
DB_DATABASE=multi_tenant
DB_USERNAME=root
DB_PASSWORD=
Run the migrations:
php artisan migrateStep 5: Create New Tenants
Create a tenant using Tinker:
php artisan tinker$tenant = App\Models\Tenant::create();
$tenant->domains()->create([
'domain' => 'company1.localhost',
]);Create another tenant:
$tenant = App\Models\Tenant::create();
$tenant->domains()->create([
    'domain' => 'company2.localhost',
]);
Step 6: Configure Tenant Routes
Open:
routes/tenant.php
And add the following code:
<?php
use Illuminate\Support\Facades\Route;
use App\Http\Controllers\TenantController;
Route::get('/', [TenantController::class, 'index']);
Step 7: Create Tenant Controller
Create a controller:
php artisan make:controller TenantControllerAnd then update the following code in:
app/Http/Controllers/TenantController.php
<?php
namespace App\Http\Controllers;
use Illuminate\Http\Request;
class TenantController extends Controller
{
    public function index()
    {
        return response()->json([
            'message' => 'Welcome to Tenant Application',
            'tenant' => tenant('id'),
        ]);
    }
}
Step 8: Test Multi-Tenant Application
Add the following entries to your hosts file:
127.0.0.1 company1.localhost
127.0.0.1 company2.localhost
Next, start the Laravel application using the following command:
php artisan serveVisit:
http://company1.localhost:8000
And, you should see output like this:
{
  "message": "Welcome to Tenant Application",
  "tenant": "tenant_1"
}
Visit:
http://company2.localhost:8000
You should see output like this:
{
  "message": "Welcome to Tenant Application",
  "tenant": "tenant_2"
}
You can see that each tenant has its own isolated environment and data.
Running the Laravel Application
php artisan serveConclusion
In this tutorial, we saw how to build a Multi-Tenant SaaS Application using Laravel 13 and Stancl Tenancy Packages. Multi-tenancy is a very important aspect while developing any SaaS product since multiple users are able to use the application without having interlinked datasets.

FAQ
1. What is multi-tenancy in a Laravel application?
Multi-tenancy is a design pattern in Laravel that allows providing an application to multiple customers with their isolated datasets.
2. Does multi-tenancy affect application performance?
No, it does not have much effect on application performance.