Hello Magento Folks ?,
Welcome back to MageComp’s blog series. This is Magento 2 Categories Episode 2. In this episode, I will throw insights on How to Manage Categories in Magento 2 (Include, Move, Delete, Hide). In case you skipped Magento 2 Categories Episode 1, explore it, How to Create New Categories in Magento 2 (Including Root Category). For now, let’s start with managing the categories in Magento 2 ?
After you are done with the process of creating a new root category and subcategory, Magento 2 provides the functionalities to add products into the category, move a category to another location, delete a category, and even hide a category. Let us look upon them all comprehensively.
How to Add Products to a Category in Magento 2:
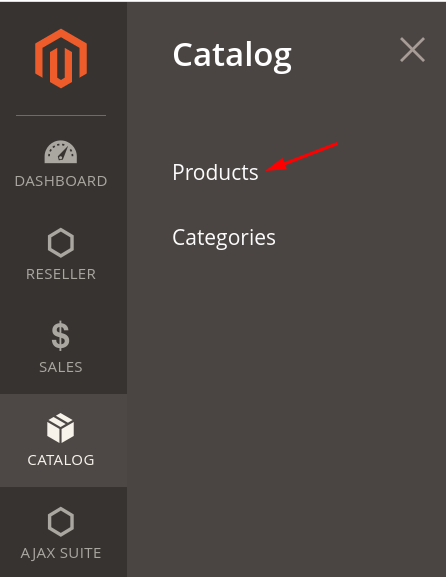
Step 1: From the Admin Panel, go to Catalog > Products
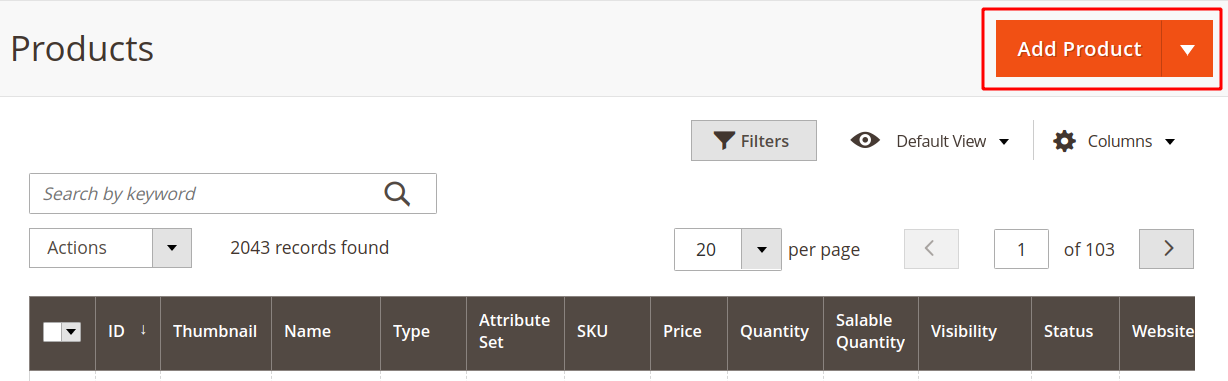
Step 2: Then, click the Add Product button.
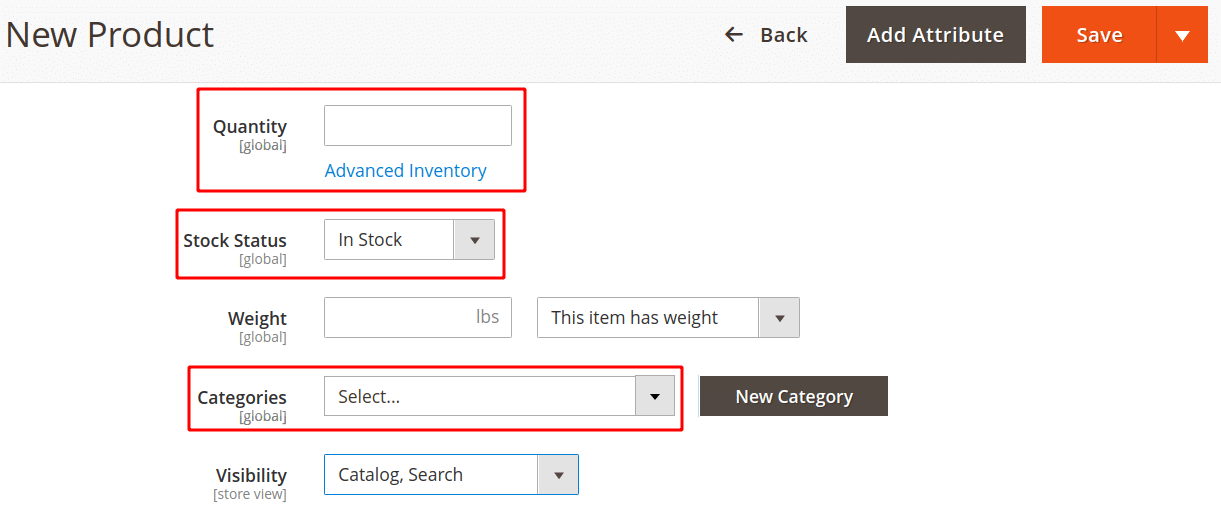
Step 3: Fill the product information on the New Product page. In the Categories field, select the category of the product from the drop-down menu.
Note – Ensure the Quantity is mentioned and the Stock Status of the product is set to in stock in order to show it in the store frontend.
Press, Save to complete. Do not forget to check the category and its product in the store frontend.
Pro-Tip: You can even change the category of the existing products. Just open the product in edit mode and change the category from the Categories field list.
How to Move a Category in Magento 2:
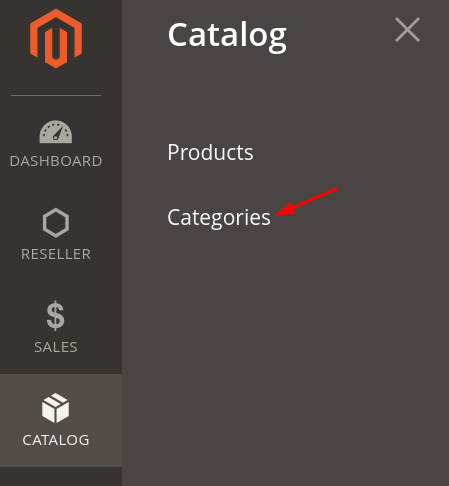
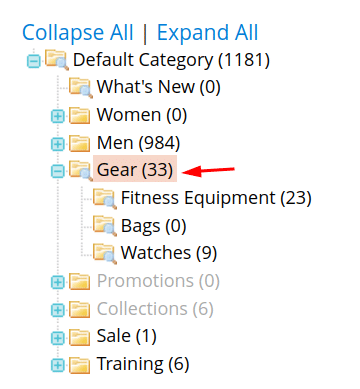
Step 1: From the Admin Dashboard, navigate to Catalog > Categories
Step 2: Select the category you want to move and drag-drop to a different location. The new category tree will be automatically saved.
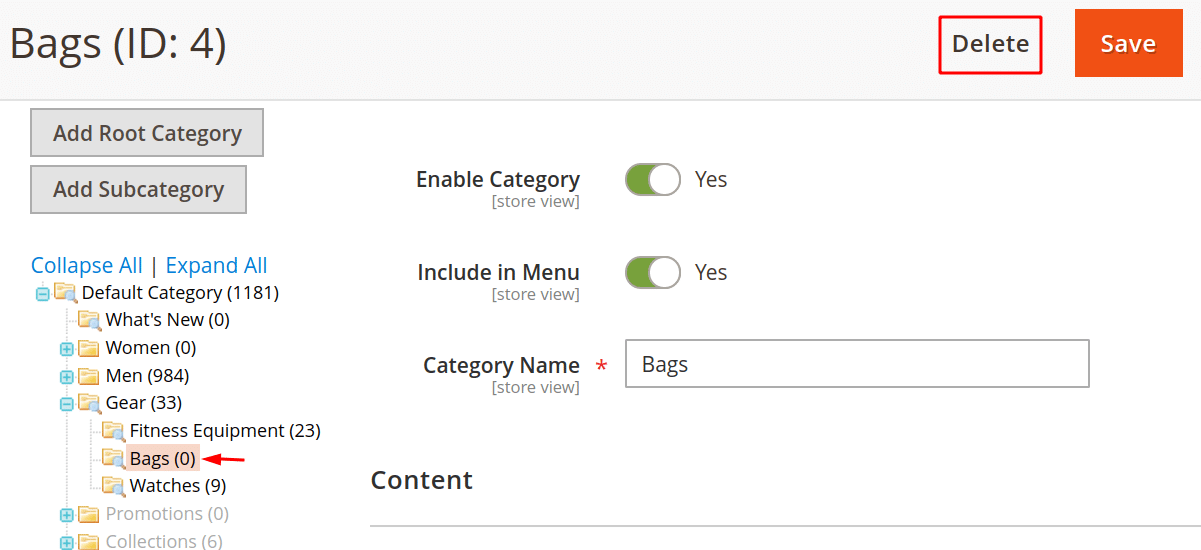
How to Delete a Category in Magento 2:
- From the category tree, select the category you want to delete and hit the Delete button.
- When asked to confirm the deletion, click Ok. The category tree will be updated accordingly.
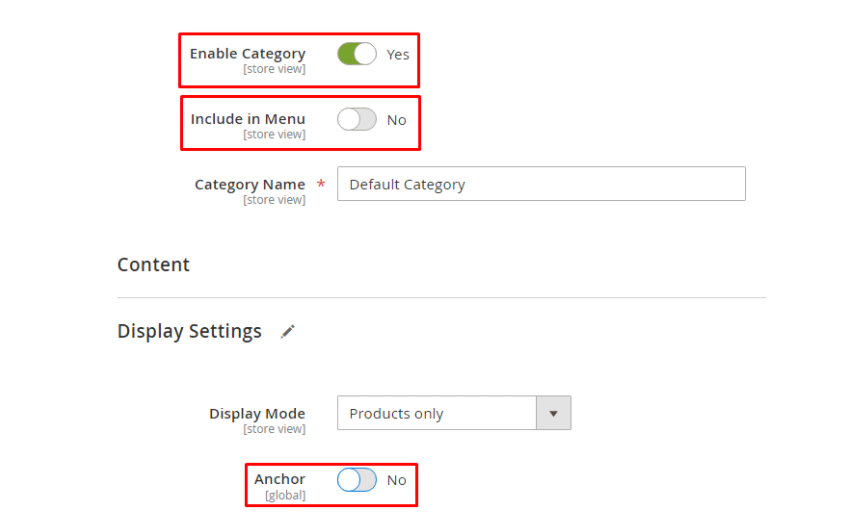
How to Hide a Category in Magento 2:
In the category tree, select the category you want to hide.
- Set the Enable Category to Yes.
- Set Include in Menu to No.
- In the Display Settings tab, set Anchor to No.
- In spite of the category being hidden, you can still create the subcategory and activate it.
- To activate the subcategory under the hidden category, in General- Information set Enable Category to Yes, and in the Display Settings tab set Anchor to Yes.
At last, Save to complete hiding the category.
Summing Up:
Therefore, this was all about managing categories in Magento 2. Customize your Magento 2 store with Magento 2 Subcategories Slider and enhance the user interface. If you come across any difficulty, you can ask me in the comment section and I will be happy to solve it. Help your friends to manage the categories by sharing the article with them. Stay tuned for the Finale Episode of Magento 2 Categories!
Happy Managing ?