
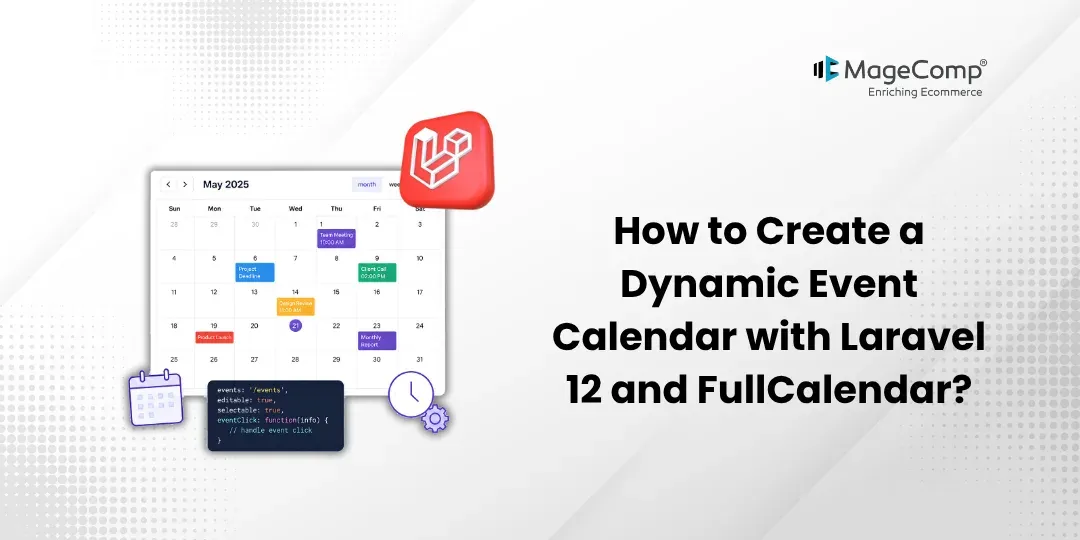
There may come a time when simply having an event list may no longer be adequate for your web page. At this point, it will make sense to introduce calendars that will show meetings, appointments, holidays, among many other things.

In this article, you will learn how to build a live event calendar mobile application using FullCalendar and Laravel 12. By using this app, events will be taken from the database and shown in the calendar.
This tutorial covers the following steps:
- Install FullCalendar
- Create event migration and model
- Create controller
- Add routes
- Fetch events dynamically
- Display events in FullCalendar
So, let’s get started.
Steps to Create a Dynamic Event Calendar with Laravel 12 and FullCalendar:
Step 1: Create Event Migration
First, let’s create a migration for storing calendar events.
Run the following command:
php artisan make:model Event -mNow open the generated migration file and add the following code:
database/migrations/xxxx_xx_xx_create_events_table.php
<?php

use Illuminate\Database\Migrations\Migration;
use Illuminate\Database\Schema\Blueprint;
use Illuminate\Support\Facades\Schema;

return new class extends Migration
{
    public function up(): void
    {
        Schema::create('events', function (Blueprint $table) {
            $table->id();
            $table->string('title');
            $table->dateTime('start');
            $table->dateTime('end')->nullable();
            $table->text('description')->nullable();
            $table->timestamps();
        });
    }

    public function down(): void
    {
        Schema::dropIfExists('events');
    }
};
Now run the migration:
php artisan migrateStep 2: Create Event Model
Open:
app/Models/Event.php
and add:
<?php

namespace App\Models;

use Illuminate\Database\Eloquent\Model;

class Event extends Model
{
    protected $fillable = [
        'title',
        'start',
        'end',
        'description',
    ];

    protected $casts = [
        'start' => 'datetime',
        'end' => 'datetime',
    ];
}
The $fillable property allows us to save these fields using Laravel’s mass assignment.
Step 3: Create Event Controller
Now create a controller:
php artisan make:controller EventControllerOpen:
app/Http/Controllers/EventController.php
and add:
<?php

namespace App\Http\Controllers;

use App\Models\Event;
use Illuminate\Http\Request;

class EventController extends Controller
{
    public function index()
    {
        return view('events.index');
    }

    public function getEvents()
    {
        $events = Event::select(
            'id',
            'title',
            'start',
            'end'
        )->get();

        return response()->json($events);
    }

    public function store(Request $request)
    {
        $request->validate([
            'title' => 'required|string|max:255',
            'start' => 'required|date',
            'end' => 'nullable|date|after_or_equal:start',
            'description' => 'nullable|string',
        ]);

        $event = Event::create($request->only([
            'title',
            'start',
            'end',
            'description',
        ]));

        return response()->json([
            'success' => true,
            'event' => $event,
        ]);
    }
}
Here, getEvents() will return the events from our database as JSON, which FullCalendar can read directly.
Step 4: Add Routes
Open:
routes/web.php
and add:
use App\Http\Controllers\EventController;

Route::get('/events', [EventController::class, 'index'])
    ->name('events.index');

Route::get('/events/data', [EventController::class, 'getEvents'])
    ->name('events.data');

Route::post('/events', [EventController::class, 'store'])
    ->name('events.store');
Now we have three routes:
/events
/events/data
/events
The first route displays the calendar, the second returns calendar events, and the third allows us to create an event.
Step 5: Install FullCalendar
You can install FullCalendar using npm.
Run:
npm install @fullcalendar/core @fullcalendar/daygrid @fullcalendar/interactionIf you’re using Laravel Vite, these packages can then be imported into your JavaScript file.
Step 6: Create Calendar View
Create:
resources/views/events/index.blade.php
Add the HTML given below:
<!DOCTYPE html>
<html>
<head>
    <title>Event Calendar</title>

    @vite(['resources/css/app.css', 'resources/js/app.js'])
</head>

<body>

    <div style="max-width: 1000px; margin: 50px auto;">
        <h2>Event Calendar</h2>

        <div id="calendar"></div>
    </div>

</body>
</html>
The calendar div is where FullCalendar will be displayed.
Step 7: Initialize FullCalendar
Open:
resources/js/app.js
and add:
import { Calendar } from '@fullcalendar/core';
import dayGridPlugin from '@fullcalendar/daygrid';
import interactionPlugin from '@fullcalendar/interaction';

document.addEventListener('DOMContentLoaded', function () {

    const calendarElement = document.getElementById('calendar');

    if (!calendarElement) {
        return;
    }

    const calendar = new Calendar(calendarElement, {
        plugins: [
            dayGridPlugin,
            interactionPlugin
        ],

        initialView: 'dayGridMonth',

        events: '/events/data',

        eventClick: function (info) {
            alert(info.event.title);
        }
    });

    calendar.render();
});
Now FullCalendar will request:
/events/data
and Laravel will return the events stored in the database.
Step 8: Add Some Events
You can add a few events using Laravel Tinker:
php artisan tinkerThen:
\App\Models\Event::create([
    'title' => 'Team Meeting',
    'start' => '2026-08-15 10:00:00',
    'end' => '2026-08-15 11:00:00',
    'description' => 'Weekly team meeting',
]);
Add another event:
\App\Models\Event::create([
    'title' => 'Project Demo',
    'start' => '2026-08-20 14:00:00',
    'end' => '2026-08-20 15:00:00',
    'description' => 'Project demonstration',
]);
Now visit:
/events
You should see the events displayed on the FullCalendar.
Step 9: Add Events from the Calendar
Now we can also give an option to the users to click on the date and create the event.
Update your FullCalendar configuration:
dateClick: async function (info) {

    const title = prompt('Enter event title:');

    if (!title) {
        return;
    }

    const response = await fetch('/events', {
        method: 'POST',

        headers: {
            'Content-Type': 'application/json',
            'X-CSRF-TOKEN': document
                .querySelector('meta[name="csrf-token"]')
                .getAttribute('content'),
            'Accept': 'application/json'
        },

        body: JSON.stringify({
            title: title,
            start: info.dateStr
        })
    });

    if (response.ok) {
        calendar.refetchEvents();
    }
}
Also add the CSRF token inside your Blade <head>:
<meta name="csrf-token" content="{{ csrf_token() }}">From now on, when a user clicks a specific date, they can add an event title, and it will be stored in the Laravel database.
Conclusion
It isn’t difficult to create a dynamic event calendar app with the help of FullCalendar and Laravel 12. Laravel will perform both database handling and API creation, and FullCalendar will only deal with interactively displaying the information.
The basic flow is:
Laravel Database
↓
Event Model
↓
Event Controller
↓
JSON API
↓
FullCalendar
↓
Interactive Calendar
Additional features are possible, such as drag and drop, edit events, delete events, different calendar views, repeated events, colors, calendar by user, and appointment booking.

FAQ
1. What is FullCalendar?
FullCalendar is a JavaScript library that helps build interactive calendars to display scheduling events, appointments, and other date-related information.
2. Can FullCalendar be used with Laravel 12?
Yes, you can integrate FullCalendar into a Laravel 12 project by installing npm packages for FullCalendar and using Laravel routes or API endpoints to provide data about events.