
Hello, Shopify merchants. Hope you are happily Shopifying.
Welcome to MageComp’s Shopify tutorials.
Today, in this Shopify tutorial, we will learn to add new customers to your Shopify store.

As a store owner, having a customer list can be a valuable tool for building strong relationships with your customers. You can create customer groups, send individual account invites, and perform many other actions to enhance the customer experience.
However, before you can take advantage of these benefits, it’s crucial to add customers to your list. This allows you to keep track of their preferences, purchase history, and other important information that can help you provide personalized service and improve customer satisfaction.
Steps to add new customers
Step 1 –
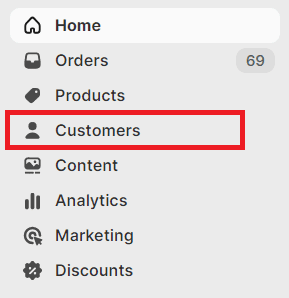
To begin adding new customers to your Shopify store, you must first log in to your Shopify account and access your Shopify admin panel.
Shopify admin panel → Customers
Step 2 –
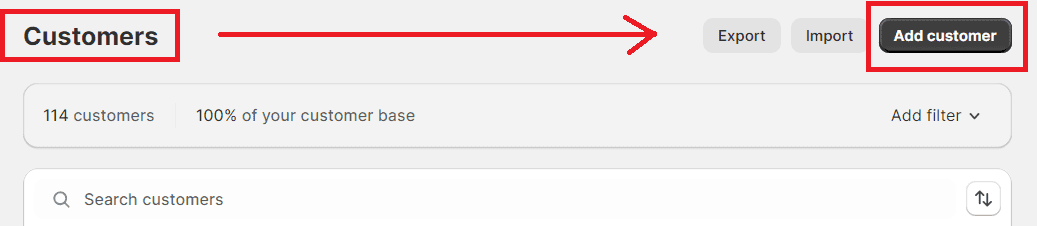
On the customer page, select the Add Customer button on the right-most corner of the page.
Step 3 –
In the New Customer page, you will have to fill up some fields in order to add the customer to your store.
1. Customer Overview
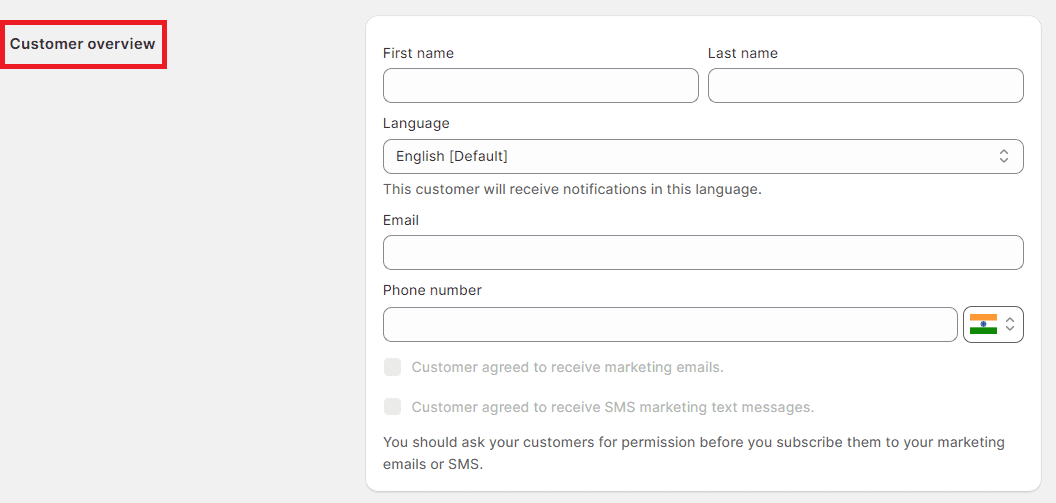
- First name – Enter the customer’s first name.
- Last name – Enter the customer’s last name.
- Language – Set your default language (if other than English).
- Email – Enter the customer’s email address.
- Phone number – Enter the customer’s contact number.
2. Address
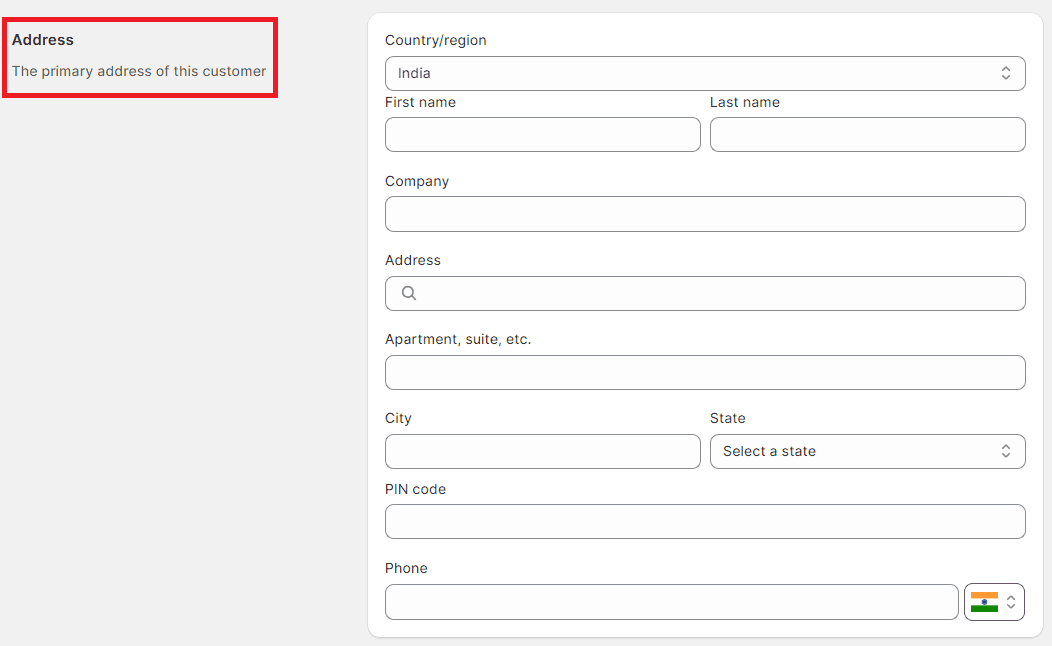
- Country/region – Enter the customer’s country or region of origin.
- First name – Enter the customer’s first name.
- Last name – Enter the customer’s last name.
- Company – Enter the company name the customer is associated with.
- Address – Enter the customer’s address.
- Apartment, suite, etc. – Enter the customer’s apartment/suite/house number.
- City – Enter the city name where the customer lives.
- State – Enter the name of the state.
- PIN Code – Enter the customer’s PIN code.
- Phone – Enter the customer’s contact number.

3. Tax Exemptions

Here in this field, select the checkbox if you have to collect tax from the customer, and leave the checkbox unchecked if the customer is exempted from tax collection.
4. Notes

If you want to add any internal notes, particularly for this customer, then you can enter that note here in this field.
5. Tags

From this field, you can add customer tags if you want to or leave it just blank.
Once you are done filling up all the customer’s information, you can Save your work and the customer will be added to your Shopify store straightaway.
Final Say
We trust that our step-by-step guide on how to add customers on Shopify has provided you with the necessary information to manage your customers efficiently. By following the instructions provided, you should now have a better understanding of how to add customers to your Shopify store, including creating customer profiles, importing customer data, and managing customer orders.

We hope that this knowledge will enhance your customer management experience and enable you to grow your business effectively.
To learn more about Shopify customers?
How to Search, Filter, and Group Customers in Shopify?
What is Customer segmentation in Shopify?
If you have any questions regarding Shopify customers, kindly contact us or get in touch with us on our official Facebook page. Or, if you have any technical queries regarding this tutorial, hire our Shopify developers and get your queries solved.
Happy Shopifying!!!