
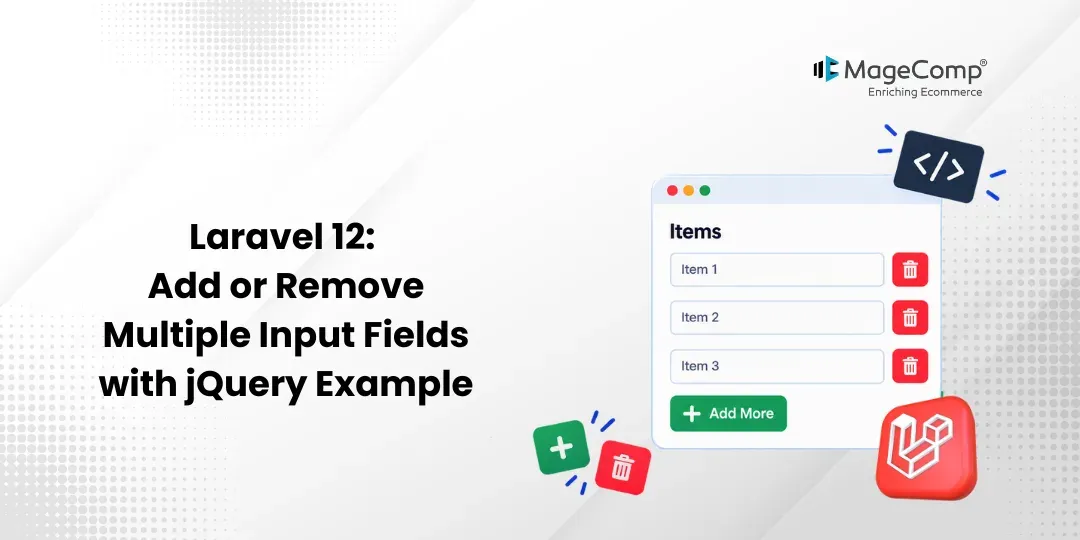
Today, I will show you how to create and remove multiple input fields and store into database in a Laravel 12 application. We will create dynamic add-more input fields functionality with a Laravel 12 application.
In this example, we will create “products” and “product_stock” tables. Then we will create a form with a product name and add more inputs for quantity and price; that way, the user can add multiple stock items during product creation. We also display products with the sum of quantities. So let’s see the example below step by step:
Steps to Add or Remove Multiple Input Fields with jQuery in Laravel 12:
Step 1: Install Laravel 12
First, we need a fresh Laravel 12 application, so we’ll start from scratch. So, open your terminal or command prompt and run the command below:
composer create-project laravel/laravel example-appStep 2: Create Table Migration and Model
In this step, we need to create the products and product_stock tables, as well as the models.
Create Migration
php artisan make:migration create_products_table Migration<?php
use Illuminate\Database\Migrations\Migration;
use Illuminate\Database\Schema\Blueprint;
use Illuminate\Support\Facades\Schema;
return new class extends Migration
{
/**
* Run the migrations.
*/
public function up(): void
{
Schema::create('products', function (Blueprint $table) {
$table->id();
$table->string("name");
$table->timestamps();
});
Schema::create('product_stocks', function (Blueprint $table) {
$table->id();
$table->bigInteger("product_id");
$table->integer("quantity");
$table->integer("price");
$table->timestamps();
});
}
/**
* Reverse the migrations.
*/
public function down(): void
{
Schema::dropIfExists('products');
}
};Run migration now:
php artisan migrateCreate Model
Run the command to create the Product and ProductStock models:
php artisan make:model Product
php artisan make:model ProductStock
app/Models/Product.php
<?php

namespace App\Models;

use Illuminate\Database\Eloquent\Factories\HasFactory;
use Illuminate\Database\Eloquent\Model;
use Illuminate\Database\Eloquent\Relations\HasMany;

class Product extends Model
{
    use HasFactory;

    protected $fillable = ['name'];

    /**
     * Write code on Method
     *
     * @return response()
     */
    public function stocks(): HasMany
    {
        return $this->hasMany(ProductStock::class);
    }
}
app/Models/ProductStock.php
<?php

namespace App\Models;

use Illuminate\Database\Eloquent\Factories\HasFactory;
use Illuminate\Database\Eloquent\Model;

class ProductStock extends Model
{
    use HasFactory;

    protected $fillable = ['product_id', 'quantity', 'price'];
}
Step 3: Create Routes
In this step, we need to create some routes for the add-to-cart function.
routes/web.php
<?php

use Illuminate\Support\Facades\Route;

use App\Http\Controllers\ProductController;

Route::get('/', function () {
    return view('welcome');
});
Route::get('add-more', [ProductController::class, 'index']);
Route::post('add-more', [ProductController::class, 'store'])->name('add-more.store');;
Step 4: Create Controller
In this step, we need to create ProductController and add the following code to that file:
app/Http/Controllers/ProductController.php
<?php

namespace App\Http\Controllers;

use Illuminate\Http\Request;
use App\Models\Product;

class ProductController extends Controller
{
    /**
     * Write code on Method
     *
     * @return response()
     */
    public function index()
    {
        $products = Product::paginate(10);
        return view('addMore', compact('products'));
    }

    /**
     * Write code on Method
     *
     * @return response()
     */
    public function store(Request $request)
    {
        $rules = [ "name" => "required", "stocks.*" => "required" ];

        foreach($request->stocks as $key => $value) {
            $rules["stocks.{$key}.quantity"] = 'required';
            $rules["stocks.{$key}.price"] = 'required';
        }

        $request->validate($rules);

        $product = Product::create(["name" => $request->name]);
        foreach($request->stocks as $key => $value) {
            $product->stocks()->create($value);
        }

        return redirect()->back()->with(['success' => 'Product created successfully.']);
    }
}
Step 5: Create Blade Files
Here, we will create the addMore.blade.php file with the following code.
resources/views/addMore.blade.php
<!DOCTYPE html>
<html>
<head>
    <title>Laravel 12 Add More Fields Example - ItSolutionStuff.com</title>
    <link href="https://cdnjs.cloudflare.com/ajax/libs/twitter-bootstrap/5.0.1/css/bootstrap.min.css" rel="stylesheet">
    <link rel="stylesheet" href="https://cdnjs.cloudflare.com/ajax/libs/font-awesome/6.5.1/css/all.min.css" />
    <script src="//ajax.googleapis.com/ajax/libs/jquery/1.12.4/jquery.min.js"></script>
</head>
<body>

<div class="container">
    <div class="card mt-5">
        <h3 class="card-header p-3">Laravel 12 Add More Fields Example - ItSolutionStuff.com</h3>
        <div class="card-body">

            @session('success')
                <div class="alert alert-success" role="alert">
                    {{ $value }}
                </div>
            @endsession

            <form method="post" action="{{ route('add-more.store') }}" enctype="multipart/form-data">
                @csrf
                <h5>Create Product:</h5>
                <div class="form-group">
                    <label>Name:</label>
                    <input type="text" name="name" class="form-control" placeholder="Enter Name" value="{{ request()->old('name') }}" />
                    @error('name')
                        <p class="text-danger">{{ $message }}</p>
                    @enderror
                </div>

                <table class="table table-bordered mt-2 table-add-more">
                    <thead>
                        <tr>
                            <th colspan="2">Add Stocks</th>
                            <th><button class="btn btn-primary btn-sm btn-add-more"><i class="fa fa-plus"></i> Add More</button></th>
                        </tr>
                    </thead>
                    <tbody>
                        @php
                            $key = 0;
                        @endphp
                        @if(request()->old('stocks'))
                            @foreach(request()->old('stocks') as $key => $stock)
                            <tr>
                                <td>
                                    <input type="number" name="stocks[{{$key}}][quantity]" class="form-control" placeholder="Quantity" value="{{ $stock['quantity'] ?? '' }}" />
                                    @error("stocks.{$key}.quantity")
                                        <p class="text-danger">{{ $message }}</p>
                                    @enderror
                                </td>
                                <td>
                                    <input type="number" name="stocks[{{$key}}][price]" class="form-control" placeholder="Price" value="{{ $stock['price'] ?? '' }}" />
                                    @error("stocks.{$key}.price")
                                        <p class="text-danger">{{ $message }}</p>
                                    @enderror
                                </td>
                                <td><button class="btn btn-danger btn-sm btn-add-more-rm"><i class="fa fa-trash"></i></button></td>
                            </tr>
                            @endforeach
                        @else
                            <tr>
                                <td><input type="number" name="stocks[0][quantity]" class="form-control" placeholder="Quantity" /></td>
                                <td><input type="number" name="stocks[0][price]" class="form-control" placeholder="Price" /></td>
                                <td><button class="btn btn-danger btn-sm btn-add-more-rm"><i class="fa fa-trash"></i></button></td>
                            </tr>
                        @endif
                    </tbody>
                </table>

                <div class="form-group mt-2">
                    <button type="submit" class="btn btn-success btn-block"><i class="fa fa-save"></i> Submit</button>
                </div>
            </form>

            <h5 class="mt-5">Product List:</h5>
            <table class="table table-bordered data-table">
                <thead>
                    <tr>
                        <th>ID</th>
                        <th>Name</th>
                        <th>Total Quantity</th>
                    </tr>
                </thead>
                <tbody>
                    @forelse($products as $product)
                        <tr>
                            <td>{{ $product->id }}</td>
                            <td>{{ $product->name }}</td>
                            <td>{{ $product->stocks->sum('quantity') }}</td>
                        </tr>
                    @empty
                        <tr>
                            <td colspan="3">There are no products.</td>
                        </tr>
                    @endforelse
                </tbody>
            </table>

            {!! $products->links('pagination::bootstrap-5') !!}
        </div>
    </div>
</div>
</body>

<script type="text/javascript">
    $(document).ready(function(){

        i = "{{$key}}";

        $(".btn-add-more").click(function(e){
            e.preventDefault();
            i++;
            $(".table-add-more tbody").append('<tr><td><input type="number" name="stocks['+i+'][quantity]" class="form-control" placeholder="Quantity" /></td><td><input type="number" name="stocks['+i+'][price]" class="form-control" placeholder="Price" /></td><td><button class="btn btn-danger btn-sm btn-add-more-rm"><i class="fa fa-trash"></i></button></td></tr>');
        });

        $(document).on('click', '.btn-add-more-rm', function(){
            $(this).parents("tr").remove();
        });

    });
</script>
</html>
Run Laravel App:
All the required steps have been done; now you have to type the command given below and hit Enter to run the Laravel app:
php artisan serveNow, go to your web browser, type the given URL, and view the app output:
http://localhost:8000/add-more
Conclusion
In this example, we learned how to add and remove multiple input fields dynamically using jQuery in Laravel 12.
We created product and product stock tables and stored multiple stock records for a single product.
We also implemented validation and displayed the total stock quantity for each product.
This approach helps create flexible forms where users can easily manage multiple related entries in a single form.
FAQ
1. How can I add multiple input fields dynamically in Laravel 12?
You can use jQuery to dynamically append new input rows to a Laravel form. In this example, users can click Add More to add multiple stock fields.
2. How can I remove dynamically added input fields in Laravel?
Use a jQuery click event on the remove button to delete the corresponding table row from the form.