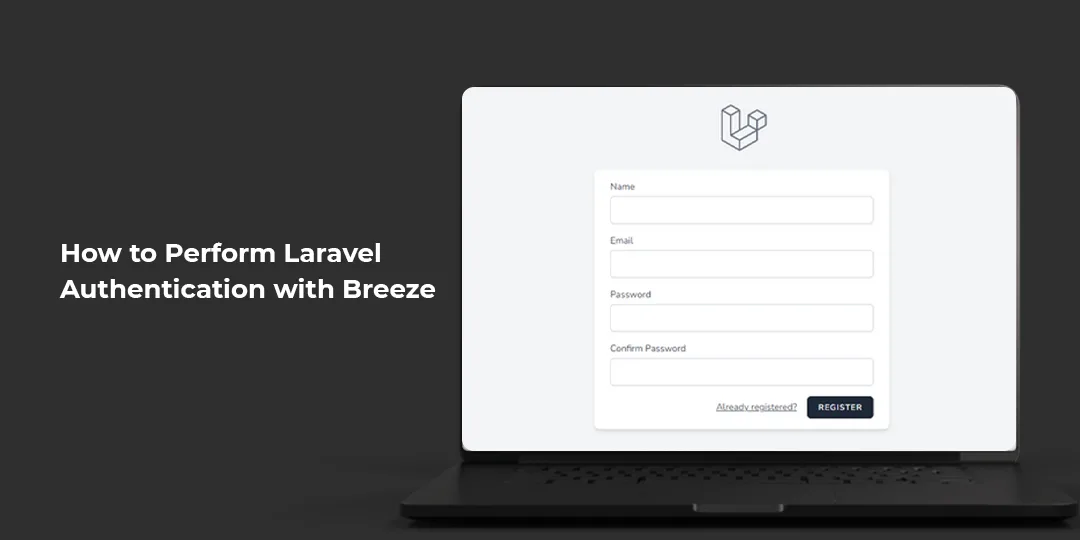
In today’s Laravel tutorial, I will be giving a detailed explanation of Laravel Authentication with Breeze.
Laravel Breeze helps to implement all of Laravel’s authentication features, including login, registration, reset password reset, password confirmation, and email verification. Laravel Breeze is powered by Blade and Tailwind.

Let’s look at the complete steps for installing Laravel Breeze.
Steps for Laravel Authentication with Breeze:
Step 1: Create Laravel Application
Firstly, create a new Laravel application using the below command
composer create-project laravel/laravel:^8.0 laravel-breeze
Step 2: Database Migration
Now it’s time to configure the database and run database migration using the below command
php artisan migrate
Step 3: Install Breeze
Then you need to install Laravel Breeze using Composer. Use the following command
composer require laravel/breeze --dev
Next, you have to install Laravel breeze for simple auth scaffolding with the help of command as follows
php artisan breeze:install
After Breeze is installed, compile your assets to generate CSS and JS min files.
npm install && npm run dev

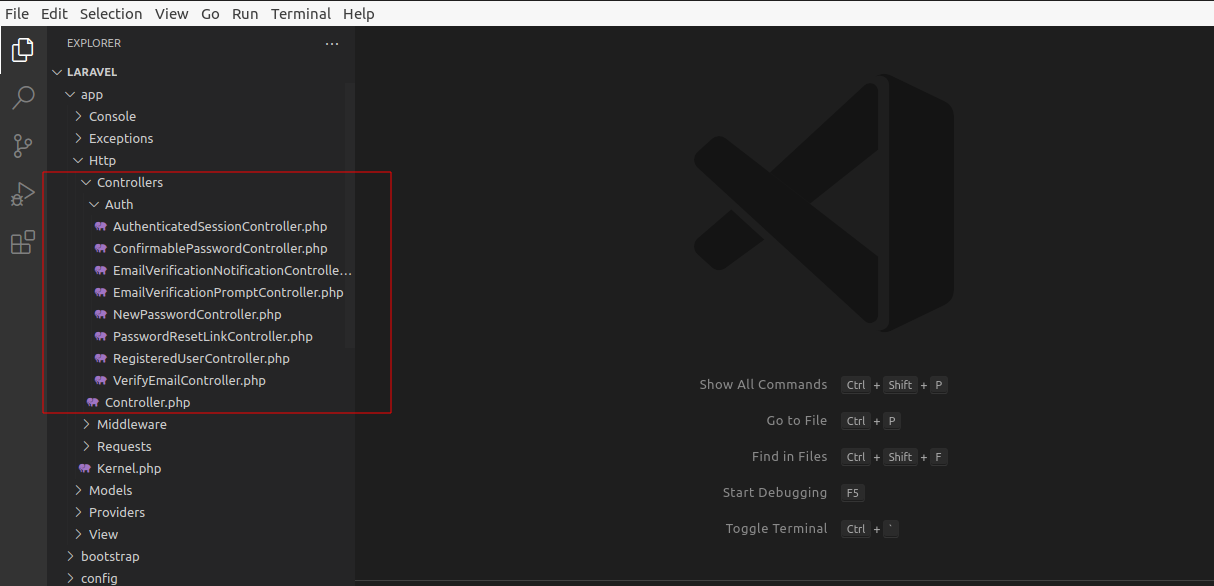
Step 4: Breeze Authentication Controllers
File path: app/Http/Controllers/Auth
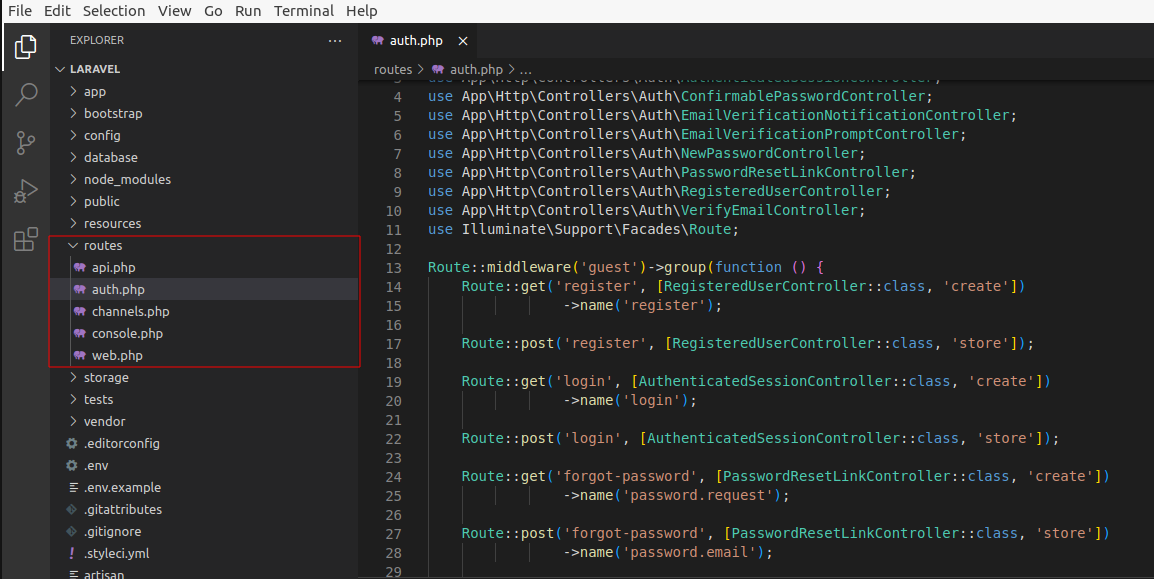
Step 5: Breeze Authentication Routes
File path: routes/auth.php
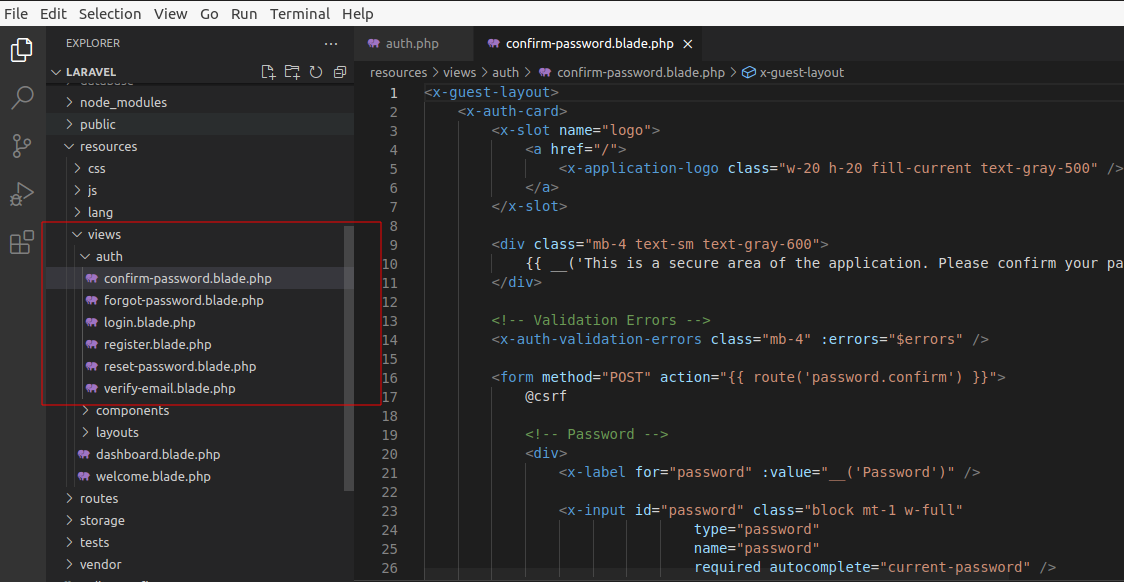
Step 6: Breeze Authentication Views
File path: resources/views/auth
Step 7: Check Breeze Authentication
Open the project to the terminal and type the command to start the development server
php artisan serve
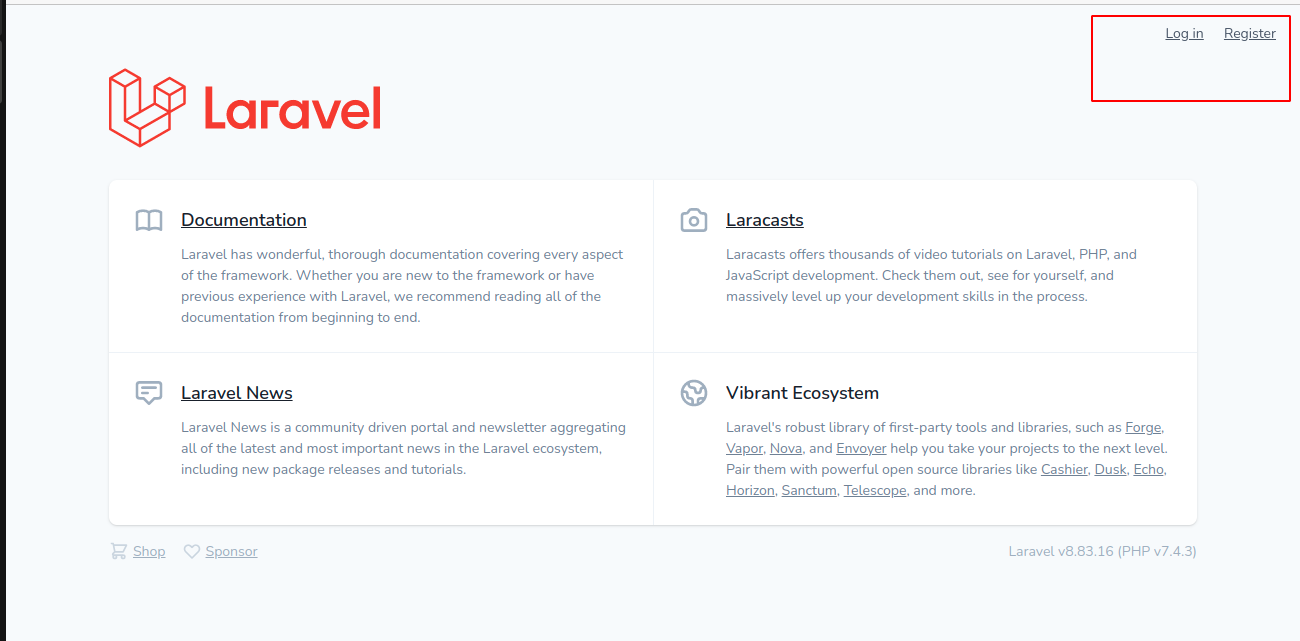
You can see all the various pages like the Login page, Forgot Password page, Register page, and Dashboard:
The following information will appear if the breeze authentication is implemented successfully.
1. A Login and Register links will appear on the right side of the page
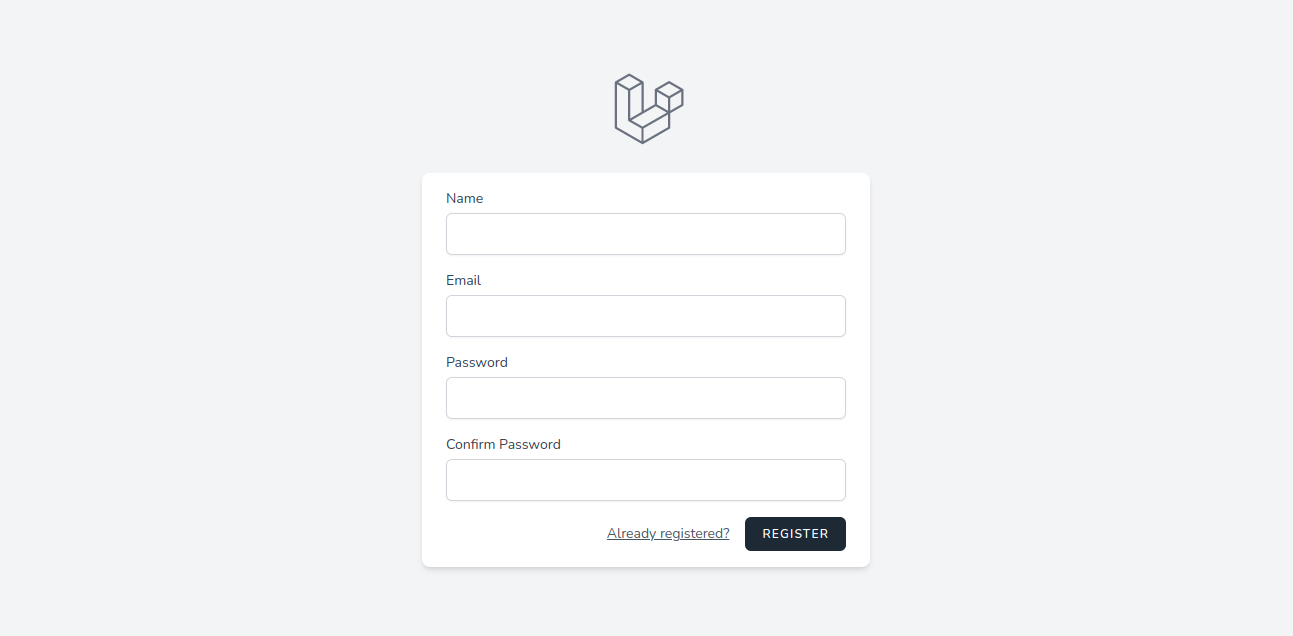
2. Registration Page
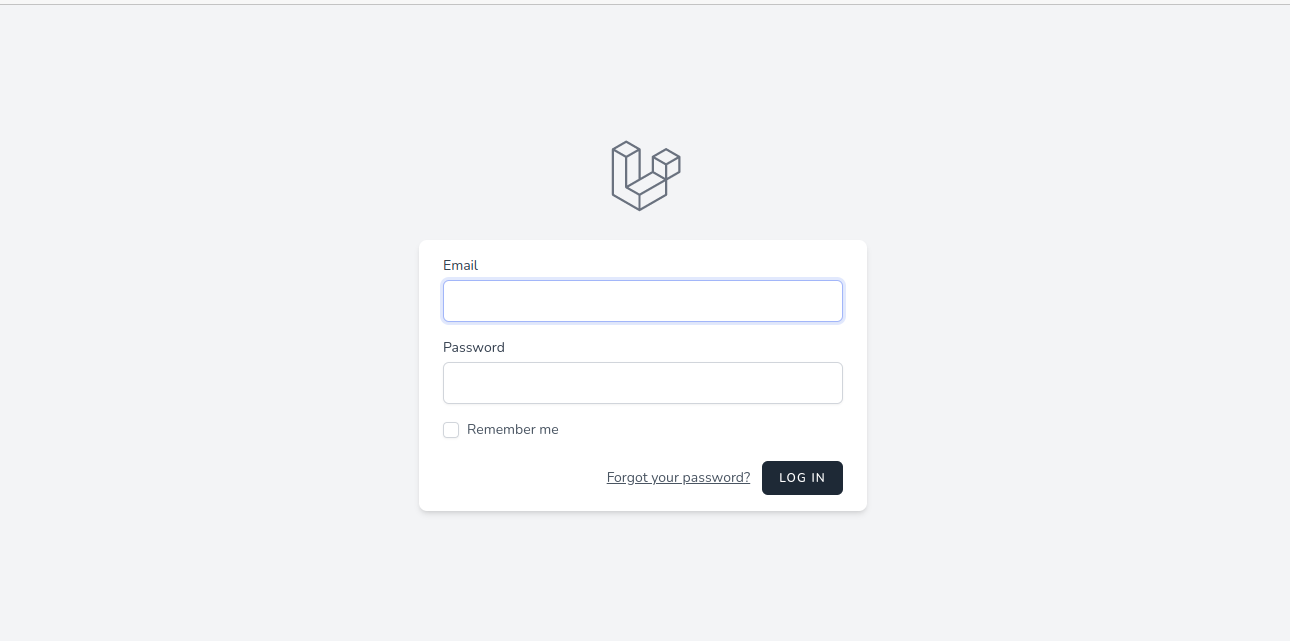
3. Login Page
4. Dashboard

Final Words:
Hope now you clearly got an idea about Laravel Authentication with Breeze. You can also Hire Laravel Developer to perform Laravel Authentication with Breeze. Share the tutorial with your Laravel friends and stay tuned for more tutorials on Laravel.

Happy Reading!