

Hello, Shopify friends.
Welcome to MageComp’s Shopify tutorials.
Today, in this Shopify tutorial, we will learn to edit a blog post that has already been published on your Shopify website.

Editing a blog post published on your Shopify website is as easy as adding a new blog post to your webstore. So, without any further ado, let’s begin with the steps.
Steps to Edit Blog Post
Step 1 –
Log in to your Shopify account and access your Shopify website’s admin panel.
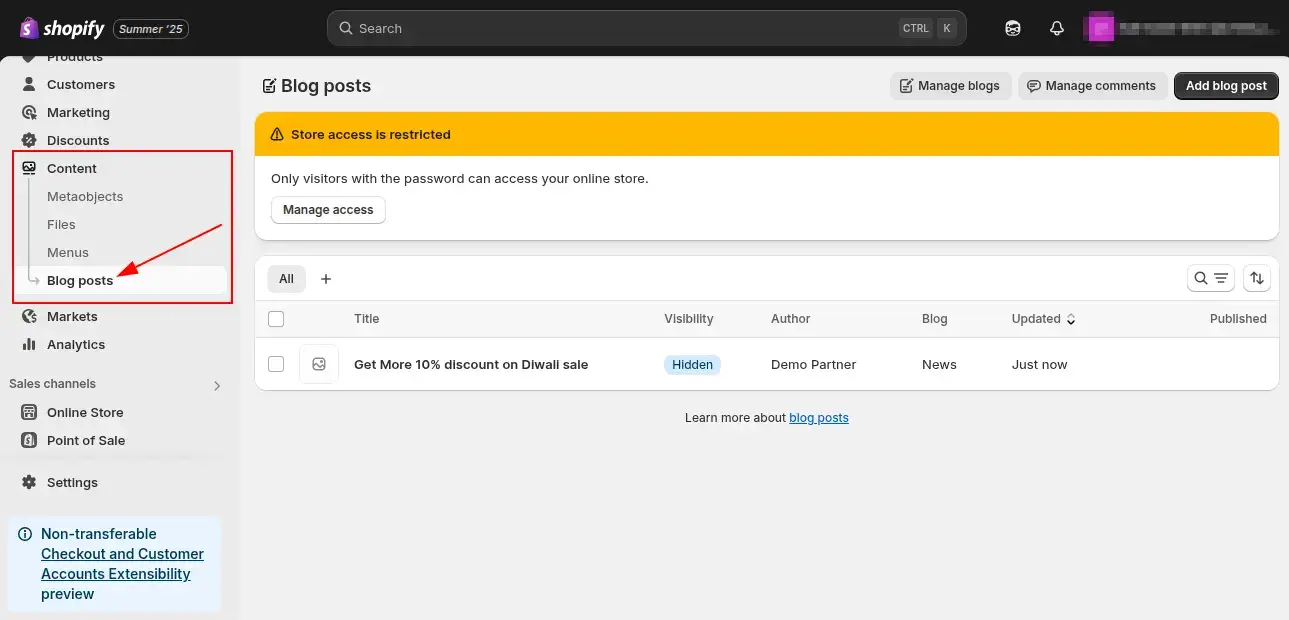
After that, in the Shopify admin panel, go to Online Store → Blog Posts
Step 2 –
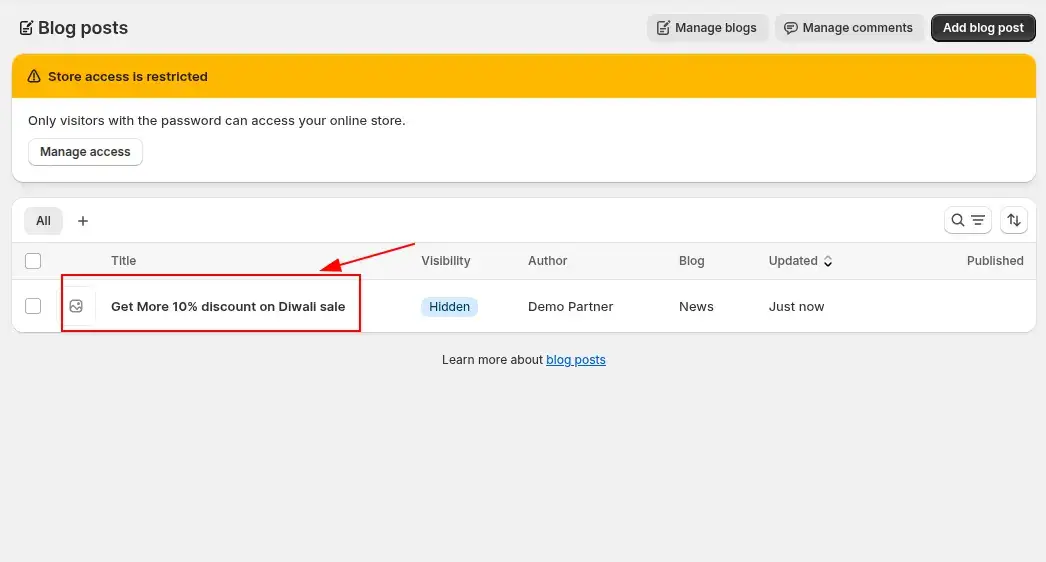
Select the blog that you want to edit.

Step 3 –
Make the changes that are needed and then Save your changes.
Your edited blog will be updated on your live Shopify website also, without hindering your visitors’ or customers’ browsing experience.
Also Read –
How to Add a Blog Post to Your Shopify Store?
How to Schedule Blog Posts in Shopify?
How to Add Blog Author in Shopify?
How To Create a New Blog Template on Shopify?
How To Publish Blog Posts In Bulk On Shopify?

Ending Note
Task completed in just three teeny tiny steps. ?
Now you can edit any published blog, anytime you want by following these easy steps.
Shopify has taken the concept of online eCommerce to a whole another level, making everything as easy and as simple as possible.
Hope you found this tutorial helpful. Share our efforts and spread the knowledge with your other Shopify mates. If you have any technical queries, you can contact us anytime you want, our expert Shopify developers are always at your service.

Happy Shopifying!!!


These steps do not work. When I click on the blog it just takes me to the live post. I cannot edit ANYTHING!
Now Shopify have updated their UI. Kindly follow below method.
Go to content > blog post and click on blog that you want to update.