Hello Shopify Friends,
In today’s Shopify tutorial, I will explain How to Add a Blog Post to Your Shopify Store.
Blogs play a significant role in the success of any eCommerce website. Blogs allow store owners to connect with their audience, drive traffic, build trust, and enhance the overall shopping experience. Shopify store owners can use blogs to differentiate their brands, attract potential customers, and increase sales and revenue.
To start with Shopify blog posts, you must know how to add blog to Shopify. But before that, look at some tips to help create valuable and user-friendly blog content for your Shopify store.

Tips for Creating Blog Posts on Shopify
Determine your target audience
Knowing your target audience’s needs, interests, and pain points is essential. This will help you create blog content that caters to readers’ requirements and provide them with the content they seek.
Create content schedule
Plan a content strategy for your Shopify blog post to maintain consistency. Create a content plan based on user preferences for blog with Shopify. Maintaining a proper schedule will keep your users engaged and increase views.
Provide valuable content
Create high-quality content that resolves users’ problems and provides solutions, instructions and tips. Your content must be well-researched, well-organized, and informative. Engaging content helps you win more viewers, which may become your customers.
Make use of visuals
You can add visuals like images, videos, and infographics to your Shopify blog posts to make them appealing. You can explain your content in a better way by adding visuals to your blog posts.
Optimize blog for SEO
Before writing your content, conduct proper keyword research to improve search engine visibility. Incorporate relevant keywords to your blog content, heading, and subheadings naturally. Moreover, optimize the meta tags, alt text and image alt tags for enhanced search rankings.
Stay engaged
Keep readers engaged with your blog post. Ask questions or tell them to comment on their views on the blog content. You can also include social sharing buttons on your Shopify blog post. Respond to users’ comments and engage yourself in discussions to build better relationships.
Promote it properly
This is very important to gain more views of your blog posts. Share the blog on social media platforms, email newsletters, and other community channels. Collaborate with bloggers and influencers in your niche to extend your reach. This will drive traffic to your Shopify website.
Besides these tips, you can connect with SEO experts that will help you increase the efficiency of your Shopify blog posts and generate revenue.
Steps to Add a Blog Post to Your Shopify Store:
Step 1: Log in to your Shopify Admin Dashboard.
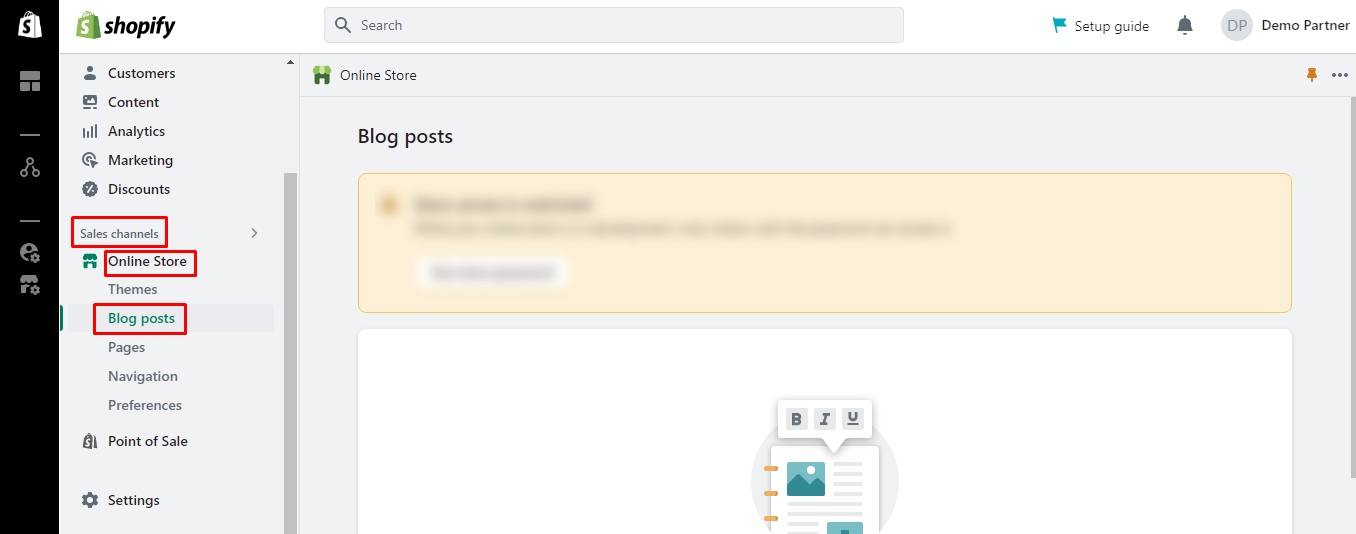
Step 2: From the left menu bar, under the Sales Channels section, select Online Store and choose Blog posts option.
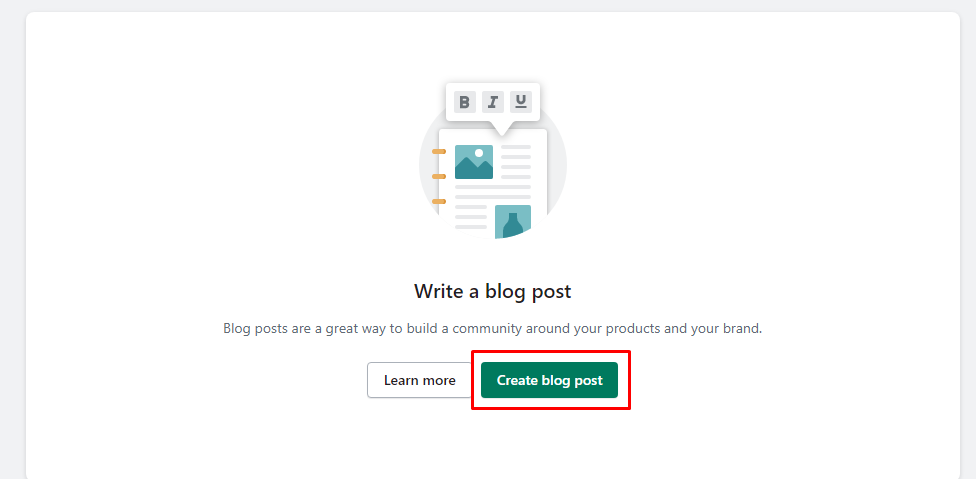
Step 3: Click Create blog post to add Shopify blog posts.
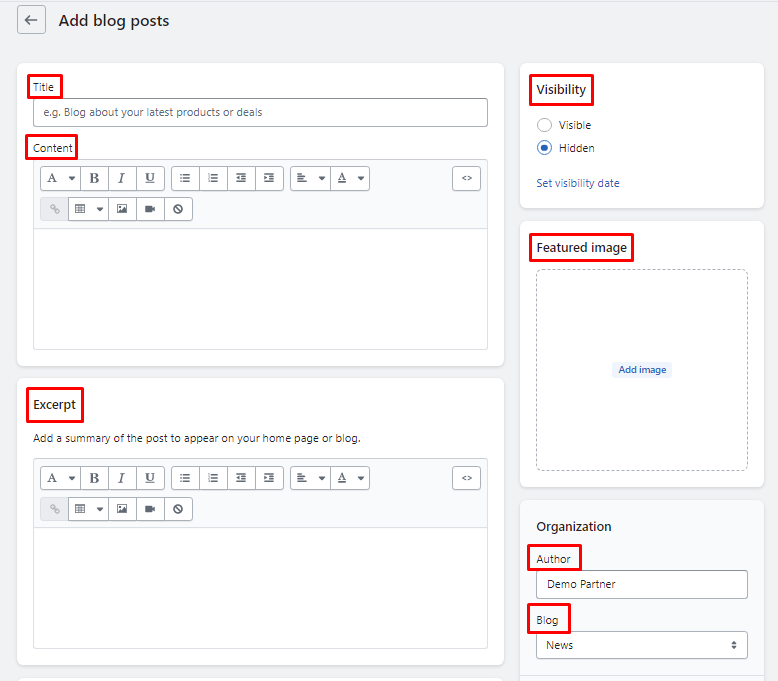
Step 4: Add the following information for your Shopify blog post
- Title – Enter the title for your blog with Shopify.
- Content – Add the blog content.
- Excerpt – Add the blog summary here.
- Visibility – Set the visibility of your Shopify blog post.
- Featured image – Upload an image for your blog post with Shopify.
- Author – Set the author of your Shopify blog.
- Blog – Select Create a new blog option.
- Page Title – Enter the title of the blog, between 0 to 70 characters, for the search engine listing.
- Description – Enter blog description between 0 to 320 characters for the search engine listing.
- URL and handle – Set the URL of your blog post with Shopify.
- Tags – Add tags related to your Shopify blog post.
- Theme Template – Select the blog theme from here.
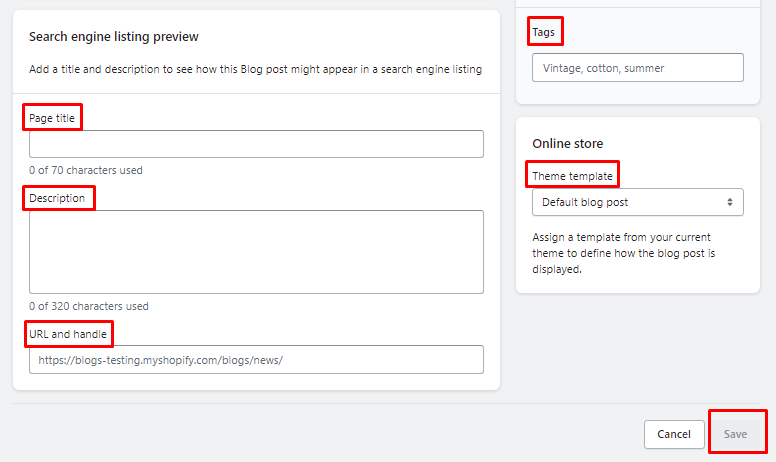
Once you complete all the settings for your Shopify blog post, click Save.

Final Say:
This way, you can add blog posts to the Shopify store. If you face difficulty adding a blog to Shopify, contact Shopify professionals to help you.
Share the tutorial with your Shopify friends and stay in the know to take advantage of our important Shopify guide.
Happy Reading!
—————————————————————————————————————————————–
Frequently Asked Questions
- In your Shopify admin, go to SALES CHANNELS > Online Store.
- Click either Blog posts or Pages.
- In the Visibility section, click Set visibility date.
- Choose the date and time that you want the item to publish to your online store.
- Click Save.
(2) Why can’t I see my blog post Shopify?
Answer: Blog posts are not set to visible by default so be sure to set that visibility setting in your blog post settings. If it’s already set to visible, and you’re still not seeing it, add it to a blog collection and/or make sure to add it to the site navigation so that your customers can access it.
(3) Can we post blogs on Shopify?
Answer: Your Shopify online store comes with a built-in blogging engine. Blogging is a great way to build your audience and generate more traffic and sales for your business. Setting up a blog can help you build a community around your products and your brand.
(4) Is Shopify blog free?
Answer: Start your free trial, then enjoy 3 months of Shopify for $1/month when you sign up for a monthly Basic or Starter plan. Add products, launch your store, and start selling!
(5) Where do I edit my blog on Shopify?
Answer: This can be accomplished in just a few simple steps. Step #1: Navigate to “Online Store” from your Shopify admin dashboard and select “Blog Posts.” Step #2: Click on the post that needs edits. Step #3: Edit the content and click save.