Hello Magento Folks,
Welcome to Magento tutorial blog. Today I will illustrate How to Configure Minimum Advertised Price (MAP) in Magento 2. Checkout our previously published article How to Setup Multiple Stores in Magento 2 (Quick Setup in 4 Steps). Let’s Dive In?
MAP(Minimum Advertised Price) is a very helpful method for all the Magento 2 store merchants. With the help of the MAP (Minimum Advertised Price), one can present a greater price to your customers by taking care of the producer’s needs at a time.
Make yourself promote more perfectly in this competitive market by integrating the Custom Price For Magento 2 in your Magento 2 Store.
How to Configure Minimum Advertised Price (MAP) in Magento 2:
Step 1: For implementing MAP for all your store products.
Firstly, Navigate to Stores > Settings > Configuration>
From Sales>Sales tap to Minimum Advertised Price option.
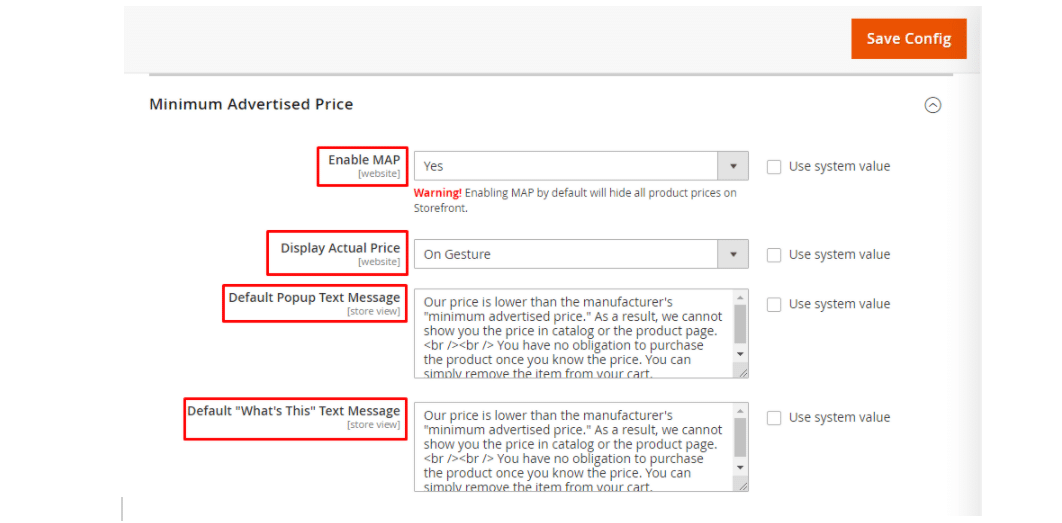
Enable MAP: Select the YES for enabling the MAP (Minimum Advertised Price)
Display Actual Price: For displaying to the buyers, Select according to your requirement from On Gesture, In Cart or Before Order Confirmation.
Default Popup Text Message: Add the text for Popup Text Message display accordingly.
The default “What’s This” Text Message: Add a clear explanation that is easy to understand by the buyers.
Save the Config.
Step 2: Implementing the MAP for specific products.
Navigate to Catalog>Products>
From the Product Management Grid tap on Edit and click on Advanced Pricing.
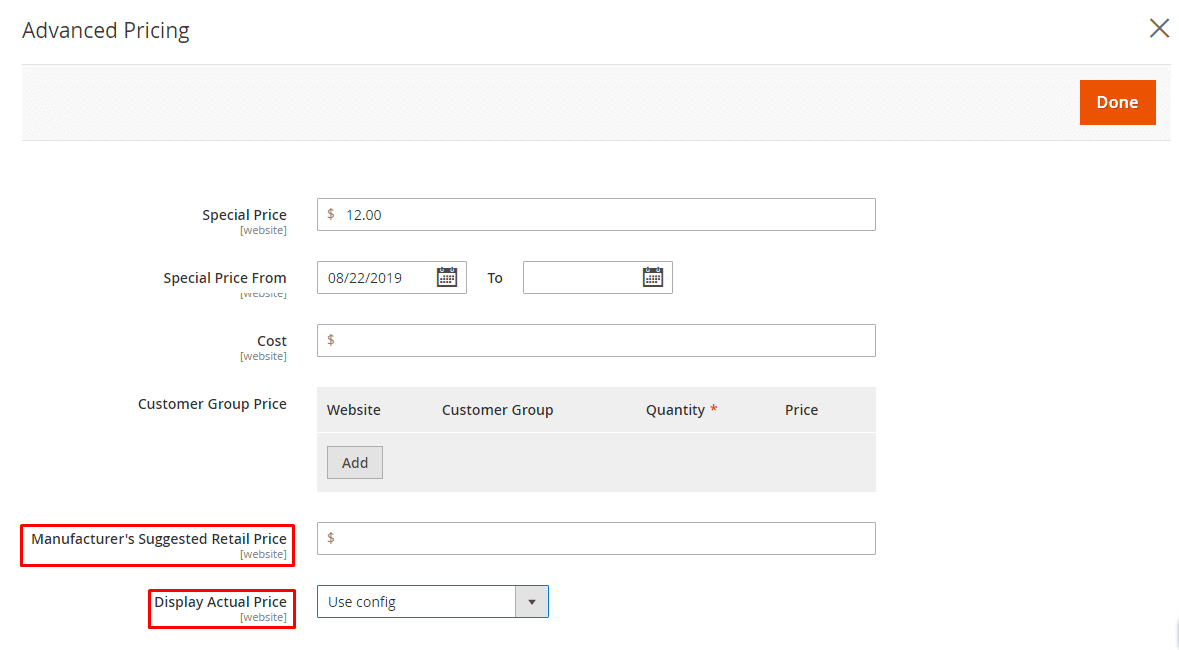
Import the number of Manufacturer’s Suggested Retail Price.
Select the Display Actual Price according to your requirement from
Choose the Display Actual Price by CMS Block Use config, On Gesture, In Cart and Before Order Confirmation
Save the Config
That’s It.
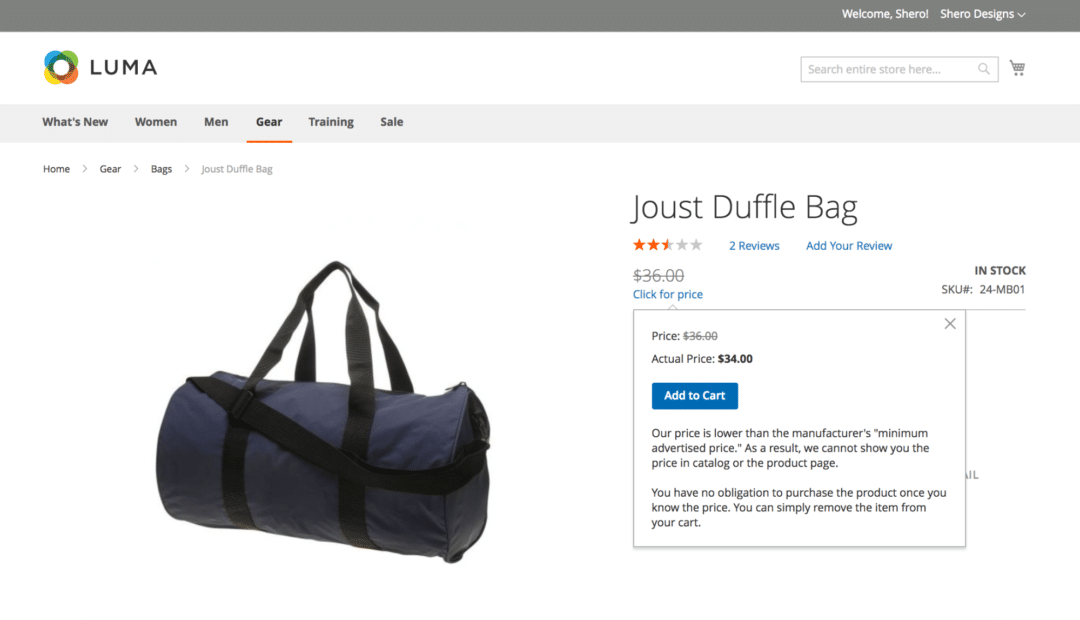
Frontend Display of Minimum Advertised Price (MAP)
Conclusion:
Implement the above steps and enable the Minimum Advertised Price (MAP) in your Magento 2 store. In case of any doubts in the above configuration steps then write it in the comment section below. Hit the 5 stars and share the article for helping your Magento merchant friends. Till then Stay Happy & Stay Connected
Happy Reading.