Hello Magento Friends,
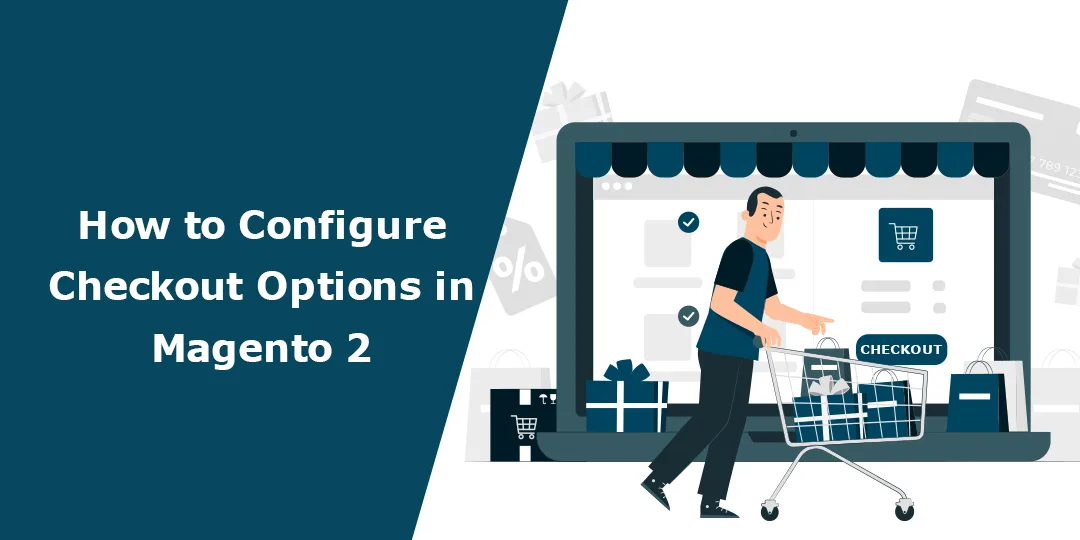
In this tutorial, I will explain How to Configure Checkout Options in Magento 2.
The checkout page is where the customers complete their payment and billing process for purchase. After reaching the checkout page, the customers desire to complete the steps as quickly as possible. Thus, the admin can control the checkout options in Magento 2 to determine the checkout attributes and layout.
Let’s find out How to Configure Checkout Options in Magento 2.
Steps to Configure Checkout Options in Magento 2:
Step 1: Log in to your Magento 2 Admin Dashboard.
Step 2: Go to Stores > Settings > Configuration.
Step 3: Expand SALES and select Checkout.
Step 4: Now enlarge Checkout Options.

- Enable Onepage Checkout – Set Yes to allow customers to complete checkout quickly.
- Allow Guest Checkout – Set Yes to allow guest users to checkout without registering for an account to your Magento 2 store. Learn more about Guest Checkout in Magento 2.
- Display Billing Address On – Select where to display the billing address, on the Payment Method or Payment Page.
- Enable Terms and Conditions – Set if the customers are needed to agree with the terms and conditions.
- Maximum Number of Items to Display in Order Summary – Enter the number that states the number of items to be displayed in the order summary at the time of checkout. The default value is 10.
Step 5: At the end click Save Config.
Final Words:
Accordingly, you can control the Checkout Options in Magento 2. Apart from the default options, you can also display additional fields on the checkout page by integrating Magento 2 Custom Checkout Fields Extension. Share the article and stay in touch with us.
Happy Reading!