Hello Magento Friends,
Today’s Tutorial is about How to Add Sticky Header Component in Magento 2.
The sticky header component is the fixed area on the header section of the webpage when the user scrolls down. The main menu, top links, cart, logo can appear in the sticky header of your Magento 2 store. Also, allow customers to add-to-cart any product even if the product page is scrolled down by displaying the product components like product name, image, price, add-to-cart at the sticky header.
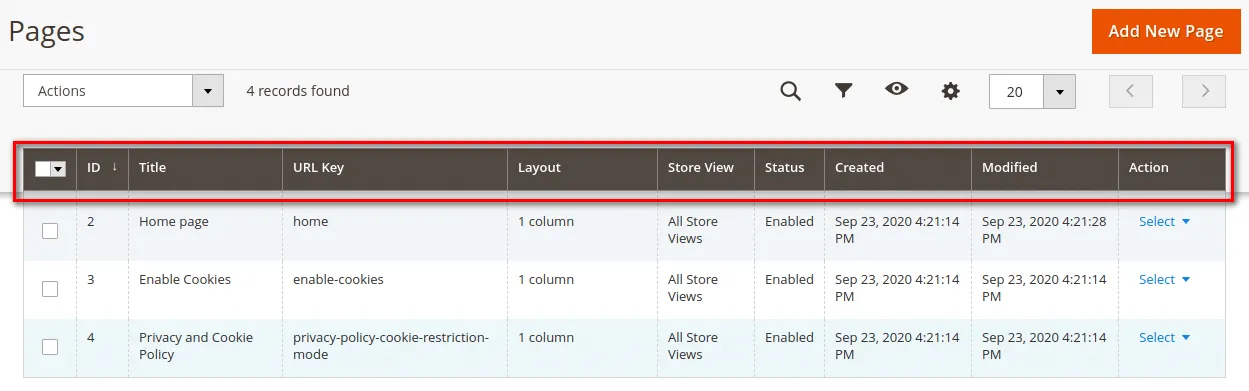
When you go to the Magento 2 Admin product management page, you will see the sticky header component.
Let’s learn How to Add Sticky Header Component in Magento 2
Steps to Add Sticky Header Component in Magento 2:
Step 1: The sticky is applied for the display of the grid with the configuration
<container name="sticky">
   <argument name="data" xsi:type="array">
       <item name="config" xsi:type="array">
           <item name="component" xsi:type="string">Magento_Ui/js/grid/sticky/sticky</item>
           <item name="toolbarProvider" xsi:type="string">...</item>
           <item name="listingProvider" xsi:type="string">...</item>
       </item>
   </argument>
</container>
Step 2: You can also use sticky in your custom grid. For that go to the below path:
app\code\vendor\extension\view\adminhtml\ui_component\custom_grid_listing.xml
And add the below lines of code:
<container name="sticky">
   <argument name="data" xsi:type="array">
       <item name="config" xsi:type="array">
           <item name="component" xsi:type="string">Magento_Ui/js/grid/sticky/sticky</item>
           <item name="toolbarProvider" xsi:type="string">custom_grid_listing.custom_grid_listing.listing_top</item>
           <item name="listingProvider" xsi:type="string">custom_grid_listing.custom_grid_listing.custom_grid_columns</item>
       </item>
   </argument>
</container>
Step 3: To change the template of the sticky header, you can use the following configuration:
<container name="listing_top">
   <argument name="data" xsi:type="array">
       <item name="config" xsi:type="array">
           <item name="template" xsi:type="string">ui/grid/toolbar</item>
           <item name="stickyTmpl" xsi:type="string">ui/grid/sticky/toolbar</item>
       </item>
   </argument>
</container>
To get more details, check the below file
vendor\magento\module-cms\view\adminhtml\ui_component\cms_page_listing.xml
Final Say:
This way you can Add Sticky Header Component in Magento 2. You can also integrate Magento 2 Sticky Add To Cart extension to your store for displaying an attractive sticky bar. Customize your Magento 2 store by hiring our certified Magento Developers. For any difficulties, let me know in the comment section below. Share the article with your Magento colleagues. Stay in the know for more Magento tutorials.
Happy Reading!