

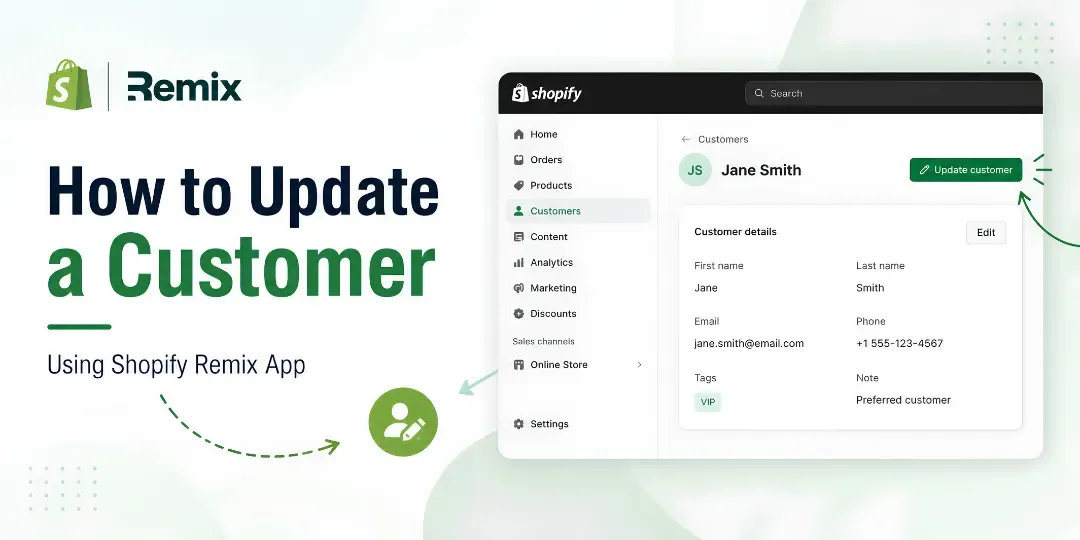
This article demonstrates how to modify customers using Shopify Remix’s GraphQL APIs in your app.

You need to ensure that you have:
- A Remix app built with Shopify CLI
- Admin API access initialized in your application
- You have an authenticated session with your Shopify Admin
- Your app has the necessary customer permissions set up
You also need to add scopes in the Shopify toml file.
scopes = "read_customers,write_customers"Once your scopes have been established, you must deploy to your site
shopify app deployor
shopify app devSteps to Update Customer Using Shopify Remix App
Step 1: Authenticate the Admin Session
The first step when composing a Remix action is to authenticate your admin session
import { authenticate } from "../shopify.server";
export const action = async ({ request }) => {
 const { admin } = await authenticate.admin(request);
};
The admin object is your gateway to Shopify’s API; you’ll use it to make your GraphQL requests.
Step 2: The Customer Update Mutation
Here’s the GraphQL mutation we’ll be working with:
mutation customerUpdate($input: CustomerInput!) {
  customerUpdate(input: $input) {
    customer {
      id
      firstName
      lastName
      email
      phone
    }
    userErrors {
      field
      message
    }
  }
}
Notice we’re asking for userErrors; this is crucial because it’ll tell us if something went wrong. Always check for these!
Step 3: Building the Remix Action
Now let’s put it all together. Here’s a complete action that updates a customer’s first name, last name, email, and phone number:
import { authenticate } from "../shopify.server";
export const action = async ({ request }) => {
  const { admin } = await authenticate.admin(request);
  const formData = await request.formData();
  const customerId = formData.get("customerId");
  const firstName = formData.get("firstName");
  const lastName = formData.get("lastName");
  const email = formData.get("email");
  const phone = formData.get("phone");
  const mutation = `
    mutation customerUpdate($input: CustomerInput!) {
      customerUpdate(input: $input) {
        customer {
          id
          firstName
          lastName
          email
          phone
        }
        userErrors {
          field
          message
        }
      }
    }
  `;
  const response = await admin.graphql(mutation, {
    variables: {
      input: {
        id: customerId,
        firstName,
        lastName,
        email,
        phone
      }
    }
  });
  const result = await response.json();
  const errors = result.data.customerUpdate.userErrors;
  if (errors.length > 0) {
    return Response.json({
      success: false,
      errors
    });
  }
  return Response.json({
    success: true,
    customer: result.data.customerUpdate.customer
  });
};
Step 4: Submitting Data from Your React Component
In your React component, you can use Remix’s useFetcher() hook to send the update request:
import { useFetcher } from "@remix-run/react";
export default function UpdateCustomer() {
  const fetcher = useFetcher();
  const handleUpdate = () => {
    fetcher.submit(
      {
        customerId: "gid://shopify/Customer/1234567890123",
        firstName: "John",
        lastName: "Doe",
        email: "john@example.com",
        phone: "+919876543210"
      },
      {
        method: "POST"
      }
    );
  };
  return (
    <button onClick={handleUpdate}>
      Update Customer
    </button>
  );
}
Best Practices
After building a few Shopify apps, here are some tips that’ll save you headaches:
- Keep your GIDs (Global Identifiers) in your database and do NOT convert them back and forth
- Always check for userErrors; these let you know specifically what went wrong.
- Only update fields that you have updated; this will reduce unnecessary API Calls
- Use GraphQL instead of REST; however, learning this may take longer initially.
- Log your API responses so if something goes wrong, it will make debugging much easier.
- Always validate user input before submitting requests to the API.
The Complete Workflow
Here’s the complete flow of how a customer’s information is updated:
- Merchant triggers an action in your app
- Your Remix component sends the data
- Your Remix action authenticates the session
- You execute the customerUpdate mutation
- Shopify’s Admin API processes the request
- You handle any errors and return the updated customer to your UI
Conclusion
To summarize, updating Customer Data through Shopify Remix is an easy and streamlined process when you follow the above steps:
Using GraphQL might feel a bit different if you’re coming from REST, but it’s worth the effort. Your app will be more performant, scalable, and aligned with where Shopify’s heading with their platform.

If you have any problems or questions regarding implementation, let me know!
FAQ
1. Why would I need to update customer information in Shopify?
To keep accurate records, improve customer communication, create personalized marketing campaigns, and improve the shopping experience for customers.
2. Can I update customer details programmatically in Shopify?
Yes, Shopify allows developers to update customer information programmatically using the Admin API through GraphQL mutations or REST API endpoints.
3. What customer information can be updated?
You can update customer details such as customer name, customer email address, customer phone number, customer tags, customer notes, customer addresses, and customer marketing preferences using the appropriate API fields that are made available.