Hello Shopify Friends,
In today’s tutorial blog, I will explain How to Sort Product List in Shopify.
Sorting products makes it easier for you to locate specific items in your inventory. By organizing products based on relevant categories, such as product type, price range, or popularity, you can quickly find and manage products as needed.

Let’s learn How to Sort Products List in shopify.
Steps to Sort Product List on Shopify:
Step 1: Log in to your Shopify Admin account.
Step 2: From the Shopify Admin dashboard, navigate to the Products section by clicking on the Products tab on the left-hand side.
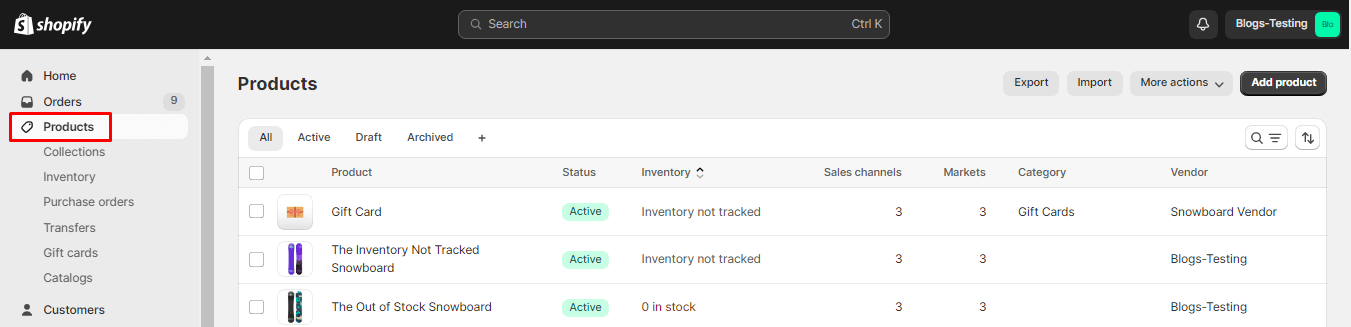
Step 3: You’ll be directed to a list of all your products. To sort the list, locate the Sort button located above the product list and click on it.
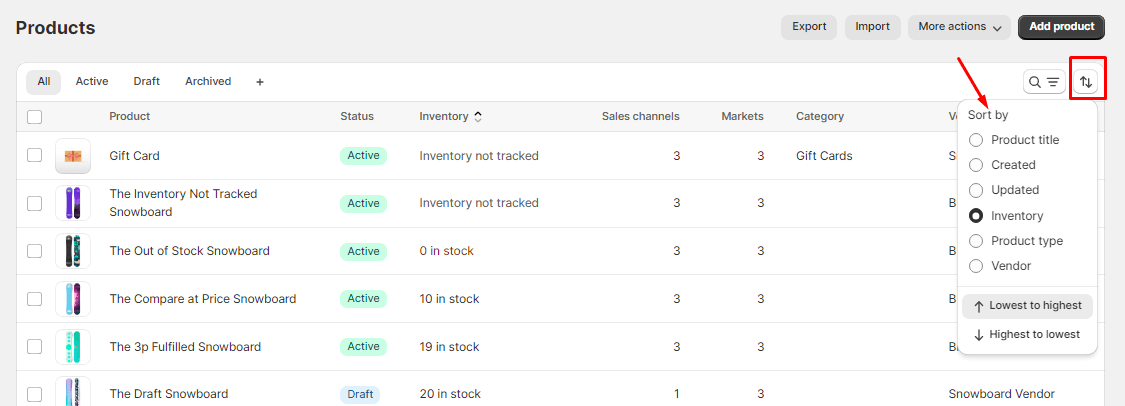
Step 4: Upon clicking the Sort button, a drop-down menu will appear with various sorting options:
- Product title: Sort the product listing based on the product title as A-Z or Z-A.
- Created: Sort the product list based on the date of creation as oldest first or newest first.
- Updated: Sort the product list based on the date of updation as oldest first or newest first.
- Inventory: Sort the product list based on the inventory stock levels as lowest to highest or highest to lowest.
- Product type: Sort the product listing based on the product type as A-Z or Z-A.
- Vendor: Sort the product listing based on the product vendor name as A-Z or Z-A.
Step 5: Select the sorting option that best suits your current organizational needs.
Step 6: Shopify Admin will automatically rearrange the product list based on your chosen sorting option.

Final Say:
By following these straightforward steps, you can efficiently organize and manage your product list within the Shopify Admin interface, making it easy for you to locate and find products easily.
Related Article
Share the tutorial with other Shopify merchants and stay in touch with us for more Shopify tutorials from us.

Happy Reading!