In this tutorial blog, I will illustrate How to Integrate SBI Payment Gateway for Magento 2. You can also check out my previous article where I have guided How to Integrate HDFC Payment Gateway for Magento 2.
Everything is transforming to digital and likewise, online payments are always the first preference for all the users to pay. When the users are shopping from an online store then they prefer to pay via online payments. Therefore all the online store owners must take action and integrate all the payment options which are used by the customers to pay.
Therefore, helping all the Magento store owners I am here with the illustration of SBI Payment Gateway in Magento 2 store. Let your customers pay Securely and Risk-free using credit, debit, or international cards using Magento 2 SBI Payment Gateway Extension. All the transactions are secure and encrypted which helps to ensure security as well as customer data protection. This extension not only helps customers to save time & effort but also helps to build trust among customers.
Steps to Integrate SBI Payment Gateway for Magento 2:
Step 1: Firstly, download the SBI Payment Gateway extension for your store.

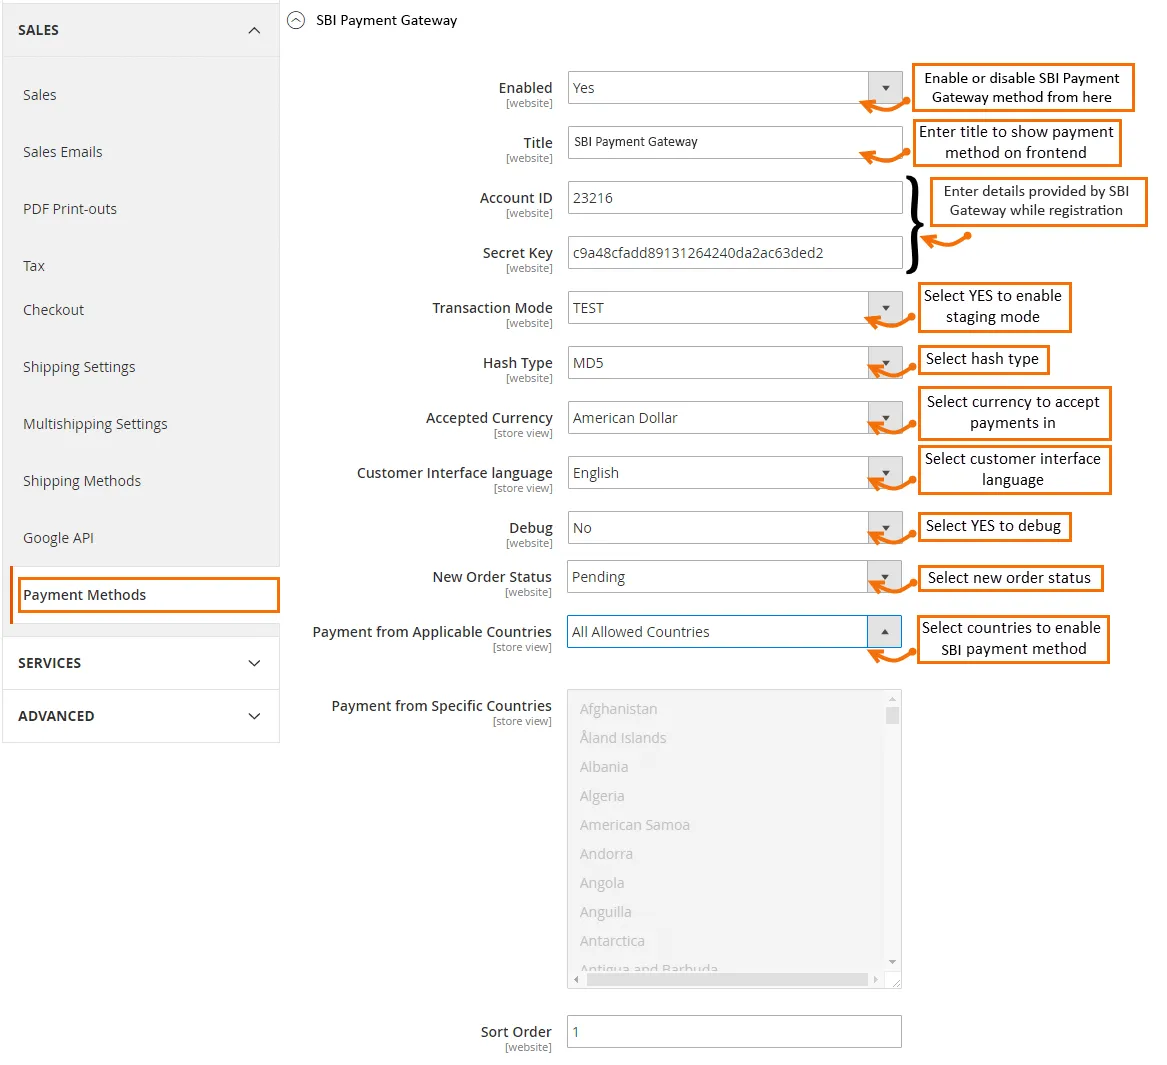
Step 2: Now navigate to Stores > Configuration > Sales > Payment Methods > SBI Payment Gateway for configuring the extension for your Magento 2 store.
Enabled: Enable the SBI payment gateway extension from here. Set to “YES”.
Title: Add your desired title to display for customers on the frontend of your store.
Account ID: Add account ID properly which is given by SBI payment during the registration.
Secret Key: Add the client secret key given by SBI payment during the registration.
Transaction Mode: Choose the transaction mode from here.
Hash Type: Choose the type of hash from here
Accepted Currency: Choose the type of payments you desire to accept from your customers.
Customer Interface Language: Choose the customer interface language from here.
Debug: Select the Yes option to debug.
New Order Status: Select the status for all the new orders that are paid using the SBI Payment method.
Payment from Applicable Countries: Choose your desired countries to permit payment.
Sort Order: Add the sort order as per your desire to display on the frontend of your store.
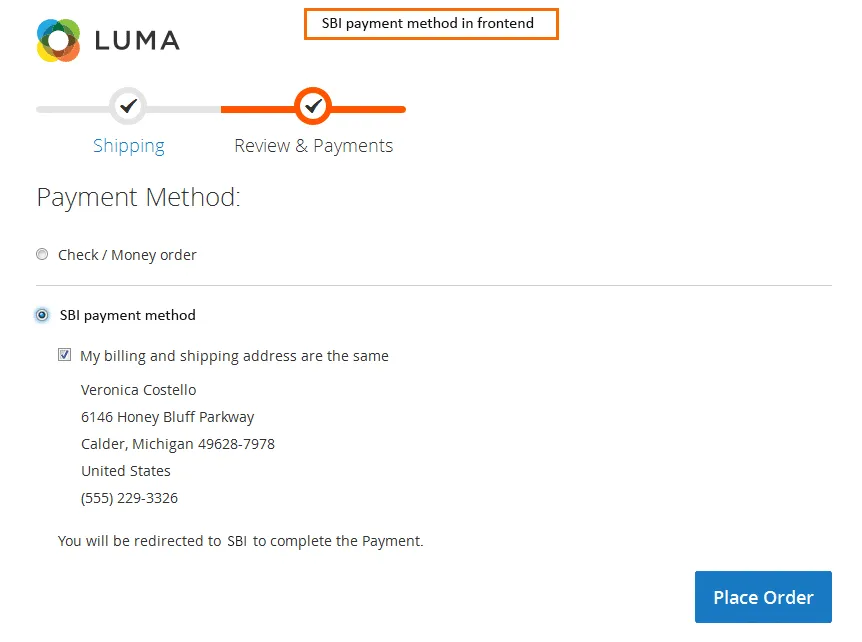
Step 3: Now refresh the frontend and check the frontend display of Magento 2 SBI Payment Gateway.
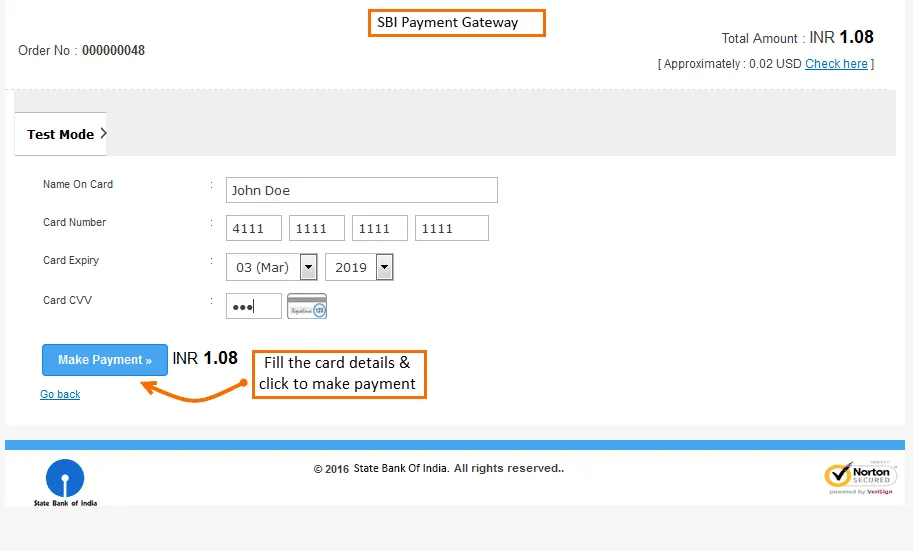
After processing the place order procedure you will be redirected to the SBI Payment gateway in which you will have to add the payment details asked and click on the Make Payment Button.
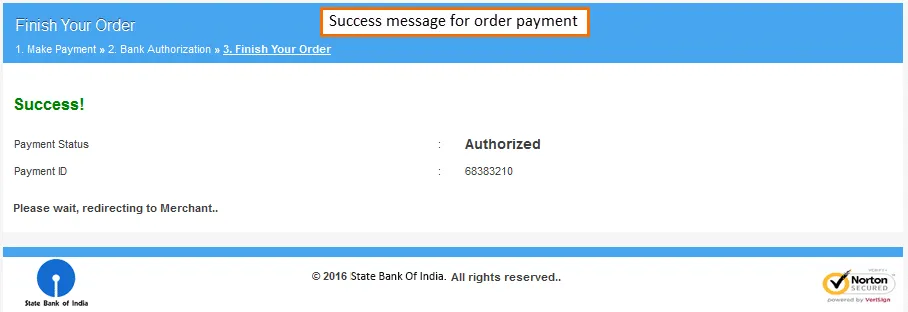
After the process, you will get a confirmation message of Payment Success.
That’s It.
Wrap Up:
Hopefully, all are able to integrate the SBI Payment Gateway for Magento 2 successfully using the above illustration. You can also utilize our Payment Gateway Integration Service for integrating the payment gateway by our certified developers which helps your customers to pay effortlessly.
Don’t forget to share the article via social media platforms.
Happy Reading!