
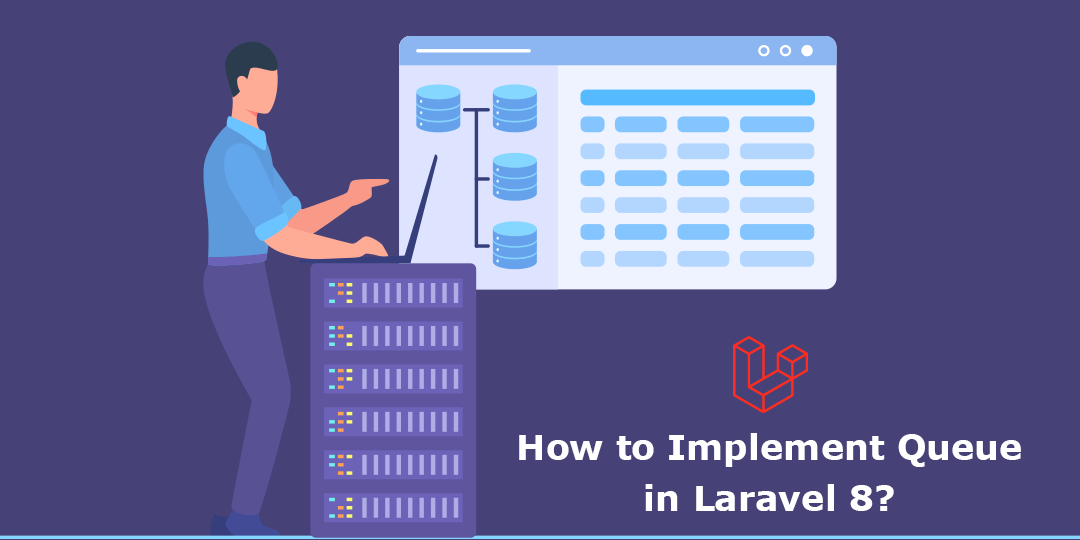
Hello Laravel Friends,
In this blog, I will throw light on Why you need Laravel Queue and How to Implement Laravel Queue step by step with an example.
Before we start the implementation of the Laravel queue, first understand why we need a queue in our web application.

Why do you need Laravel Queue?
When we build a web application, some tasks take too much time such as emailing new users, reading CSV files, and many more. But Laravel provides a queued job. Queue job is running such all processed in the background. By moving time-intensive tasks to a queue, your application can respond to web requests with blazing speed and provide a better user experience to your customers.
Steps to Implement Queue in Laravel 8:
Let’s start with the Laravel queue. Your config/queue.php file provides you to configure your backend queues services such as Beanstalk, Amazon SQS, or Redis.
Step 1: Setup Queue Configuration
Let’s understand a queue with a database connection. A database table is required to hold the jobs with the database queue driver. To generate a migration that creates this table, run the below Artisan command.
$php artisan queue:table
After the migration is created, migrate your database using the following command:
$php artisan migrate
And also, update the QUEUE_CONNECTION variable async to the database in the .env file. This will instruct your application to use a database driver for the queue.

Step 2: Creating Jobs
By default, all queued jobs are stored in the app/Jobs directory. To create new Jobs, run the following artisan command into your terminal.
$php artisan make:job NewUserWelcomeMail
This command create App/Jobs/NewUserWelcomeMail class which extends the Illuminate\Contracts\Queue\ShouldQueue interface. Indicating to Laravel that the job should be pushed onto the queue to run asynchronously.
See the Class structure of NewUserWelcomeMail
<?php

namespace App\Jobs;

use Illuminate\Bus\Queueable;
use Illuminate\Contracts\Queue\ShouldBeUnique;
use Illuminate\Contracts\Queue\ShouldQueue;
use Illuminate\Foundation\Bus\Dispatchable;
use Illuminate\Queue\InteractsWithQueue;
use Illuminate\Queue\SerializesModels;
use Illuminate\Support\Facades\Mail;
use App\Mail\WelcomeMail;

class NewUserWelcomeMail implements ShouldQueue
{
    use Dispatchable, InteractsWithQueue, Queueable, SerializesModels;

    protected $user;

    /**
     * Create a new job instance.
     *
     * @return void
     */
    public function __construct($user)
    {
        $this->user = $user;
    }

    /**
     * Execute the job.
     *
     * @return void
     */
    public function handle()
    {
        Mail::to($this->user->email)->send(new WelcomeMail($this->user));
        return 1;
    }
}
Step 3: Dispatch Queue Jobs
Here we create a user controller for creating users. It will look like the one below.
<?php

namespace App\Http\Controllers;

use App\Jobs\NewUserWelcomeMail;
use App\Models\User;
use Illuminate\Http\Request;

class UserController extends Controller
{
    public function create(Request $request)
    {
        // validate your request

        // create a user
        $user = User::create([
            "name"=> $request->name,
            "email" => $request->email
            // other fields
        ]);

        // dispatch your queue job
        dispatch(new NewUserWelcomeMail($user));

        // return your response
    }
}
Step 4: Running Queue Jobs
Laravel includes an Artisan command that will start a queue worker and process new jobs as they are pushed onto the queue. You may run the worker using the below Artisan command.
$php artisan queue:work
Alternatively, you may run the queue:listen command. When using the queue:listen command, you don’t have to manually restart the worker when you want to reload your updated code or reset the application state.
$php artisan queue:listen
That’s it. Now your welcome mail will be delivered after the response was delivered to the browser. The mail process work in the background.
Conclusion:
With the help of the above steps, you can successfully implement Queue Jobs in Laravel. If you have any doubts, let me know through the comment box and share the tutorial with your other Laravel friends. Stay in touch with us for more Laravel tutorials.

Happy Coding!

nice explanantion