Hello Magento buddies,
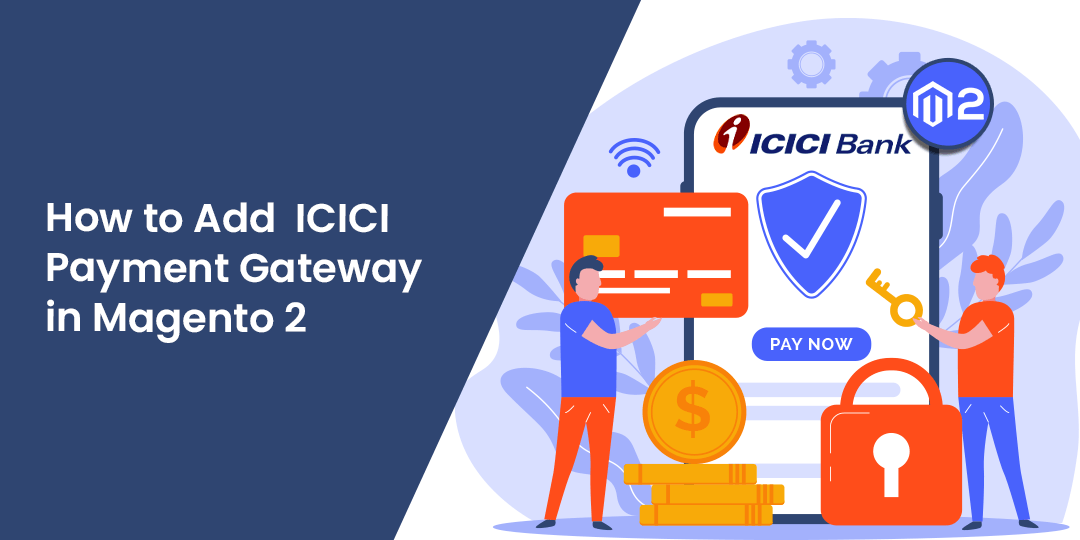
In this tutorial blog, I will navigate How to Add ICICI Payment Gateway in Magento 2. You can check out my earlier article on How to Integrate SBI Payment Gateway for Magento 2.
Nowadays especially after this COVID-19 pandemic, everything is transferred online. The customer’s first preference is online payment for any product. Especially when they purchase any product from an online store then their first choice is to pay online. Even some customers pay online in offline stores also. In the next few years, online payments are necessary for all online stores.
Because of that, I will guide all Magento 2 store owners How to Add ICICI Payment Gateway in Magento 2. So, your customers pay without any risk and very safely through credit cards, debit cards, or any multinational cards by using Magento 2 ICICI Payment Gateway Extension. All the transactions are done under encrypted data and provide comfort and security for online transactions. That builds customer’s trust.
Benefits ICICI Payment Gateway Extension for Magento 2
- It is hosted payment page to ensure customer’s privacy and security.
- You can On or Off the extension for particular countries. if required.
- The transaction was done in one very secure channel.
- You can set the dynamic payment method title to show in the front view.
- It provides a built-in Sandbox testing mode for test extension functionality.
Steps to Add ICICI Payment Gateway in Magento 2
Download Magento 2 ICICI Payment Gateway Extension. For your Magento 2 store. After download now installs the extension. Installation is done successfully, go to Stores -> Configuration -> Sales -> Payment Methods -> ICICI Payment
To configure the extension for use. At this, you find different settings for the ICICI Payment method to set up the extension for use.
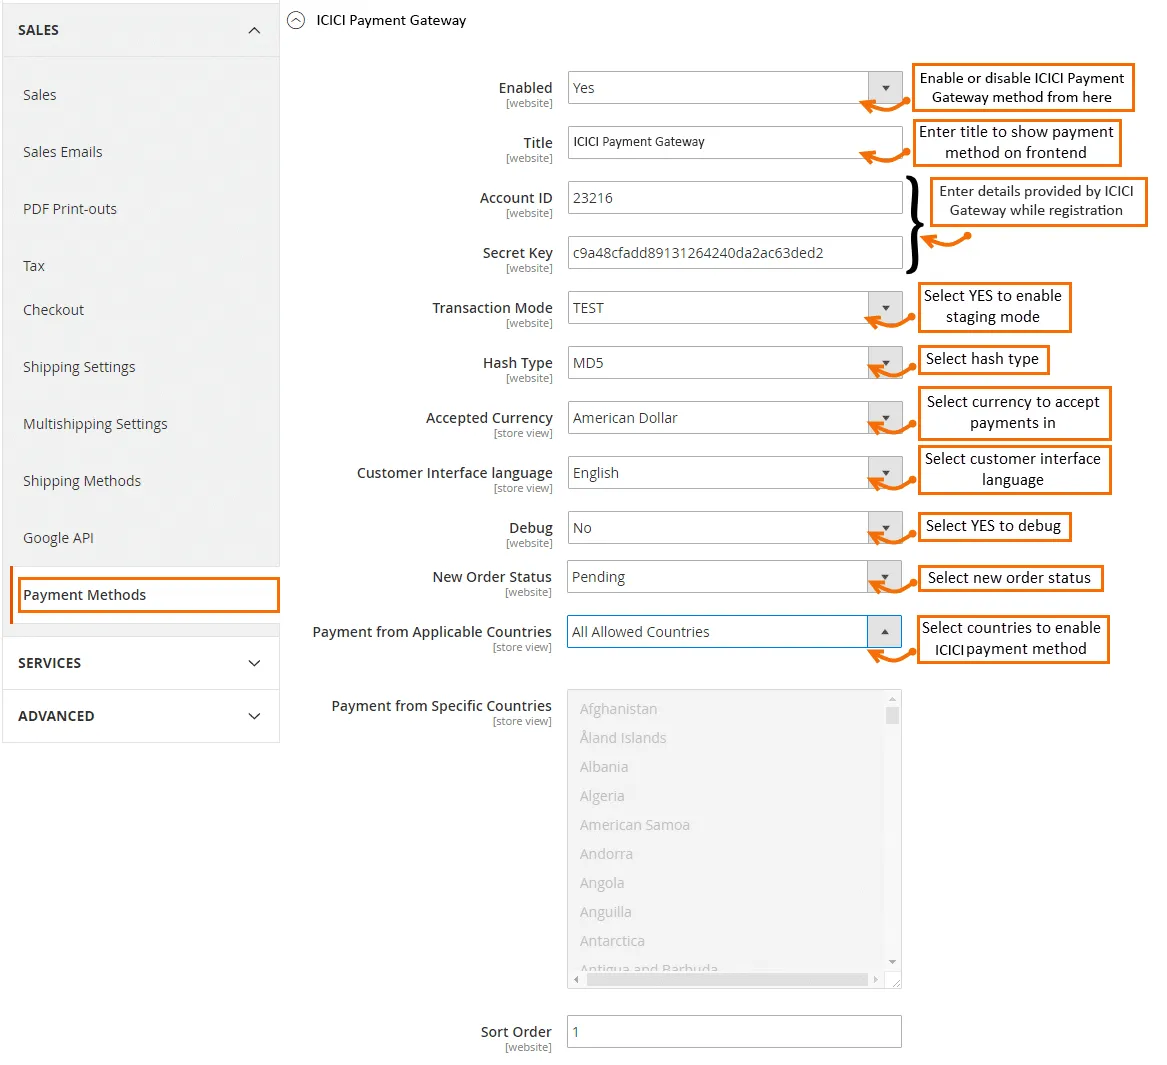
- Enable: You can enable the Payment gateway from here.
- Title: Set your payment method title which shows on the frontend.
- Account ID: Enter the ID that provides when you have done registration with ICICI Payment.
- Secret key: Enter client’s private key that is provided when you do registration with ICICI Payment.
- Translation Mode: Select a different transaction mode.
- Hash type: select type of hash.
- Accept currency: Select currency type.
- Customer interface language: Choose consumer preference language.
- Debug: Set it yes for debug.
- New order status: Set the status to NEW for orders paid with ICICI payment.
- Payment from applicable countries: Choose countries to permit payments.
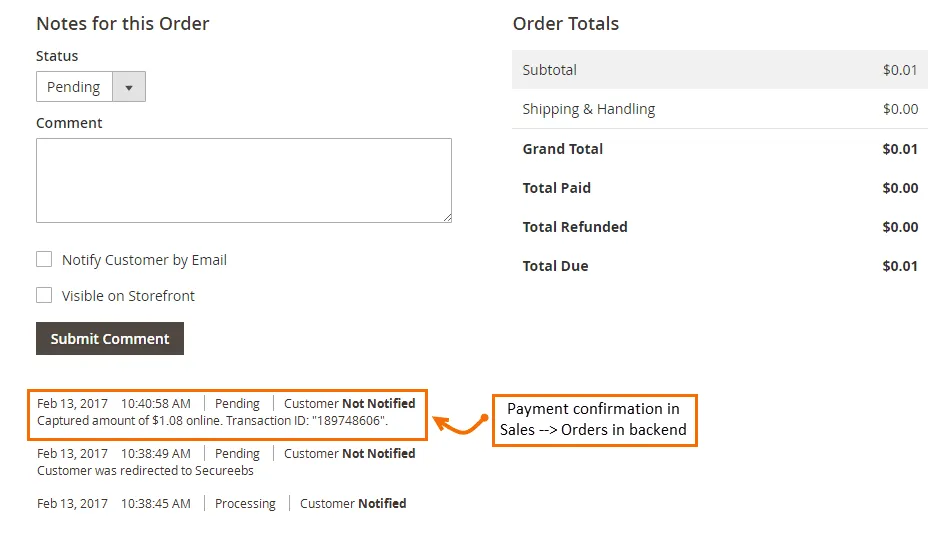
Backend overview
Once the customer paid successfully, you can see payment details in Sales -> Orders under a specific order in the backend.
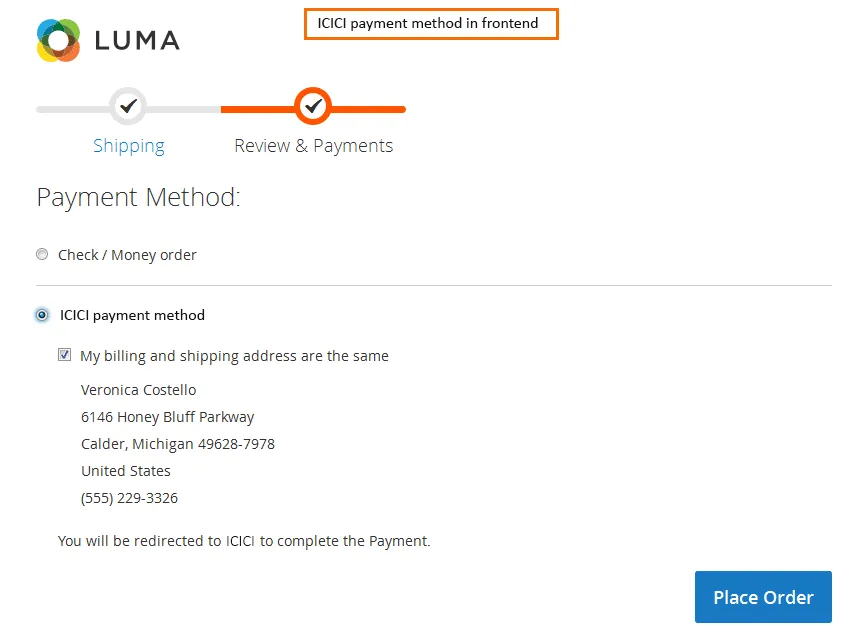
Frontend overview
- After effectively configured ICICI Payment, you can see the following screen
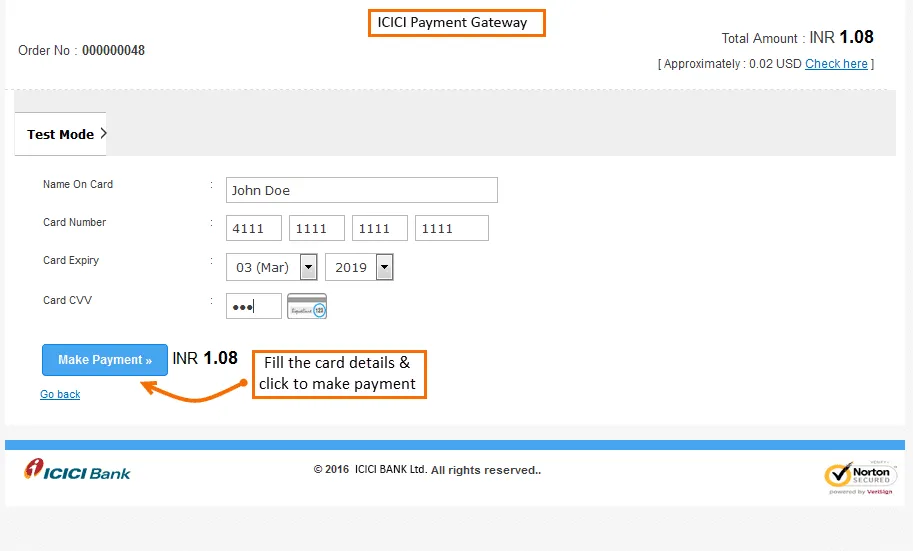
- After your order is successfully placed, you will redirect to the ICICI payment gateway where you have to enter payment details.
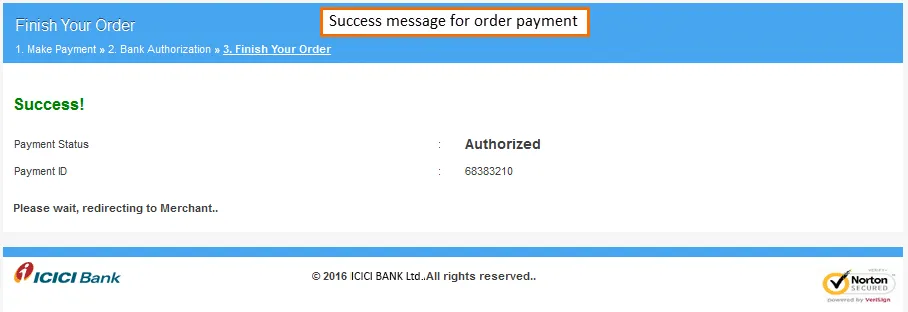
- Once you paid successfully paid, bellow message will display
Final words
I hope, you all get an idea about How to Add ICICI Payment Gateway in Magento 2 store from the above guidance. You can also check out our Payment Gateway Integration Service to merge payment gateway by our expert and certified developers.
Share this article with your Magento friends and on social networks also
Happy reading!