
If you work with React Native, you probably know that giving an AI coding assistant the same instructions again and again can get frustrating. You might want it to follow your existing project structure, use the right libraries, or avoid making unnecessary changes to your code.
This is where Agent Skills in Google Antigravity can help.
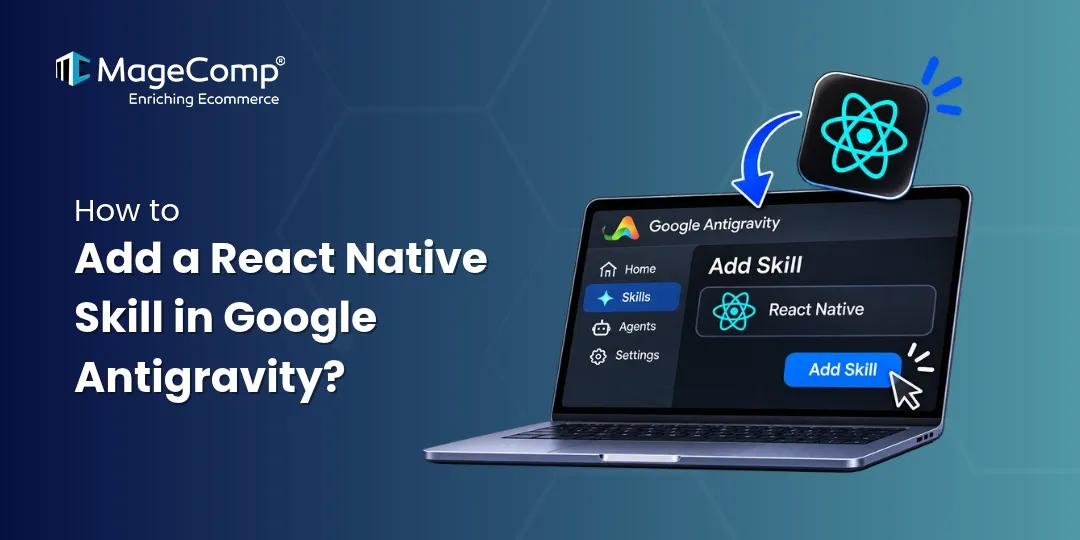
A skill lets you save instructions that an AI agent can reuse whenever they’re relevant. Instead of explaining your coding preferences every time, you can create a React Native skill that guides Antigravity while it works on your project.
In this guide, we’ll walk through creating a React Native skill, adding it to Antigravity, and testing whether it works as expected. The examples focus on React Native CLI, TypeScript, NativeWind, and React Navigation.

What Is an Agent Skill in Antigravity?
Think of an Agent Skill as a set of instructions for your AI coding assistant. It tells the agent how you prefer to work and what it should consider before making changes.
For example, a React Native skill can guide Antigravity to:
- Use React Native CLI instead of Expo when working on a CLI project.
- Write components in TypeScript.
- Follow React Hooks best practices.
- Use NativeWind if it’s already configured.
- Follow the existing navigation and state management setup.
- Investigate errors before changing code.
- Avoid unnecessary dependencies and unrelated modifications.
The biggest benefit is consistency. You define your development rules once, and the agent can refer to them whenever they’re relevant to a task.
Steps to Add a React Native Skill in Google Antigravity
Step 1: Create a React Native Skill Folder
First, open your React Native project in Google Antigravity.
At the root of your project, create the following folders and file:
your-react-native-project/
├── .agents/
│ └── skills/
│ └── react-native/
│ └── SKILL.md
├── android/
├── ios/
├── src/
├── package.json
└── …
The .agents/skills/ directory keeps the skill inside your project. This is useful when you want the same instructions to be available to teammates working on the same codebase.
A project-level skill also means you can maintain different instructions for different applications without applying every rule to all your projects.
Step 2: Add Instructions to SKILL.md
Open SKILL.md and add the instructions you want Antigravity to follow.
For a React Native CLI project, you can start with the following example:
- name: react-native
- description: Provides guidance for React Native CLI development,
- TypeScript, NativeWind, navigation, API integration, performance, and Android or iOS debugging.
React Native Development Skill
Core Rules
- Use React Native CLI, not Expo, unless the project uses Expo.
- Use TypeScript for new components when appropriate.
- Inspect the project structure and package.json before coding.
- Follow the existing architecture and naming conventions.
- Prefer reusable and maintainable components.
- Avoid unnecessary dependencies and unrelated refactoring.
Component Development
- Use functional components and React Hooks.
- Define appropriate TypeScript types and interfaces.
- Keep components focused on a single responsibility.
- Use FlatList or SectionList for large datasets.
- Handle loading, empty, error, and success states.
Styling
- Follow the existing styling approach.
- Use NativeWind if it is already configured.
- Support different screen sizes and safe areas.
- Maintain consistent spacing and typography.
Navigation and State
- Follow the installed React Navigation version.
- Use the existing state management solution.
- Avoid duplicating state unnecessarily.
- Type navigation parameters appropriately.
API Integration
- Reuse existing API clients and service layers.
- Handle network errors and loading states.
- Keep API logic separate from UI components where practical.
- Never expose API secrets or hardcode credentials.
- Validate API responses before using them.
Debugging and Builds
- Inspect relevant source files and logs before fixing an issue.
- Identify the root cause before changing code.
- Check Android and iOS differences when relevant.
- Preserve native configuration unless a change is necessary.
- Do not delete lockfiles or reinstall dependencies without a clear reason.
- Run relevant tests, lint checks, or builds when available.
- Report the files changed and any remaining issues.
Workflow
- Understand the requirement.
- Inspect the relevant code and project conventions.
- Explain the approach for complex changes.
- Implement the smallest appropriate fix.
- Verify the result and report what changed.
You can adjust these instructions based on how your team works. For example, if your application uses Redux, Axios, Firebase, or Shopify GraphQL, you can add rules for those technologies too.
Step 3: Add the Skill to Antigravity
There are two approaches, depending on whether you want to use the skill in one project or across multiple projects.
Option 1: Project-level skill
For a skill dedicated to a particular application, save the file at:
your-project/.agents/skills/react-native/SKILL.md
This is generally the better choice when the skill contains project-specific rules.
Option 2: Global skill
If you want to reuse similar instructions across projects, you can configure a global skill using the appropriate skill directory supported by your Antigravity installation.
For the desktop app on macOS, the location referenced in this guide is:
~/.gemini/config/skills/react-native/SKILL.md
Create the required directories if they don’t already exist. Since global skill locations can vary between the IDE and CLI, check the current Antigravity documentation if the skill isn’t detected.
Step 4: Check Whether Antigravity Recognizes the Skill
Once you’ve saved SKILL.md, return to Antigravity.
Open the agent panel and check the available skills in Customizations. If the skill doesn’t appear, verify the directory structure, filename, and YAML frontmatter.
You can also reopen the workspace if necessary.
Depending on the Antigravity version and interface, a relevant skill may be selected automatically or invoked manually using a command such as /react-native.
Don’t assume the skill is working just because the file exists. It’s worth testing it with a real development task.
Step 5: Test Your React Native Skill
Try a few prompts that match the kind of work you normally do.
Create a reusable component
Use the react-native skill to create a reusable TypeScript Button component. Follow my existing project conventions and styling approach.
Investigate a keyboard issue
Use the react-native skill to investigate why the keyboard overlaps my input fields. Inspect the current implementation before suggesting or making changes.
Improve FlatList performance
Use the react-native skill to review my FlatList implementation. Identify the actual performance issues and make only the changes that are necessary.
Fix an Android build error
Use the react-native skill to investigate this Android build error. Find the root cause before changing Gradle, Kotlin, or other native configuration.
After running these prompts, review the agent’s approach. Does it inspect your existing code? Does it use the libraries already installed in your project? Does it avoid changing unrelated files?
These checks will help you decide whether your skill needs more specific instructions.
Step 6: Customize the Skill for Your Project
The example above is a starting point, not a fixed set of rules. As your application grows, you may want to add more detailed guidance.
For example:
| Technology | Instructions to consider |
| NativeWind | Utility classes, responsive styling, and theme configuration |
| Redux Toolkit | Slices, selectors, async thunks, and typed hooks |
| React Navigation | Typed routes, nested navigators, and deep linking |
| Axios | Shared API clients, interceptors, and error handling |
| Firebase | Authentication, push notifications, and Crashlytics |
| Shopify GraphQL | Queries, mutations, pagination, and response types |
| Dynamic typography | Font loading, caching, and Android/iOS compatibility |
One practical tip: don’t put every possible instruction into a single huge skill. Keep your main React Native skill focused on general development practices. If you frequently work on Shopify integrations or native build issues, separate skills can make those workflows easier to maintain.
Common Problems and How to Fix Them
The skill isn’t showing up.
Check that the folder is in a supported location and that the file is named exactly SKILL.md. Also verify the frontmatter formatting.
The agent keeps using Expo commands.
Make it clear that the project uses React Native CLI. Ask the agent to inspect package.json before choosing commands or libraries.
The agent changes files that aren’t related to the issue.
Add a rule requiring the agent to identify the relevant files first and keep changes limited to the task.
The agent uses an incorrect library API.
Tell it to check the installed package version and existing usage before writing code. This is particularly helpful when a project uses older versions of React Native libraries.
The agent changes native configuration unnecessarily.
Add stricter debugging instructions. The agent should inspect the error, identify the root cause, and explain why a native configuration change is needed before applying it.
Conclusion
Adding a React Native skill to Google Antigravity is a simple way to make your AI-assisted development workflow more consistent.
Instead of repeating your coding standards in every prompt, you can keep them in a reusable SKILL.md file. Start with the basics, test the skill against real tasks, and improve its instructions as you discover what works best for your project.
If you’re working on multiple React Native applications, you can also create specialized skills for navigation, API integration, Shopify, Firebase, or native build troubleshooting.
The goal isn’t to give the AI more instructions than it needs. It’s to give it the right instructions so it can work with your existing codebase more effectively.

Official Resources
- Google Antigravity — Agent Skills Documentation
- Google Codelab — Getting Started with Antigravity Skills
Frequently Asked Questions
1. What is a React Native skill in Google Antigravity?
A React Native skill is a reusable set of instructions that guides the Antigravity AI agent when working on React Native projects. It helps maintain coding standards, project structure, and development practices.
2. Where should I create a React Native skill in Antigravity?
For a project-specific skill, create the react-native folder inside .agents/skills/ at your project’s root directory and add the SKILL.md file.
3. Can I use a React Native skill with both Android and iOS development?
Yes. You can include Android and iOS debugging, platform-specific differences, native configuration, and build instructions in your React Native skill.