Hey Magento people,
I hope you all are doing well. How’s that Christmas vibes going on? I am back again to share a tutorial on how to install Magento 2 with sample data. After reading this tutorial, you will ready “be” to launch your Magento 2 online store at ease. So, let’s get onto Magento installation in localhost XAMPP using Composer.
If you are just starting up to install Magento 2 and want to install the default Magento 2 setup in your local environment, then here I am. Today, I am going to guide you step by step to install Magento 2.
I am here to explain how to install Magento in localhost XAMPP using Composer. Hoping you have XAMPP installed in your windows system. If not, please download and make sure it should have a compatible PHP version with Magento. E.g., Magento 2.3.3 supports up to PHP 7.3, and if you try to use PHP 7.4, then Magento software won’t work for you.
Why is composer very important to install Magento 2?
Let me help you to understand why is composer very important to install Magento 2. Composer is a potential requirement for managing the Magento system, extensions and for declaring libraries for projects.
It can be downloaded from their official website https://www.apachefriends.org/download.html.
If you are setting up Magento admin on your hosting, apache, PHP, and MySQL should be already installed unless its dedicated/VPS/Cloud-managed servers. If you are using these, then you can ask your server admin to get it installed for you.
Install Magento 2 via Composer.
Let’s get started with the Magento 2 installation steps now.
- Download Magento Community edition from official website
https://magento.com/tech-resources/download - Upload it in your publichtml directory on your server.
In XAMPP. Place it in htdocs directory. - Extract it. For server, you can unzip with these commands
# File .tar.gz
tar zxf <filename>
# File .zip
unzip <filename>
So Directory public_html/Magento Files
For XAMPP htdocs/Magento2/Magento Files
4. Now go to the browser and run these URLs.
For the local environment: localhost/Magento2
For Server: whatever the domain you have pointed on this server or a temporary URL, you might have got to access the server.
Set up Magento 2 with sample data
- Now, you will see this page initially.
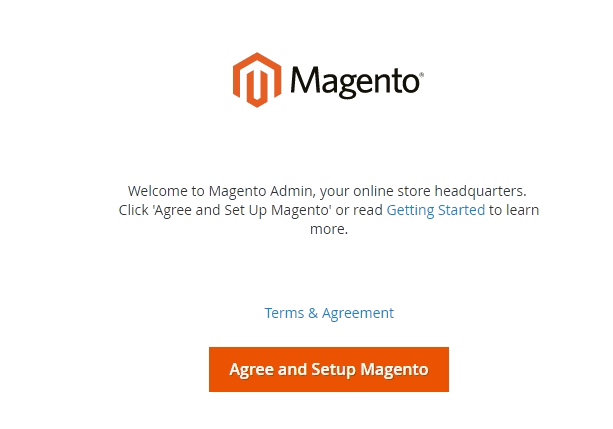
6. Readiness Check: This step verifies your server meets all the prerequisites. If you face any error in any step, comment me I will give you the answer on how to resolve it. If all goes well, then you will see all verified like below screen.
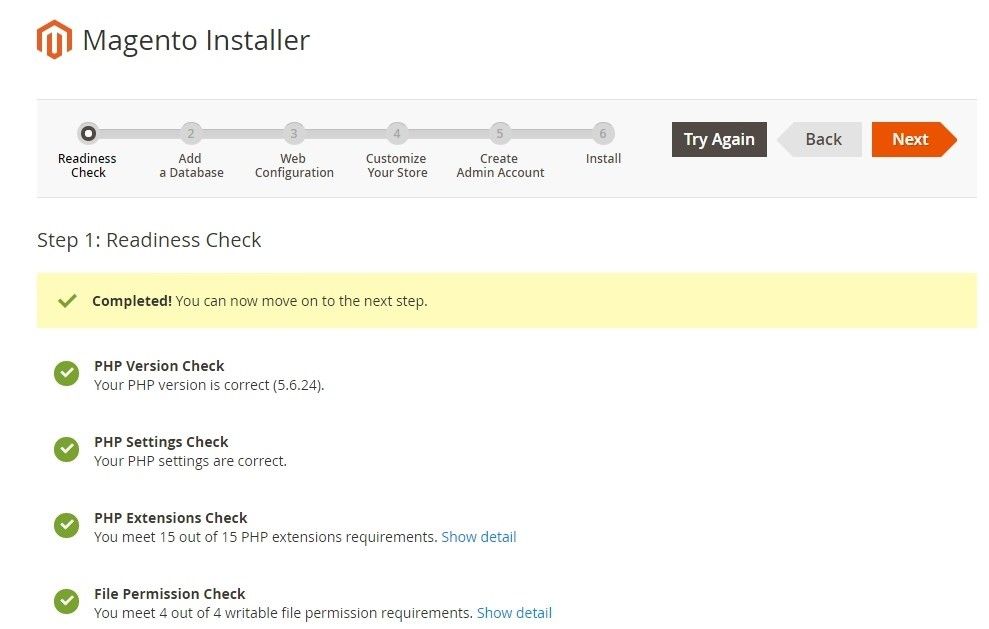
Tip: If you get any issue on the above screen, you can ask your hosting to help you out with it, show them this screen, and they will understand what needs to be done.
For Local:
If PHP settings, you can click on the php.ini file and do the settings.
IF PHP extensions check, you just need to enable that extension from php.ini by removing from the extension line
7. Add Database details
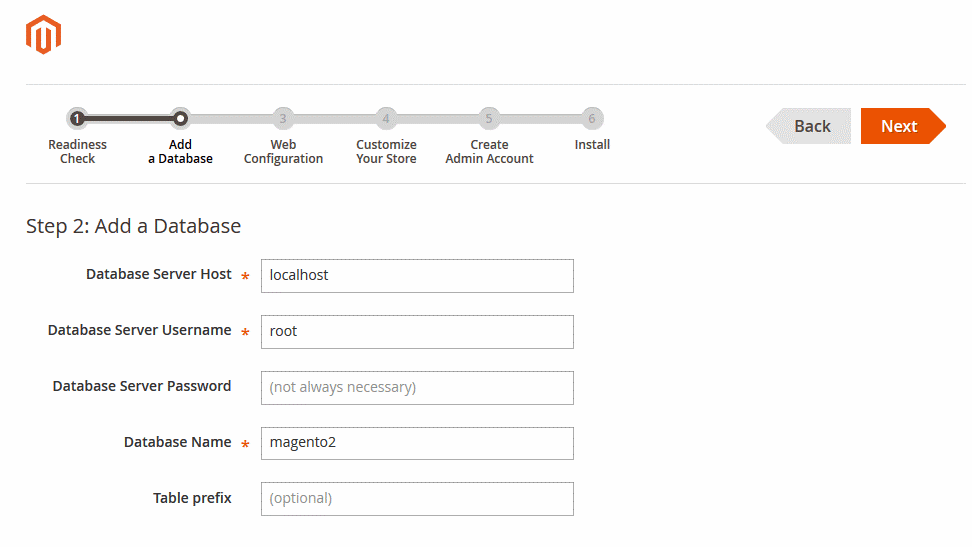
You need to create a database in local. Generally, its user name is root, and the password is blank, so no need for a password.
In hosting, you need to create one database and user and then need to give all database permissions to that user.
8. Web Configuration: You can configure these settings as per your requirements.
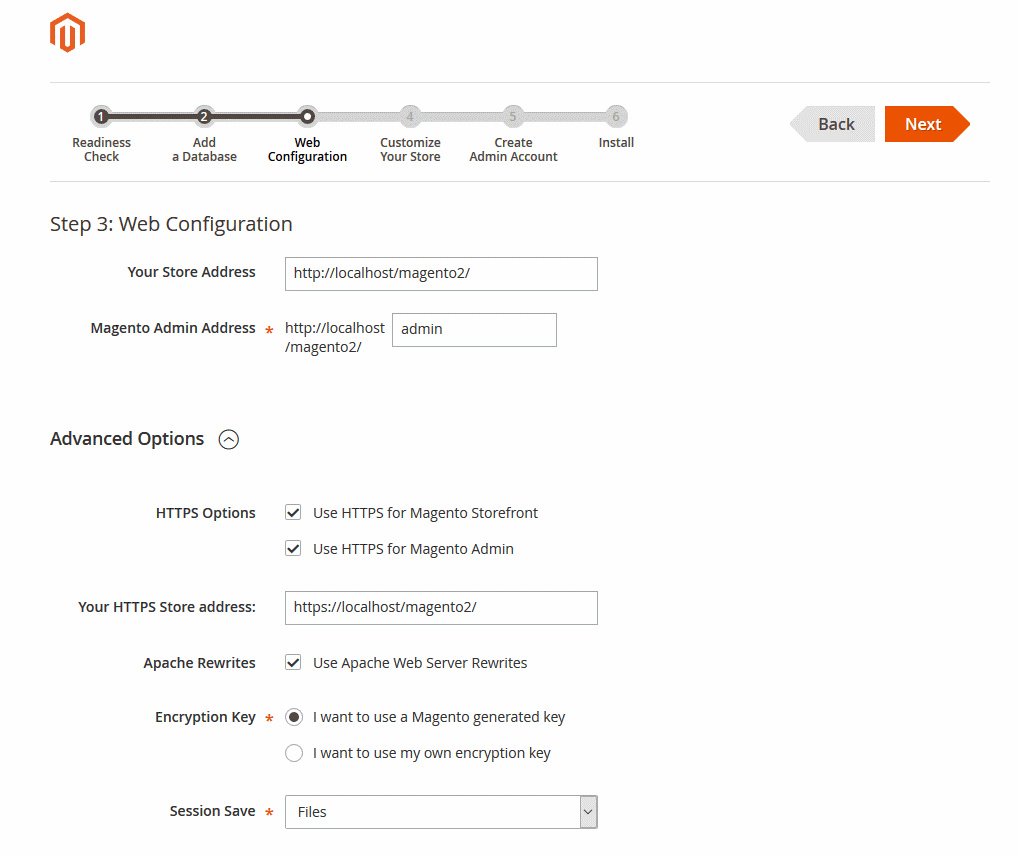
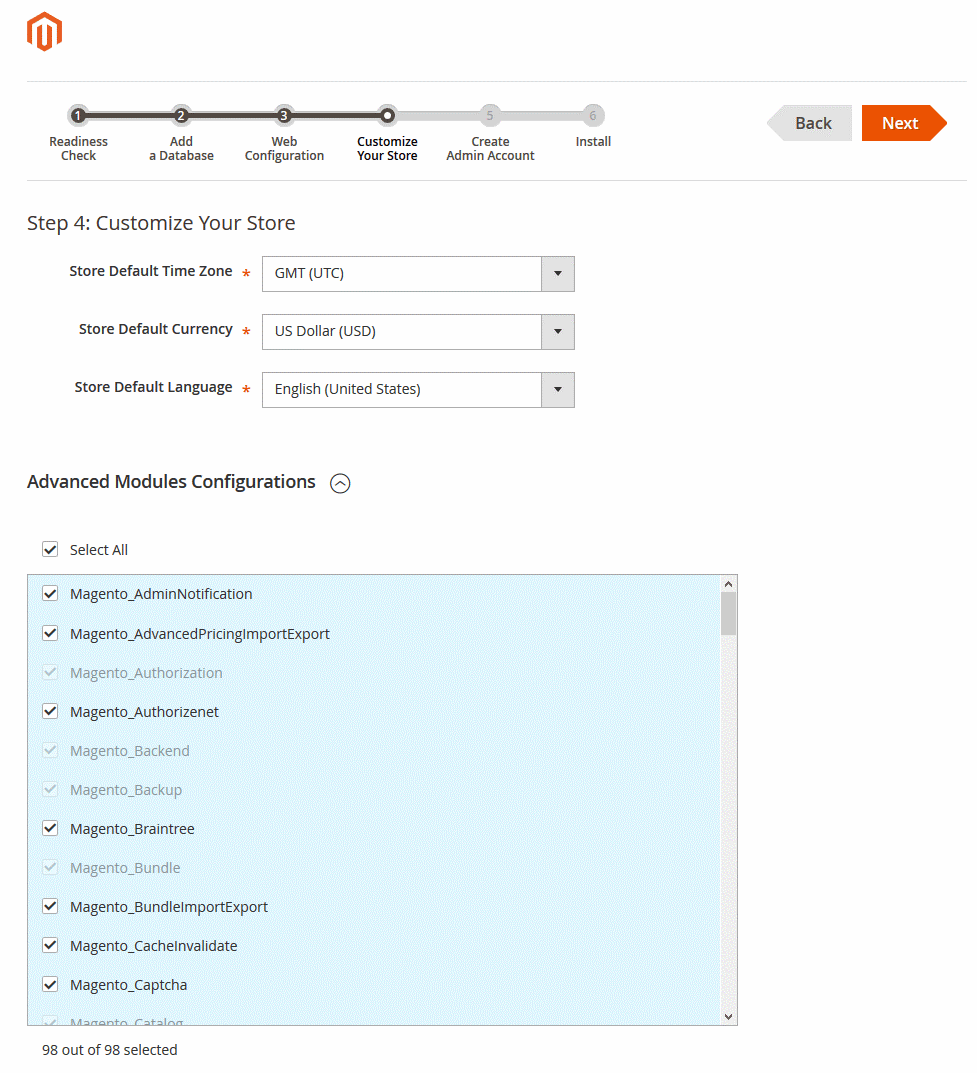
9. Customize your Store: Select Time zone, Currency, and Language here.
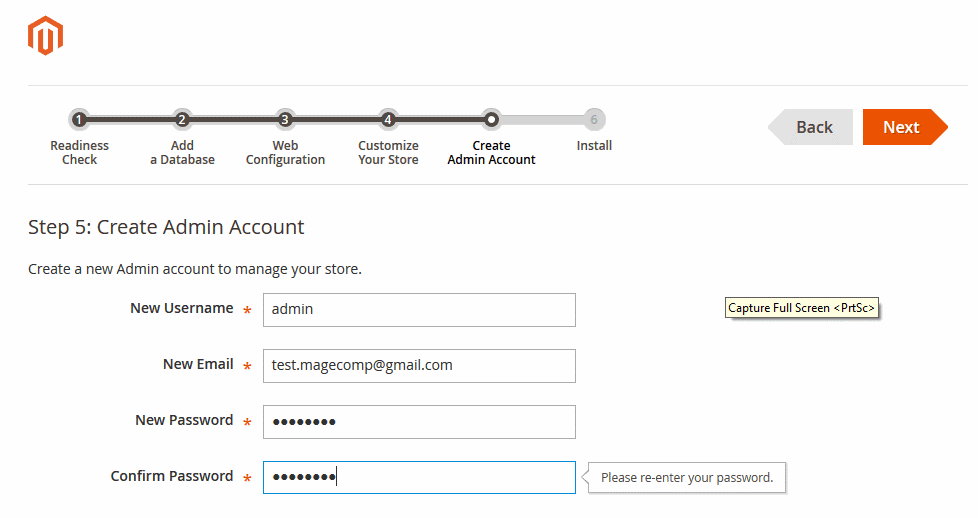
10. Create Admin Account for login into admin after installation.
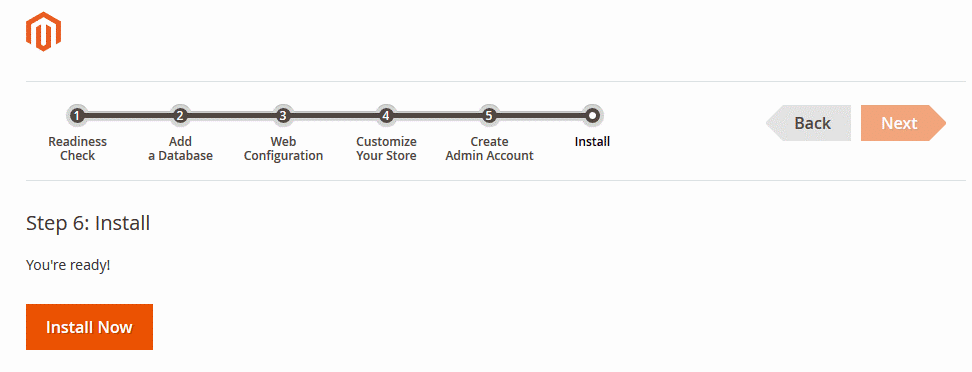
11. You are all set to run the installation of Magento 2. Click the Install Now button.
12. Once installed, you will see the screen.
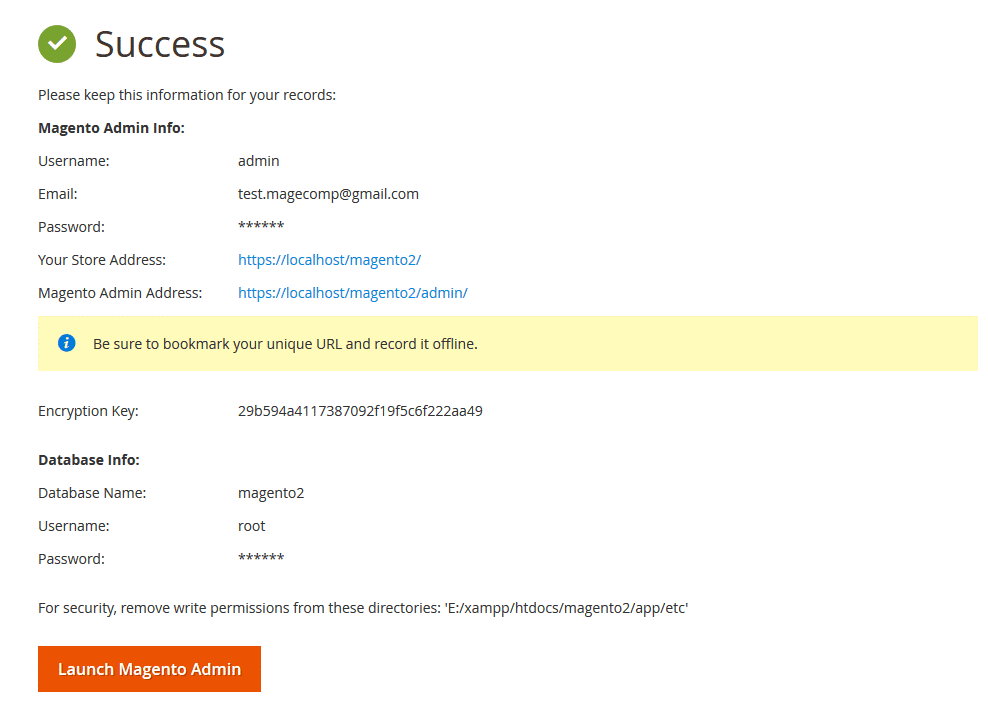
13. Access the admin and store using the given links. You will see the frontend like below.

Final Words:
So, this is it for today. You are now ready to install and launch your Magento 2 store. If you like this tutorial, then ‘give’ it a thumbs-up and do share this with your Magento colleagues and friends.
Do read my other tutorials in the Magento tutorial series, where I am sharing all of my Magento knowledge.
If you need any help with the installation or have any queries, then please let me know in the comments below. We will be happy to help you.
Lastly, if you want me to write a tutorial on the topic you want to learn on Magento, then let me know in the comments.?


