Hello Magento Friends,
In this Magento 2 tutorial, I will explain How to Add Label on all Lines in Street Address in Checkout Page in Magento 2.

The checkout process in an e-commerce store is a critical stage where customers provide essential information for successful order fulfillment. Magento 2 offers a high level of customization to tailor the shopping experience to your brand and user preferences.
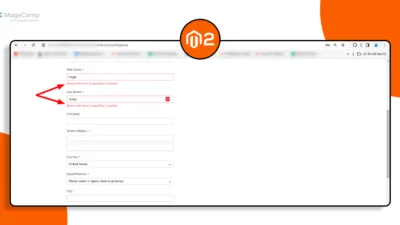
The street address lines on the checkout page has no label in default Magento 2. Check out the image below
By adding labels to the street address lines on the checkout page in Magento 2, you can significantly improve the clarity of customer-provided information. This small yet impactful customization contributes to a more user-friendly and transparent checkout experience, fostering trust and satisfaction among your customers.
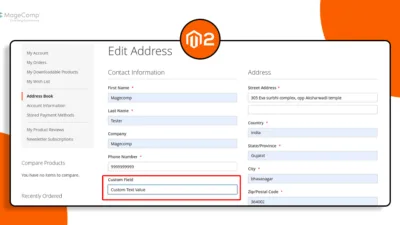
Also learn, How to Update Number of Lines in Street Address in Magento 2
Let’s move to the steps for adding labels on all lines of street addresses on the checkout page in Magento 2.
Steps to Add Label on all Lines in Street Address in Checkout Page in Magento 2:
Step 1: Create a file in the path given below.
{{magento_root}}\app\code\Vendor\Extension\etc\frontend\di.xml
Add the code as follows
<type name="Magento\Checkout\Block\Checkout\LayoutProcessor">
    <plugin name="rewrite-street-address" type="Vendor\Extension\Plugin\Checkout\LayoutProcessorPlugin"
            sortOrder="10"/>
</type>
Step 2: Create a file in the path given below.
{{magento_root}}\app\code\Vendor\Extension\Plugin\Checkout\LayoutProcessorPlugin.php
Then include the below mentioned code
<?php
namespace Vendor\Extension\Plugin\Checkout;
class LayoutProcessorPlugin
{
public function afterProcess(
\Magento\Checkout\Block\Checkout\LayoutProcessor $subject,
array $jsLayout
)
{
$jsLayout['components']['checkout']['children']['steps']['children']['shipping-step']['children']
['shippingAddress']['children']['shipping-address-fieldset']['children']['street'] = [
'component' => 'Magento_Ui/js/form/components/group',
'label' => __('Address Label'),
'required' => false, // set false if removed sreet address label
'dataScope' => 'shippingAddress.street',
'provider' => 'checkoutProvider',
'sortOrder' => 0,
'type' => 'group',
'additionalClasses' => 'street',
'children' => [
[
'label' => __('Label 1'),
'component' => 'Magento_Ui/js/form/element/abstract',
'config' => [
'customScope' => 'shippingAddress',
'template' => 'ui/form/field',
'elementTmpl' => 'ui/form/element/input'
],
'dataScope' => '0',
'provider' => 'checkoutProvider',
'validation' => ['required-entry' => true, "min_text_length" => 1, "max_text_length" => 255],
],
[
'label' => __('Label 2'),
'component' => 'Magento_Ui/js/form/element/abstract',
'config' => [
'customScope' => 'shippingAddress',
'template' => 'ui/form/field',
'elementTmpl' => 'ui/form/element/input'
],
'dataScope' => '1',
'provider' => 'checkoutProvider',
'validation' => ['required-entry' => true, "min_text_length" => 1, "max_text_length" => 255],
],
[
'label' => __('Label 3'),
'component' => 'Magento_Ui/js/form/element/abstract',
'config' => [
'customScope' => 'shippingAddress',
'template' => 'ui/form/field',
'elementTmpl' => 'ui/form/element/input'
],
'dataScope' => '2',
'provider' => 'checkoutProvider',
'validation' => ['required-entry' => true, "min_text_length" => 1, "max_text_length" => 255],
],
]
];
return $jsLayout;
}
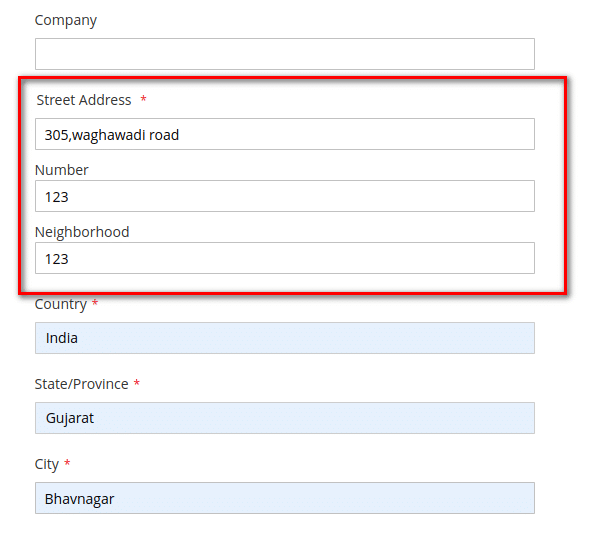
}Output:
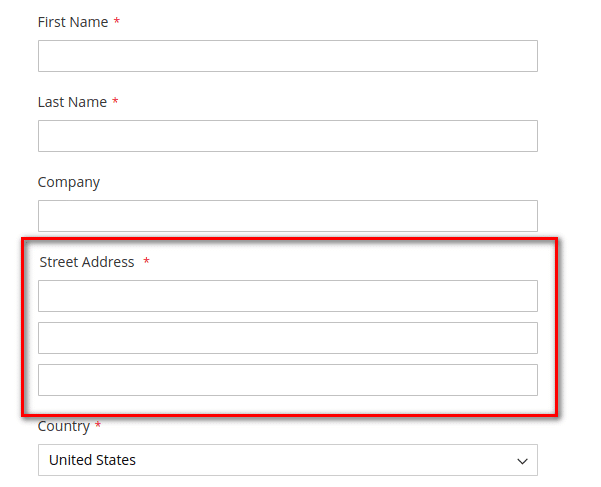
You can see that all the lines of the street address field now contain label.
Conclusion:
Hence, adding labels to all lines in the street address on the checkout page ensures a clear and streamlined checkout process for your customers. If you have any doubts, share them with me through the comment box. Stay tuned for more Magento 2 customization tutorials to optimize your e-commerce store and elevate the overall shopping journey for your users.

Happy Coding!