Hello Magento Friends,
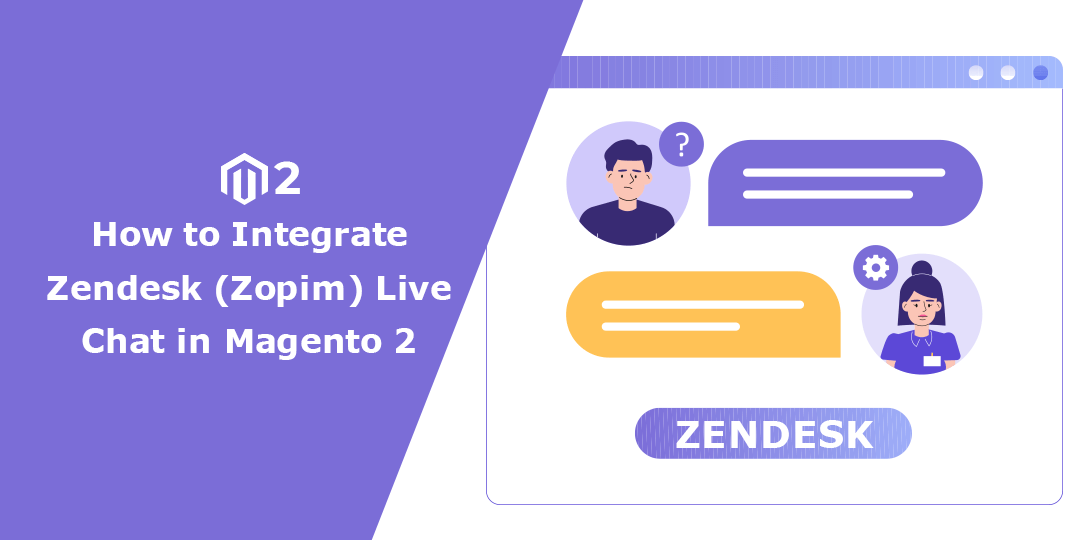
Today we will find out How to Integrate Zendesk (Zopim) Live Chat in Magento 2.
Live chat is a great feature to add to your Magento 2 store. Through live chat, the customers can immediately reach you when they have questions or queries. Live chat improves the support experience of your store’s customers. Explore the Benefits of Live Chat for eCommerce.
Various tools are available to integrate a live chat system into your store. Today we will learn about How to Integrate Zendesk (Zopim) Live Chat in Magento 2.
Steps to Get Zopim Widget Code:
Step 1: Log in to your Zendesk Account using the below link
In case you do not have a Zendesk account, click the below link to register
https://www.zendesk.com/register/
Step 2: Once you complete the registration steps, go to your Zendesk Dashboard.
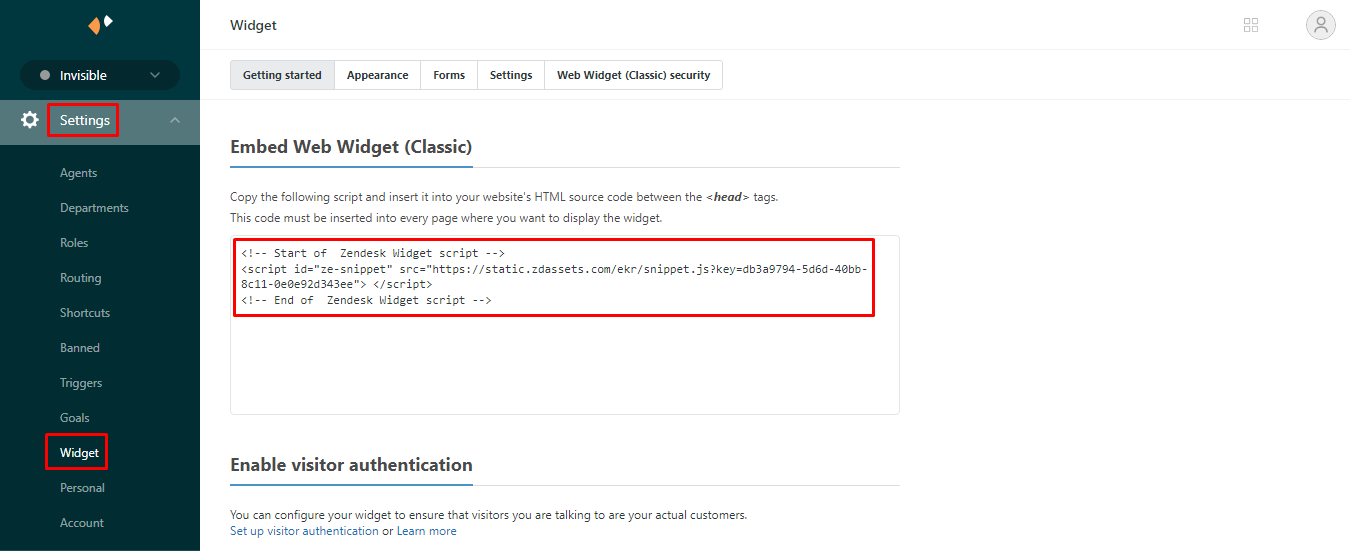
Step 3: From the left menu, expand Settings and select Widget.
Step 4: Now copy the Zendesk Web Widget Script.
Steps to Integrate Zendesk (Zopim) Live Chat in Magento 2:
Step 1: Log in to your Magento 2 Admin Dashboard.
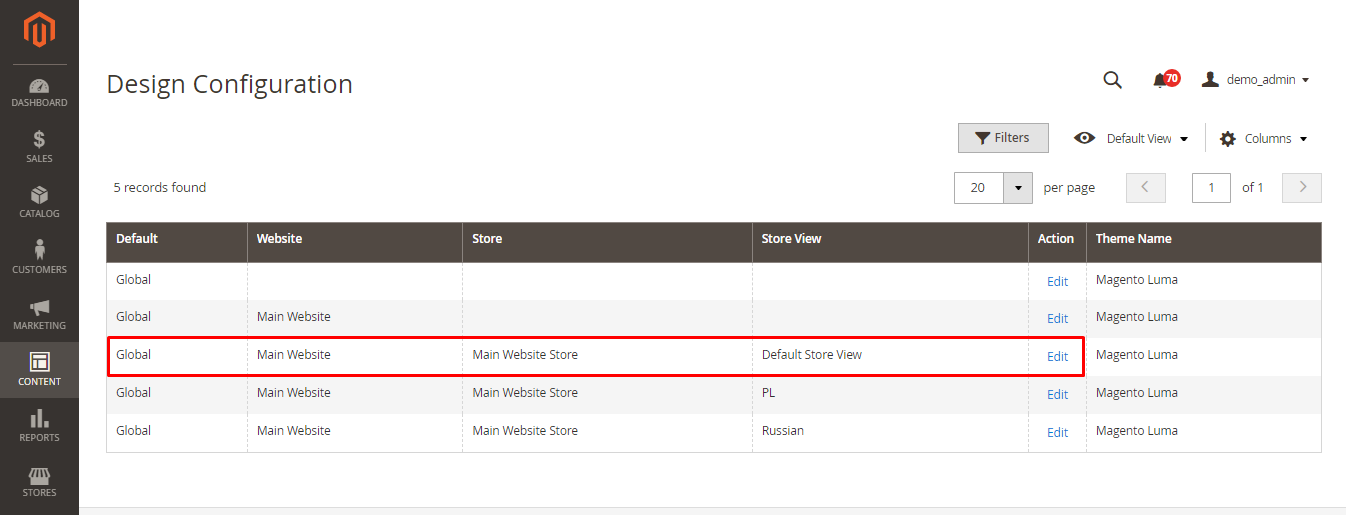
Step 2: Navigate to Content > Design > Configuration.
Step 3: In the Default Store View, select Edit.
Step 4: Expand the Footer section and paste the Zopim Widget code in the Miscellaneous HTML field.
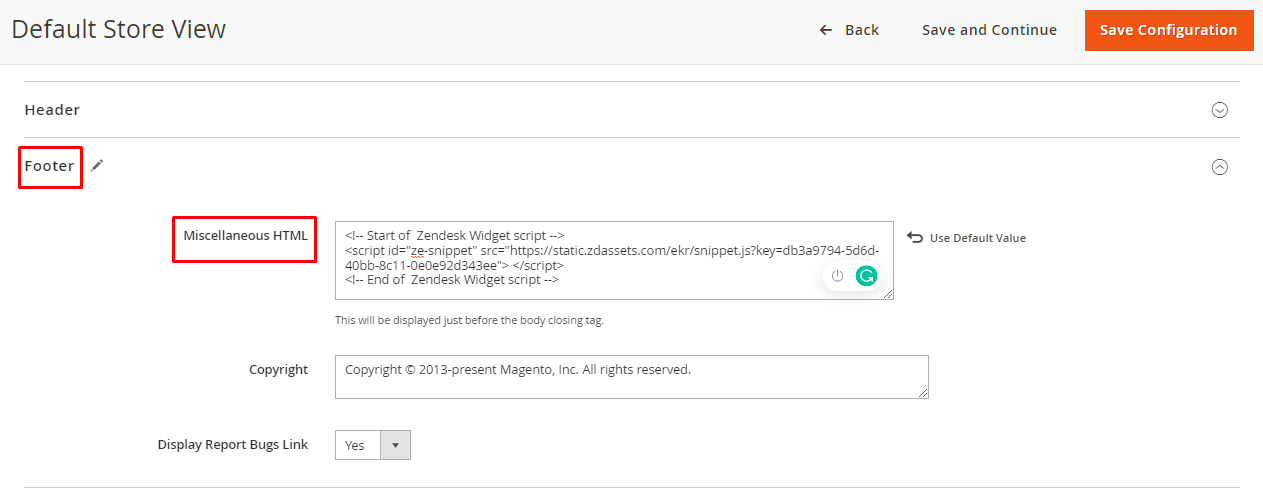
Step 5: Click the Save Configuration button to integrate Zendesk Live Chat in Magento 2 successfully.
Final Words:
Hopefully, everyone can successfully Integrate Zendesk (Zopim) Live Chat in Magento 2. To eliminate these steps, you can integrate the Live Chat Integration Extension for Magento 2.
Furthermore, share this tutorial with your fellow friends who are into the Magento business to help them improve customer experience.
Happy Reading!