Hola ? Shopify Friends,
Inventory management is one of the most tiresome tasks for all business owners. While working as a retailer, you are majorly dependent on the supplier as he is the one that will deliver the inventories to you.
Inventory transfers are in huge numbers, and if you handle a widespread business that has to work with several suppliers, keeping track of all the shipments can be very difficult.
But as a Shopify merchant, tracking all the inventory shipments will not be difficult. A transfer feature offered by Shopify helps merchants track their incoming inventory when a supplier confirms the inventory order.

Here are some easy steps from which you can learn to
Create a Shopify inventory transfer
Step 1 –
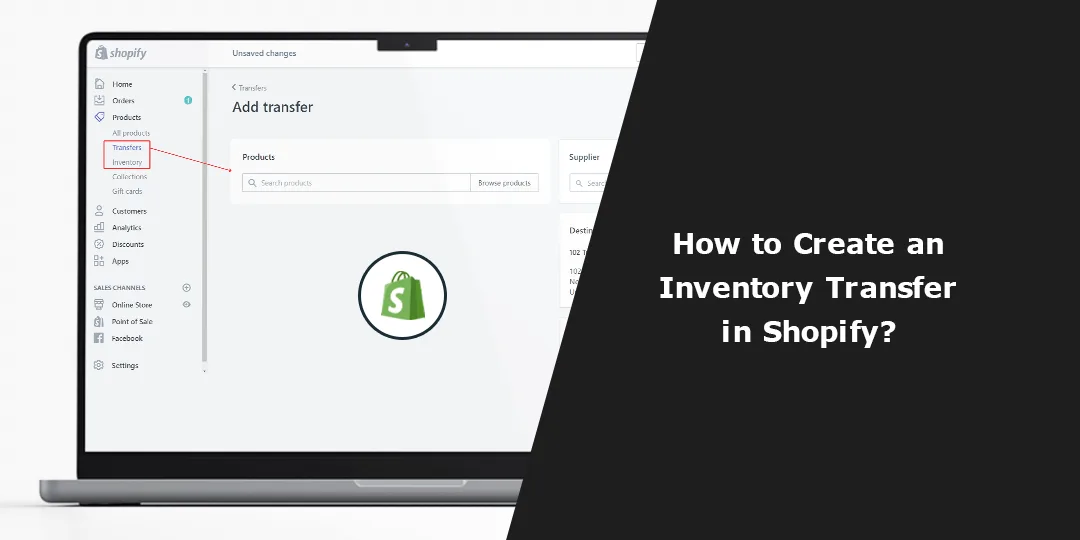
Go to Shopify Admin > Products > Transfer.

Step 2 –
The transfer page will appear on your screen, from which you need to select the Add Transfer button.
Step 3 –
Select your supplier name from the Origin field at the top of the page.

Select your supplier name from this field if you have one, or if you don’t have one, you can create it from the Create a New Supplier and add its required details thereafter.
Step 4 –
Add the products that will be delivered from the Add Products field.

You can select the products by category, type, tag, etc., including their variants.
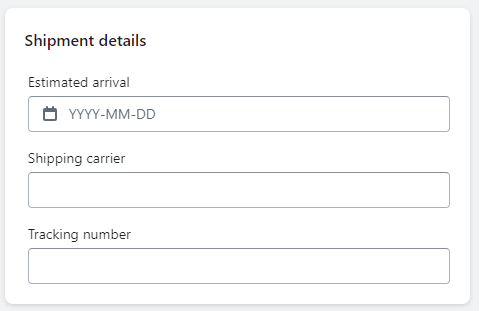
Step 5 –
Enter the Shipment Details.
Step 6 –
Select the Add to Transfer button after you are done filling in all the details.
Step 7 –
You need to manually enter the expected arriving product quantity in the Quantity box.

Step 8 – All the work is done here. Select the Save Transfer button to add the transfer to your Shopify store.
Give a pat yourself. You have learned a new thing today with us!
If you are new to the business world and have launched your Shopify store, but it needs some customization. Hire experienced Shopify developers and make your website user-friendly.
Happy Order Tracking!

—————————————————————————————————————————————–
Frequently Asked Questions
(1) What is an inventory transfer in Shopify?
Answer: An inventory transfer in Shopify is a process of moving products from one location to another within your Shopify store’s inventory. It allows you to track the movement of stock between different physical or virtual locations, such as warehouses, retail stores, or fulfillment centers.
(2) How do I create an inventory transfer in Shopify?
Answer: To create an inventory transfer in Shopify, follow these steps:
- Log in to your Shopify admin panel.
- From the main dashboard, click on “Products” and then select “Inventory transfers.”
- Click on the “Create transfer” button.
- Choose the source and destination locations for the transfer.
- Enter the quantity of each product you want to transfer.
- Optionally, you can add a note or reason for the transfer.
- Review the details and click on the “Create transfer” button to finalize the process.
(3) Can I transfer inventory between different store locations?
Answer: Yes, you can transfer inventory between different store locations in Shopify. When creating an inventory transfer, you can choose the source and destination locations from the available store locations in your Shopify account.
(4) Can I transfer inventory from one Shopify store to another?
Answer: No, inventory transfers are currently only supported within a single Shopify store. If you need to move inventory between different Shopify stores, you’ll need to use third-party applications or manual processes.

(5) Can I edit or cancel an inventory transfer after it’s been created?
Answer: No, once an inventory transfer is created in Shopify, it cannot be edited or canceled. However, you can create a new transfer to adjust the quantities or make any necessary changes.