Hello Laravel Friends,
In today’s blog, we will learn How to Create Custom Facade in Laravel.

First, let us understand what the Laravel facade is and some built-in Laravel facades.
What is Facade in Laravel?
In Laravel, a facade is a design pattern that provides a static interface to classes inside the framework’s service container. It allows you to access the underlying objects and their methods more conveniently and expressively.
Facades in Laravel act as “static proxies” to classes registered in the service container, allowing you to access their methods concisely and expressly.
Types of Laravel Built-in Facades:
In Laravel, there are several built-in facades that provide a simplified interface to various components of the framework. Here are some commonly used facades and their corresponding underlying classes:
1. Cache: Illuminate\Support\Facades\Cache – Access the caching system
Underlying Class: Illuminate\Cache\CacheManager
2. Config: Illuminate\Support\Facades\Config – Access the configuration values
Underlying Class: Illuminate\Config\Repository
3. DB: Illuminate\Support\Facades\DB – Interact with the database using Laravel’s query builder
Underlying Class: Illuminate\Database\DatabaseManager
4. Event: Illuminate\Support\Facades\Event – Manage events and event listeners
Underlying Class: Illuminate\Events\Dispatcher
5. File: Illuminate\Support\Facades\File – Perform file system operations
Underlying Class: Illuminate\Filesystem\Filesystem
6. Log: Illuminate\Support\Facades\Log – Write log messages
Underlying Class: Illuminate\Log\Logger
7. Mail: Illuminate\Support\Facades\Mail – Send emails
Underlying Class: Illuminate\Mail\Mailer
8. Queue: Illuminate\Support\Facades\Queue – Work with queues and jobs.
Underlying Class: Illuminate\Queue\QueueManager
9. Route: Illuminate\Support\Facades\Route – Define routes and handle HTTP requests
Underlying Class: Illuminate\Routing\Router
10. Session: Illuminate\Support\Facades\Session – Manage session data
Underlying Class: Illuminate\Session\SessionManager
11. Storage: Illuminate\Support\Facades\Storage – Interact with storage, such as local or cloud-based filesystems
Underlying Class: Illuminate\Filesystem\FilesystemManager
12. URL: Illuminate\Support\Facades\URL – Generate URLs to your application’s routes
Underlying Class: Illuminate\Routing\UrlGenerator
Laravel provides many more facades beyond the ones mentioned above. Additionally, you can create your own custom facades to wrap your own classes or external libraries, allowing you to access them more concisely throughout your application.
How to Create Custom Facade in Laravel?
To create a custom facade in Laravel, you’ll need to perform the following steps:
Step 1: Create a helper class
Step 2: Register helper in AppServiceProvider
Step 3: Create a facade class
Step 4: Register facade in config/app.php
Step 5: Using the facade
Step 1: Create a helper class
Create an App/Greeting folder and create a PHP helper class Greeting in that folder.
<?php
namespace App\Greeting;
class Greeting
{
     public function greet()
     {
          return "Hello, Greetings";
     }
}
Step 2: Register helper in AppServiceProvider
Then add the below code in your Service Provider at the register method.
/**
 * Register any application services.
 *
 * @return void
*/
public function register()
{
     //
     $this->app->bind('greeting',function(){
          return new Greeting();
     });
}
Step 3: Create a facade class
Now create the class GreetingFacade in the App/Greeting folder, which extends Illuminate\Support\Facades\Facade and add the below code to this class.
<?php
namespace App\Greeting;
use Illuminate\Support\Facades\Facade;
class GreetingFacade extends Facade
{
     protected static function getFacadeAccessor()
     {
          return 'greeting';
     }
}
Step 4: Register facade in config/app.php
Then register the GreetingFacade class in config/app.php at aliases.
<?php
return [
   // code...
   ‘aliases’ => [
      // code...
      'Greeting' => App\Greeting\GreetingFacade::class,
   ]
];
Step 5: Using the facade
Finally, we get to use the facade that we have created. Here is an example code to show its usage.
In your web.php file:
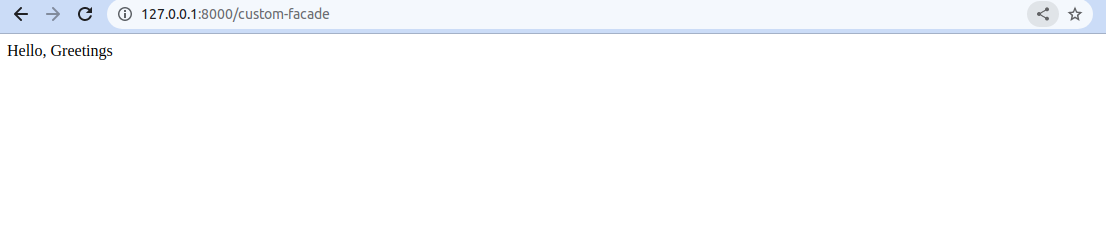
Route::get('/custom-facade', function () {
   return response(Greeting::greet(), 200);
})->name('custom-facade');
Vist your {host}/custom-facade route:
Conclusion:
You have successfully created a custom facade in Laravel. Consult a Laravel developer to create a custom facade for your Laravel project. Share the tutorial with your Laravel friends, and be in touch with us for more updates.

Happy Coding!