Hello Magento Friends ?,
Quick Recap:
I think you have directly jumped to the third episode, let me guide you to recap. Previously we have learned How to Configure Shipment Comments in Magento 2 – Episode 2 and How to Configure Order Comments in Magento 2 – Episode 1. Welcome again to Episode 3 for the configuration of various comments in Magento 2. This article states How to Configure Invoice Comments in Magento 2.
Introduction:
Basically, the store admin can configure invoice email in Magento 2 by choosing the mail template, mail sender, and also add multiple mail Id’s for sending a copy of the invoice via email. Store admin can also attach order relevant details with an invoice itself.
Enable the checkbox to display invoice comments in Magento 2 at the storefront:
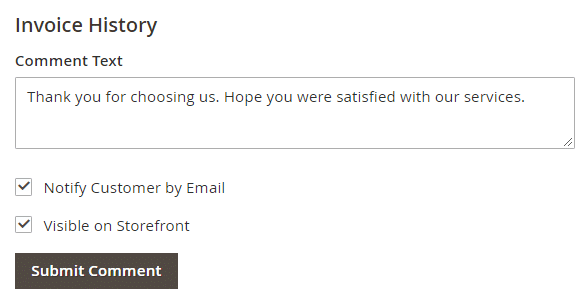
Display invoice comment in frontend: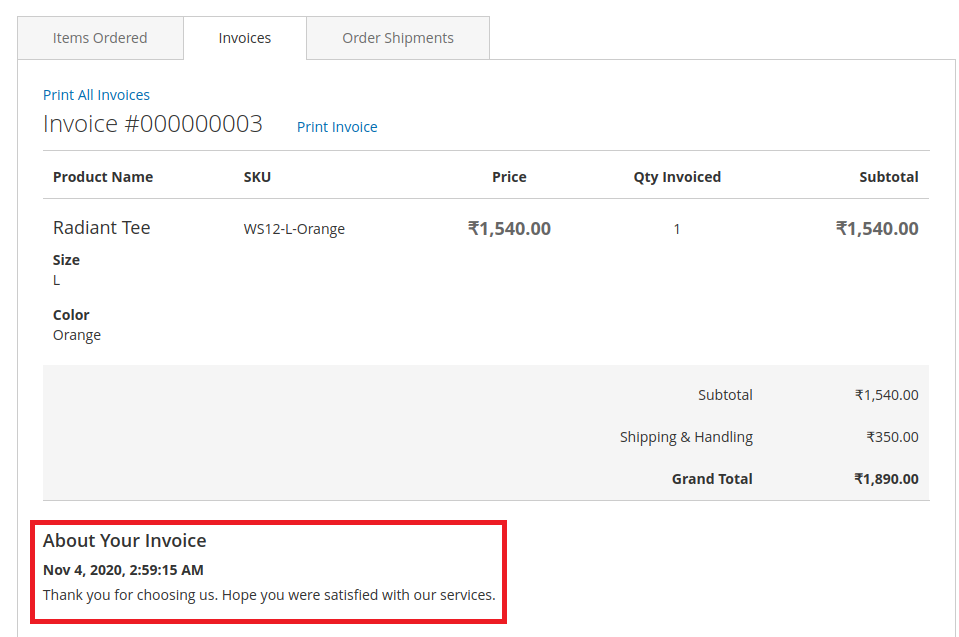
Steps to Configure Invoice Comments in Magento 2:
Step 1: Firstly log in to the admin panel and goto Stores>Settings>Configuration
Step 2: Under the Sales tab choose Sales email and explore the Invoice comment option:
Step 3: Add the configuration information accordingly,
Enabled: By default, it is Enabled and when customer orders a product then invoice comment mail will be sent to customers.
Invoice Comment Email Sender: Select sender id for sending the invoice comment mail. By default, Magento 2 provides 5 email Id’s.
Invoice Comment Email Template: Select your desired template for Invoice Comment mail
Invoice Comment Email Template for Guests: For the guest users select the template from here.
Invoice Comment Email Copy To: Add more than one email Id’s for sending the invoice comment email copy. Add more than one by separating it with a comma.
Send Invoice Comment Email Copy Method: Select mail id for sending a separate copy of the mail.
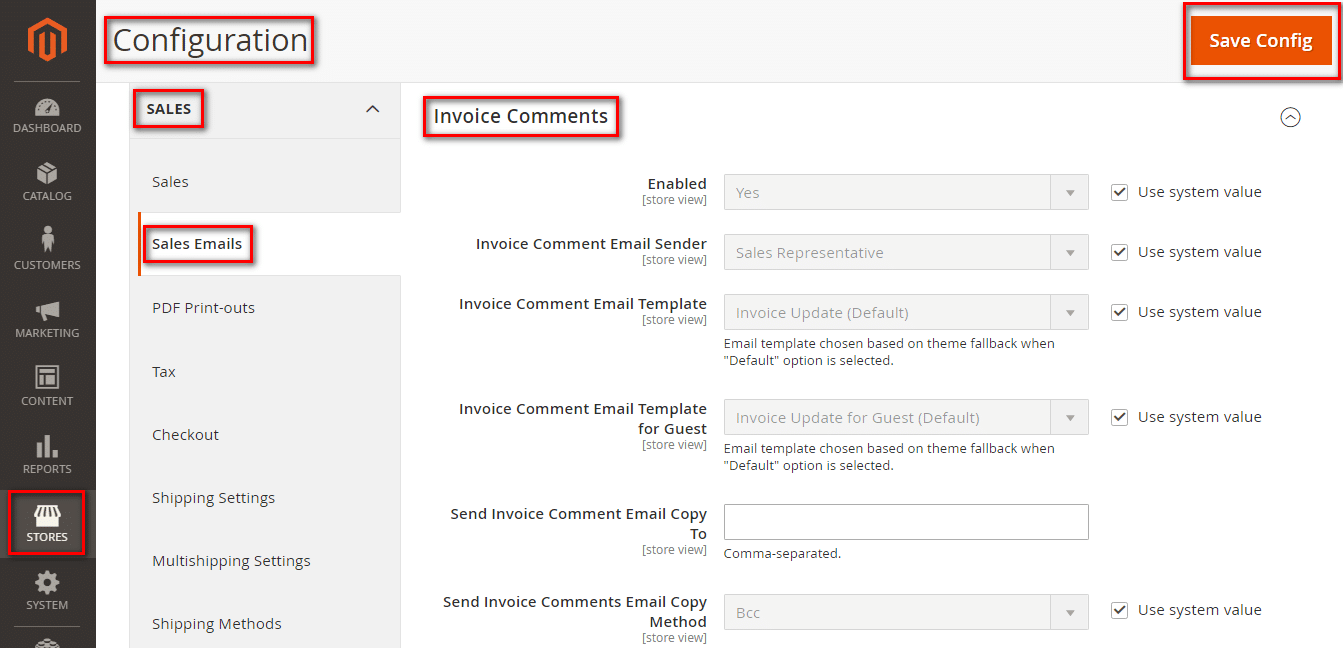
Step 4: Save the Configuration.
Final Words:
Therefore, you can implement the steps and easily Configure Invoice Comments in Magento 2. Checkout Auto Invoice and Shipment Extension for Magento 2 and automatically send an invoice mail to customers. You can raise your queries in the comment section below.
Stay connected with us for the final episode where I will illustrate How to Configure Credit Memo Comments in Magento 2. Share the article with your Magento Friends by utilizing Social Media Platforms.
Happy Reading.