Hello Magento Friends,
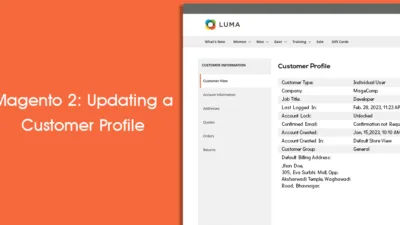
In this blog, I will explain How to Configure Full Page Cache in Magento 2.
The website loading speed is very important to rank higher, grab new customers, improve user experience, and boost the store’s conversion rates. There are multiple factors responsible for slowing down the speed of the website.
One of the solutions to improve website speed is full-page caching. Let’s learn more about the full page cache in Magento 2 and the steps to configure the full page cache in Magento 2.
What is Full Page Cache in Magento 2?
Magento 2 full page cache helps reduce the server’s load time and improve the response time. Full page caching helps to display category, product, and CMS pages quickly. Full page cache also helps in improving customer experience and conversion rates.
Without caching, each page will run blocks of code and retrieve data from the database. Using full page cache, the load time reduces and the page retrieves the data faster.
How does Magento 2 Full Page Cache Work?
When you open a webpage, a request is sent to the server to generate the page content. This process takes some time. The server does not store the page content and has to regenerate the complete page whenever someone arrives on the page.
When you use a full page cache, Magento keeps a copy of the page in the system when the page is loaded the first time. So when the page is triggered for the second time, it loads faster as it contains the copy in the cache.
Steps to Configure Full Page Cache in Magento 2:
Step 1: From the admin panel, navigate to Store > Settings > Configuration.
Step 2: Expand the ADVANCED tab and select System.
Step 3: Now enlarge the Full Page Cache option.
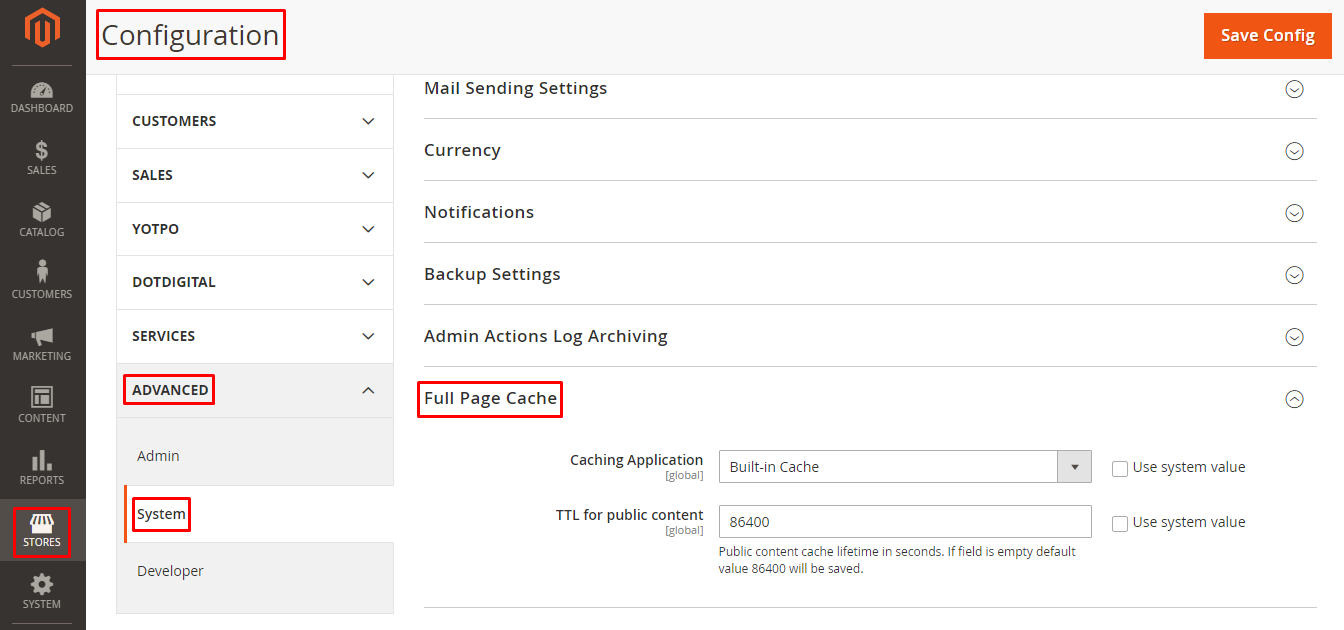
- Caching Application – Select one of the following options:
- Built-in Cache – This is used while working in Development Mode.
- Varnish Cache – This is used for Production Mode and is the recommended option for caching.
- TTL for public content – Set the page cache timeout. Its default value is 86400.
Step 4: If you select the Varnish Cache option in the Caching Application field, you must perform Varnish Configuration settings.
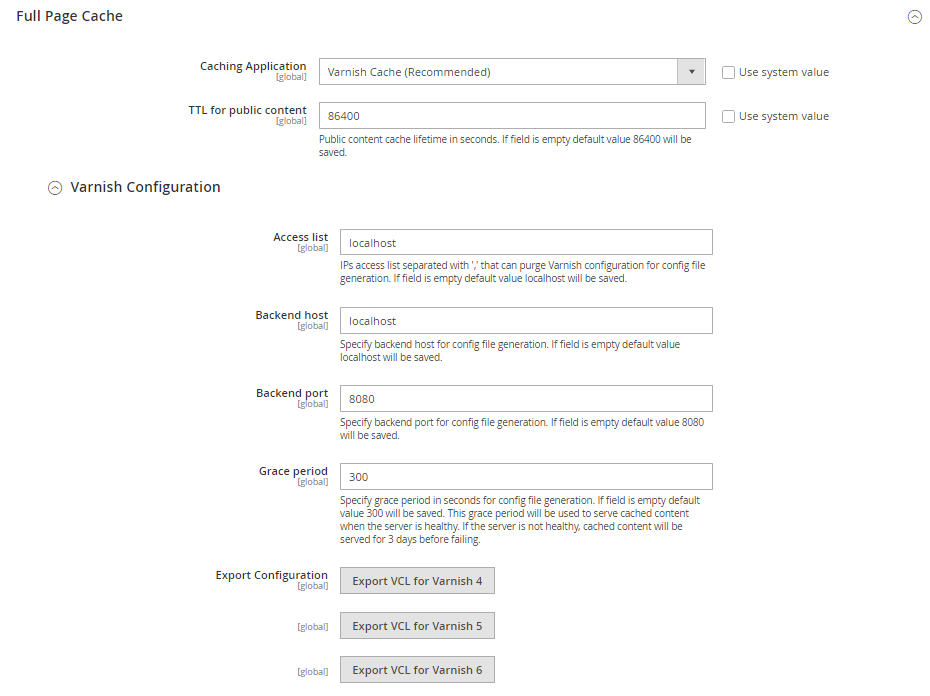
- Access list – Enter IP addresses separated by a comma “,” which can purge the Varnish configuration to generate a config file. The default value of the Access list is localhost.
- Backend host – Enter the IP address of the backend host that generates config files. The default value of the Backend host is localhost.
- Backend port – Determine the backend port for config file generation. The default backend port value is 8080.
- Grace period – Specify the grace period in seconds to generate config files. The default grace period value is 300.
- Export Configuration – Click the appropriate button based on the Varnish version you use to export the configuration in varnish.vcl file.
Step 5: When you complete, click the Save Config button.
Final Thoughts:
Hence, this was all about the full page cache in Magento 2. Using the above steps, you can easily Configure Full Page Cache in Magento 2.
Check out other related articles:
- How to clean and flush cache programmatically in Magento 2
- How to Clear Magento 2 Cache
- Magento 2: What is difference between Cache Clean & Cache Flush?
- How to Use Magento 2 Block Cache
- Magento 2: How to Flush the Cache and Reindex from Command Line
Share the article with your friends and stay in touch with us to learn more about Magento 2.
Happy Reading!