Hello Laravel Friends,
In today’s blog, we will learn about How to Change Password with Current Password in Laravel 8.
Security is the main concern for websites. Passwords protect our data but they must be frequently changed to avoid any data breach. Laravel provides default Change Password functionality.
Let’s check How to Change Password with Current Password in Laravel 8.
Prerequisites
Before we start, we need some prerequisites that are followed here.
- A Laravel Project.
- You have a basic idea of the login or authentication flow of Laravel
Perform Laravel Authentication with Breeze
Steps to Change Password with Current Password in Laravel 8:
Step 1: First you need to create a View File named change-password.blade.php at the below path
resources/views/user/change-password.blade.php
Then add the code as follows
<!DOCTYPE html>
<html>

<head>
    <title>Change Password</title>
    <link href="https://cdn.jsdelivr.net/npm/bootstrap@5.2.0/dist/css/bootstrap.min.css" rel="stylesheet" integrity="sha384-gH2yIJqKdNHPEq0n4Mqa/HGKIhSkIHeL5AyhkYV8i59U5AR6csBvApHHNl/vI1Bx" crossorigin="anonymous">
</head>

<body>
    <div class="container-fluid">
        <div class="col-md-6 offset-3 pt-4">
            <h3 class="text-center">Change Password</h3>
            @if($errors->any())
            {!! implode('', $errors->all('<div style="color:red">:message</div>')) !!}
            @endif
            @if(Session::get('error') && Session::get('error') != null)
            <div style="color:red">{{ Session::get('error') }}</div>
            @php
            Session::put('error', null)
            @endphp
            @endif
            @if(Session::get('success') && Session::get('success') != null)
            <div style="color:green">{{ Session::get('success') }}</div>
            @php
            Session::put('success', null)
            @endphp
            @endif
            <form class="form" action="{{ route('postChangePassword') }}" method="post">
                @csrf
                <div class="mb-3">
                    <label for="current_password" class="form-label">Current Password</label>
                    <input type="password" class="form-control" id="current_password" name="current_password">
                </div>
                <div class="mb-3">
                    <label for="new_password" class="form-label">New Password</label>
                    <input type="password" class="form-control" id="new_password" name="new_password">
                </div>
                <div class="mb-3">
                    <label for="new_password_confirmation" class="form-label">Confirm New Password</label>
                    <input type="password" class="form-control" id="new_password_confirmation" name="new_password_confirmation">
                </div>
                <button type="submit" class="btn btn-primary text-center">Submit</button>
            </form>
        </div>
    </div>
    <script src="https://cdn.jsdelivr.net/npm/bootstrap@5.2.0/dist/js/bootstrap.bundle.min.js" integrity="sha384-A3rJD856KowSb7dwlZdYEkO39Gagi7vIsF0jrRAoQmDKKtQBHUuLZ9AsSv4jD4Xa" crossorigin="anonymous"></script>
</body>

</html>
Step 2: Now create UserController at the below path
app/Http/Controller/UserController.php
Also create supporting controller method
- changePassword function used for load view page
- changePasswordSave function is used for saving the new password and performing their validation.
Add the code as follows
<?php

namespace App\Http\Controllers;

use App\Http\Requests\UserRequest;
use App\Models\User;
use Illuminate\Http\Request;
use Illuminate\Support\Facades\Auth;
use Illuminate\Support\Facades\Hash;

class UserController extends Controller
{
    public function changePassword(Request $request)
    {
        return view('users.change-password');
    }

    public function changePasswordSave(Request $request)
    {

        $this->validate($request, [
            'current_password' => 'required|string',
            'new_password' => 'required|confirmed|min:8|string'
        ]);
        $auth = Auth::user();

	// The passwords matches
        if (!Hash::check($request->get('current_password'), $auth->password))
        {
            return back()->with('error', "Current Password is Invalid");
        }

// Current password and new password same
        if (strcmp($request->get('current_password'), $request->new_password) == 0)
        {
            return redirect()->back()->with("error", "New Password cannot be same as your current password.");
        }

        $user =  User::find($auth->id);
        $user->password =  Hash::make($request->new_password);
        $user->save();
        return back()->with('success', "Password Changed Successfully");
    }
}
Step 3: Add the below code to your route file
use App\Http\Controllers\UserController;
Route::group(['middleware' => 'auth'], function ()
{
    Route::get('/change-password', [UserController::class, 'changePassword'])->name('changePassword');
    Route::post('/change-password', [UserController::class, 'changePasswordSave'])->name('postChangePassword');
});
Now let’s test the result
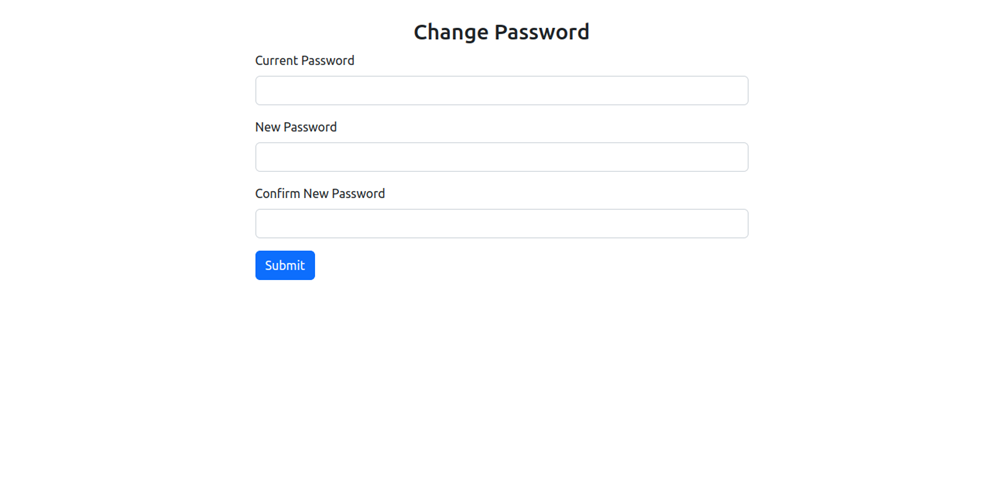
Open {{YOUR HOST}}/change-password URL in your browser.
This will open a change password screen as follows
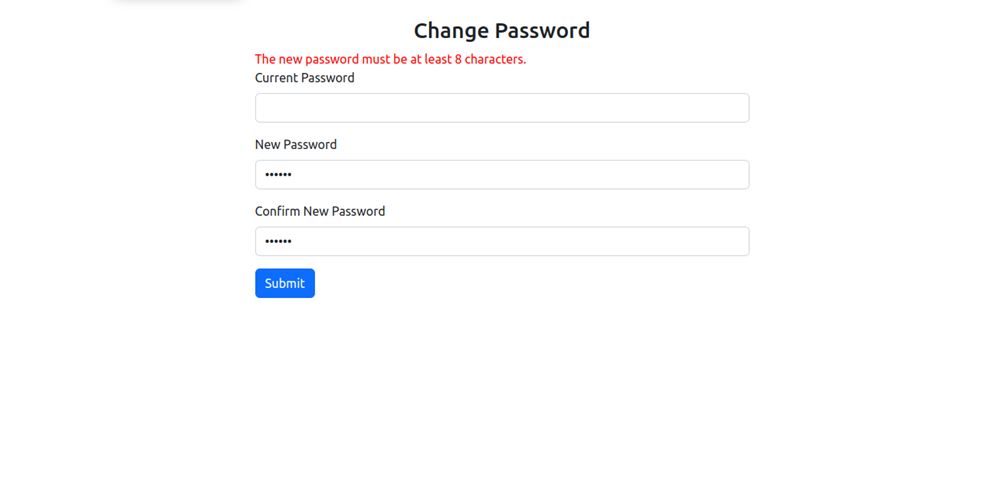
If the new password is less than 8 characters, it will show the following error
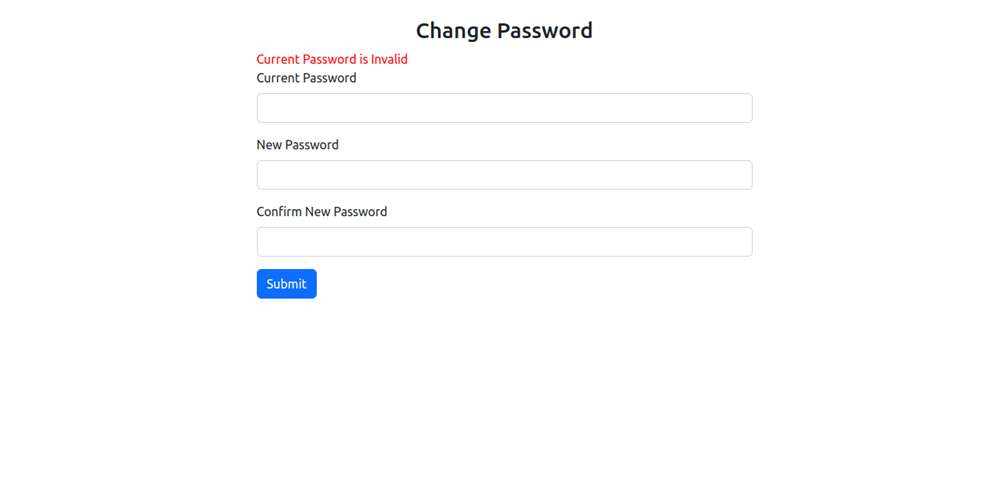
If the current password is incorrect, it will show the following error
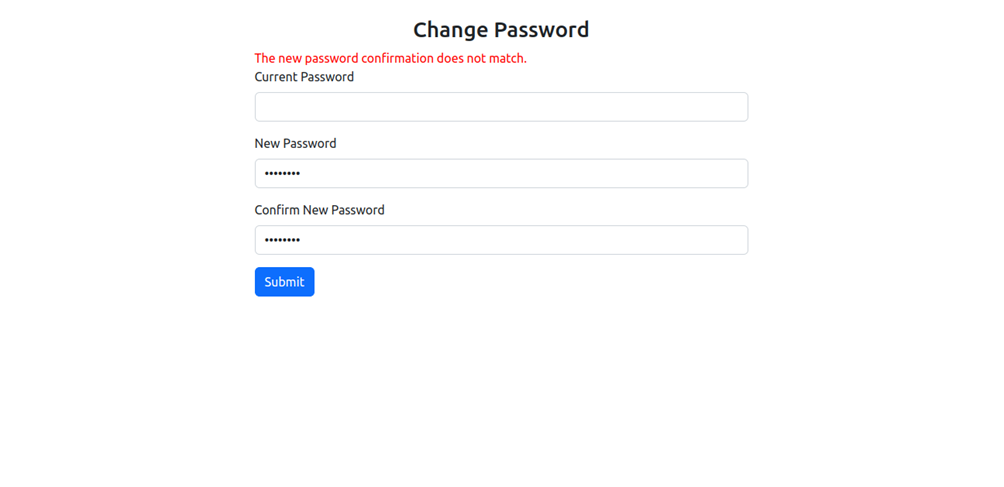
If the new password and confirm password do not match, it will show the following error
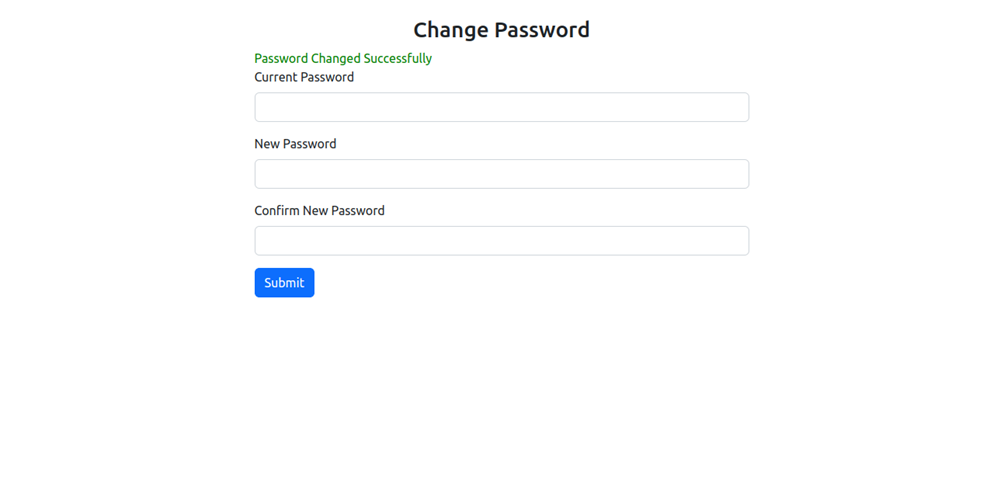
If everything is entered correctly, the password gets successfully changed
Conclusion:
This way you can Change Password with Current Password in Laravel 8. If you have any doubt let me know through the comments box. Share the tutorial with your friends and stay in touch with us for more Laravel tutorials.
Happy Coding!




Hey i have an error saying Trying to get property ‘password’ of non-object
Make sure your password field is not hidden in model
I can’t login after successful changing of the password
You need to convert password in hash
Hai,
When i’m trying this and i have an error like bellow.
“Trying to get property ‘{“id”:25,”name”:”Agung”,”npk”:4,”email_verified_at”:null,”password”:”$2y$10$yZaC40hpPq8qFAUOhhP5g.jo\/g1w72IkUh3yrbHHQ7m.o7c4x8aZ.”,”plant”:””,”remember_token”:null,”created_at”:”2023-03-23T22:52:37.000000Z”,”updated_at”:”2023-03-23T22:52:37.000000Z”}’ of non-object”
Any solution please?
Maybe you are getting the property of a Model that does not exist in an object. Please try with the PHP isset() function.
Attempt to read property “id” on null
Make sure you are logged in with an existing user. I think you are getting auth as null.
The password doesn’t match the current password, even though I just created a user
Can you please explain the code for getting this error?