Hello Shopify Friends,
In today’s blog, we will learn about How to Change the List of Locations that Stock a Product in Shopify.

In the world of e-commerce, managing stock efficiently is vital for ensuring a seamless shopping experience for customers. Shopify, a leading e-commerce platform, offers robust features that empower merchants to streamline their inventory management processes. One essential aspect of this is the ability to control the list of locations where a product is stocked. In this guide, we’ll walk you through the process of adjusting the stock locations for products in your Shopify store, enabling you to efficiently manage your inventory and enhance customer satisfaction.
Steps to Change the List of Locations that Stock a Product in Shopify:
Step 1: Log in to your Shopify account and access the admin panel.
Step 2: From your Shopify admin, go to the Products section.
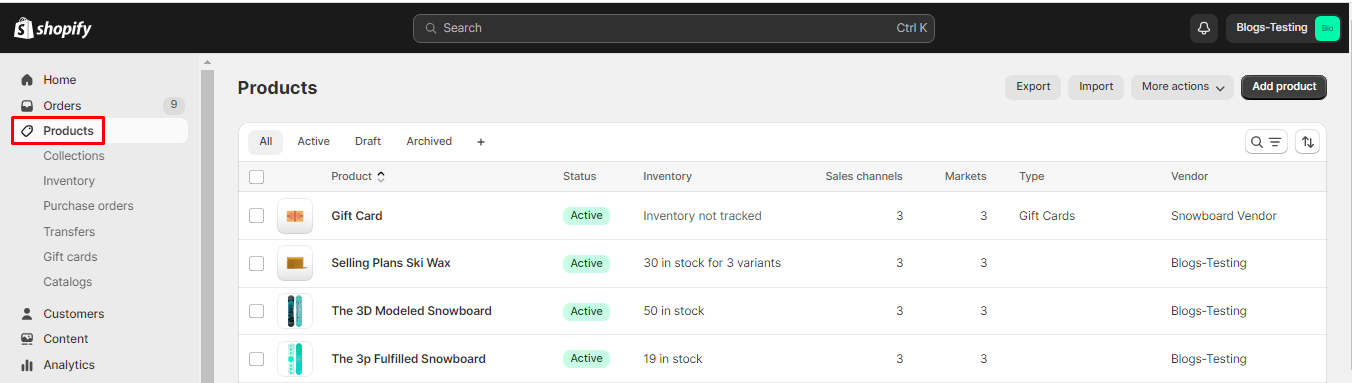
Step 3: Choose the product for which you want to modify the stock locations.
Step 4: Click on the product to edit its details.
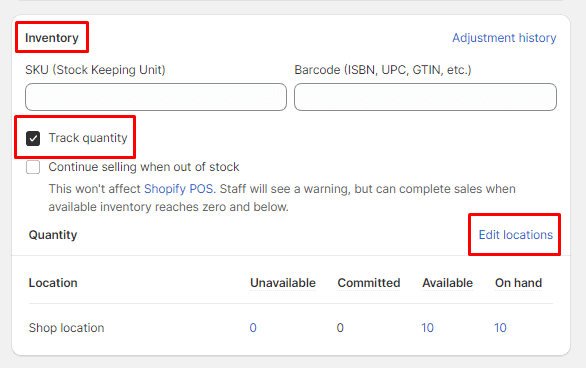
Step 5: Go to the Inventory section on the product details page. If the product has variants, you need to select any variant, and then you will find the Inventory section.

Step 6: Make sure the Track quantity option is checked.
Step 7: Then click on Edit locations.
Step 8: Check or uncheck the locations as needed to stock a product.
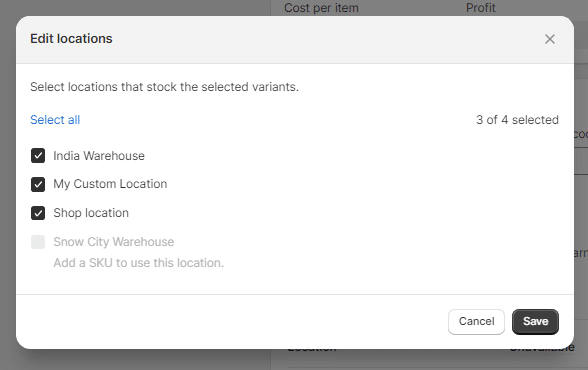
Step 9: After making the necessary adjustments, save your changes.
Final Words:
Effectively managing the list of locations where products are stocked is crucial for maintaining accurate inventory records and providing customers with a seamless shopping experience. By following the step-by-step guide outlined in this article, you can confidently handle stock location adjustments within your Shopify store and optimize your inventory management processes for long-term success.

Learn – How to Set Up Inventory Tracking in Shopify
Happy Reading!