Hello Shopify Friends,
I am back with yet another Shopify tutorial to help you enhance your inventory management. Today, it’s about Setting Up Inventory Tracking in Shopify.

Managing inventory is a crucial aspect of running an e-commerce business. With Shopify, you can efficiently track your inventory and ensure that you never oversell products. Setting up inventory tracking in Shopify is a straightforward process, and this guide will walk you through the steps to help you get started.
Steps to Set Up Inventory Tracking in Shopify:
Step 1: Log in to your Shopify account and access your admin dashboard.
Step 2: In the left-hand menu, click on the Products tab to view your product listings.
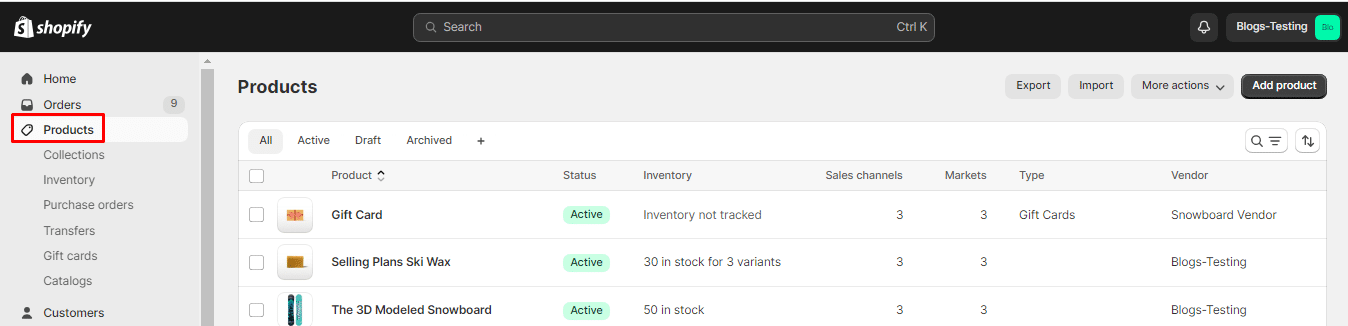
Step 3: Choose the product you want to set up inventory tracking for and click on it to open the product details page.
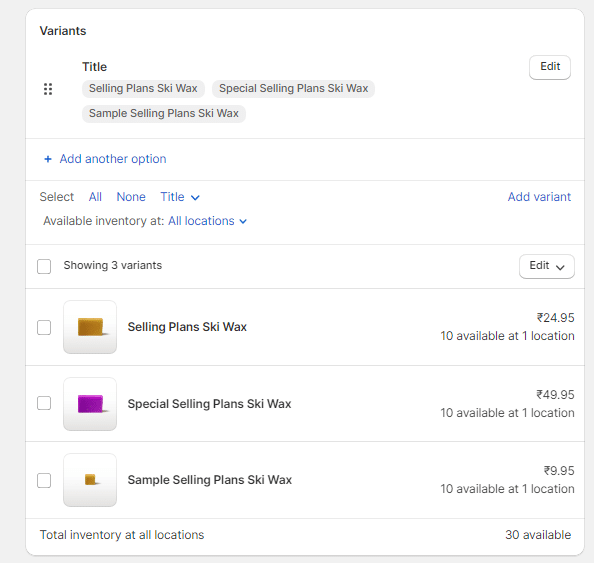
Step 4: Select the Variant for which you want to set up inventory tracking.
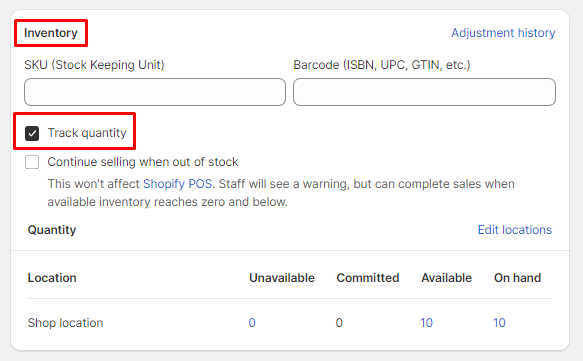
Step 5: Move to the Inventory section and tick the Track quantity box.

Step 6: Now add the inventory for each location.
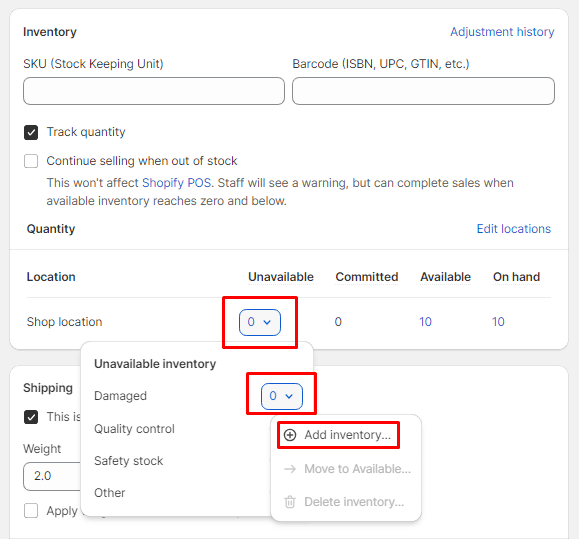
Step 7: Set the quantity for each location.
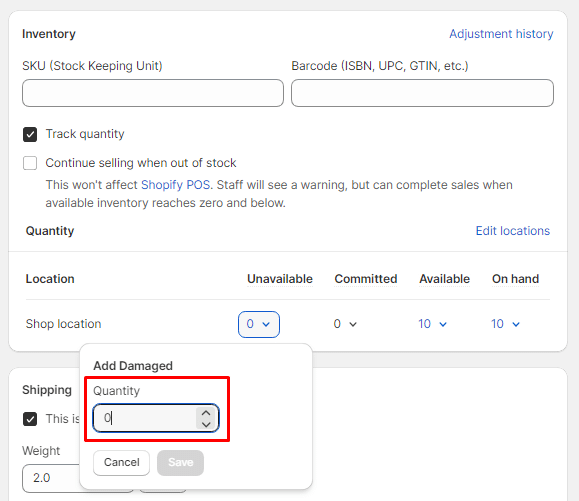
Step 8: After completing the necessary steps, click the Save button to apply the changes and enable inventory tracking for the selected product.
Conclusion:
By following these steps, you can easily set up and manage inventory tracking in your Shopify store, helping you maintain accurate stock levels and provide a seamless shopping experience for your customers.
To customize your Shopify store, reach out to experienced Shopify developers.

Happy Reading!