Hello, Magento folks
Yesterday we have learned how you can Reset the Password for Your Magento 2 Store. Today, I am here to guide you on how you can create an account on Magento and what options are available inside the platform.
When you have launched your online store using the Magento platform or are running an established online store, then what happens is that at times you may face some technical issues with your store. And you are not able to solve those issues on our own and hiring a company, or someone may cost too much. Therefore, you may need help from the technical people that directly work for Magento developers.
These developers or the community of people regularly give updates and provide a workable solution to the queries and issues of other people like you. Also, you can do lots of other things on the Magento website when you create an account.
Let’s look at the few reasons why you need to have a Magento account?
- To download Magento Package from Magento.com
- To purchase, download, and install the Magento Extension from Magento Marketplace.
- To participate and contribute in Magento community
- To Upload Magento Extensions on Magento Marketplace or you can try our Magento 2 Extensions here,
- To Use Magento Scan tool for any security issues with your current Magento store
And So on. There are several reasons and things for which you will compulsorily need Magento account. Below are steps to create and set up your account on Magento.com.
1. Go to Magento.com

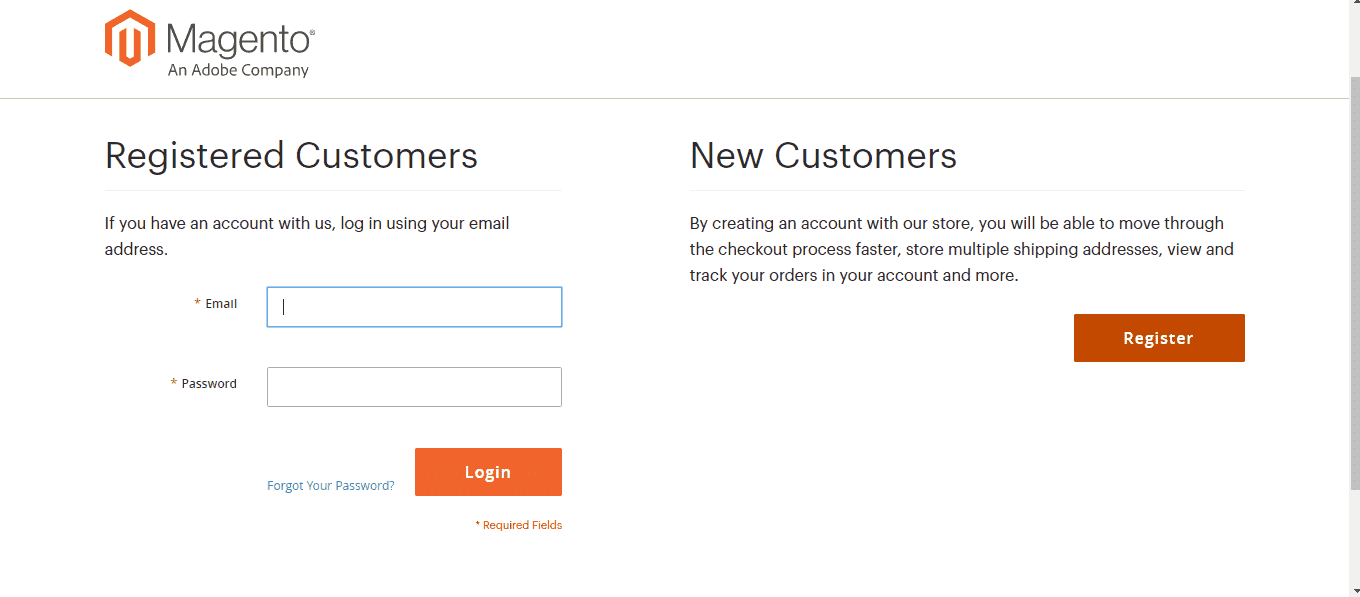
2. Click on My Account – you will be asked to log in or register. Click on the register as we have to create a new account.
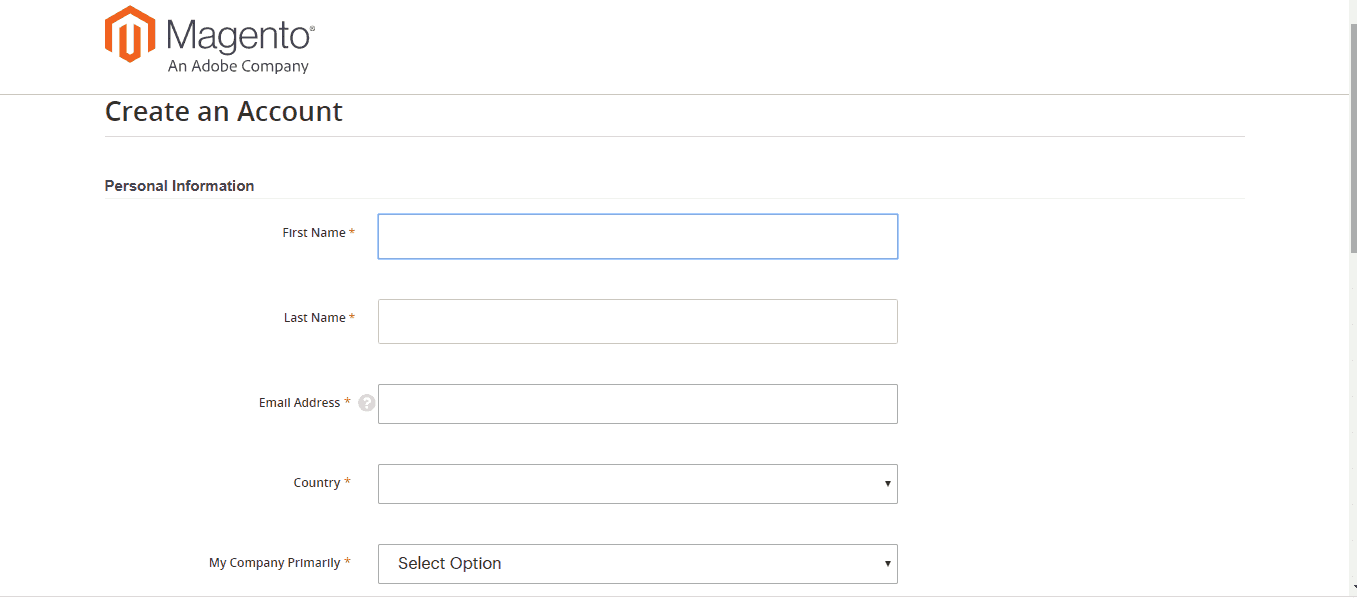
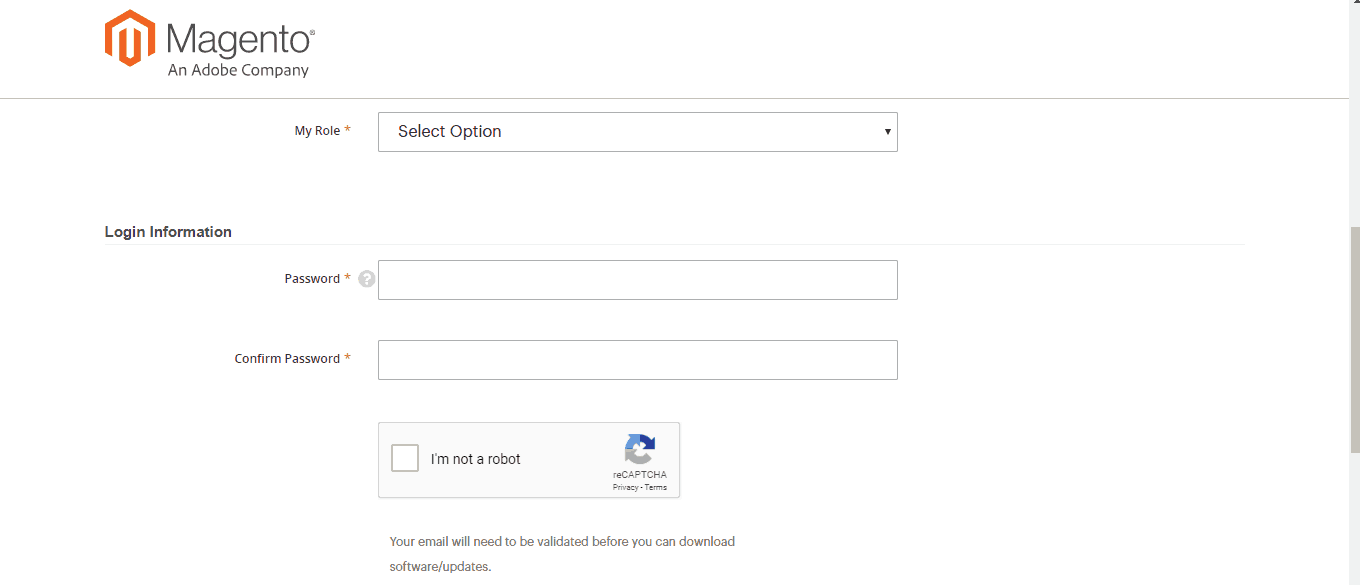
3. A form will appear. Fill up all the necessary information in the form.
 4. After you register, then you will be asked to log in, and after you Login into your newly created account, you will find the first option of contact Information under Account settings. You can fill up data if something is remaining here.
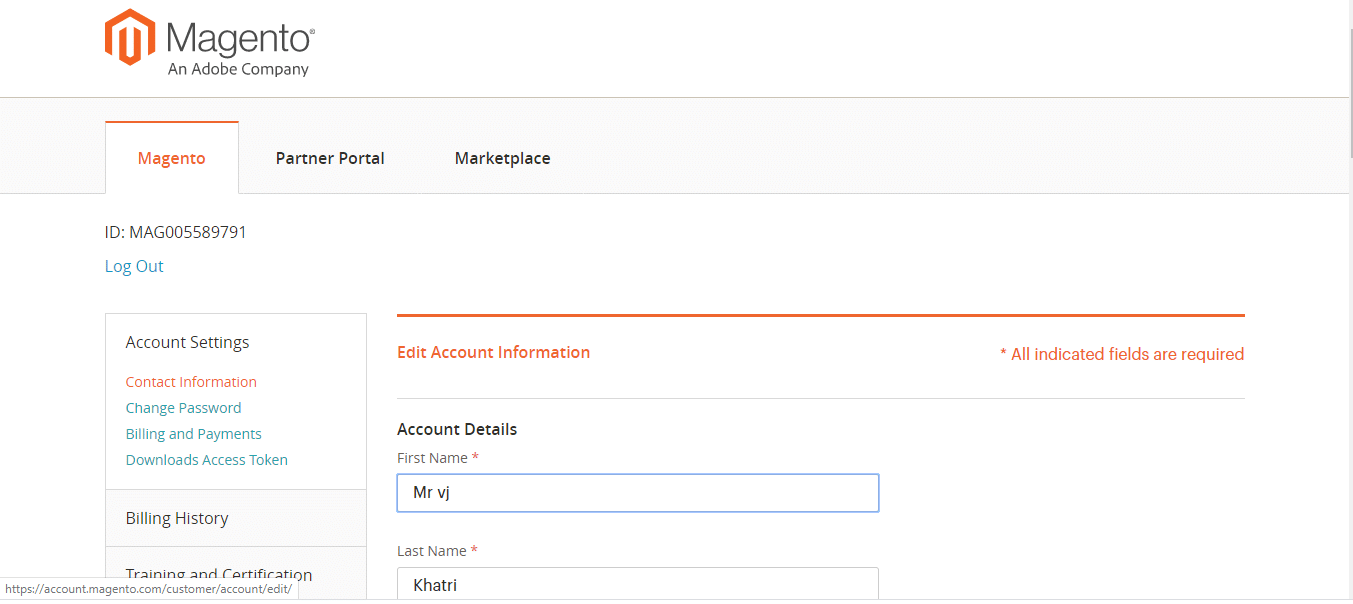
5. The next option is to Change Password. You can change the password from this screen.
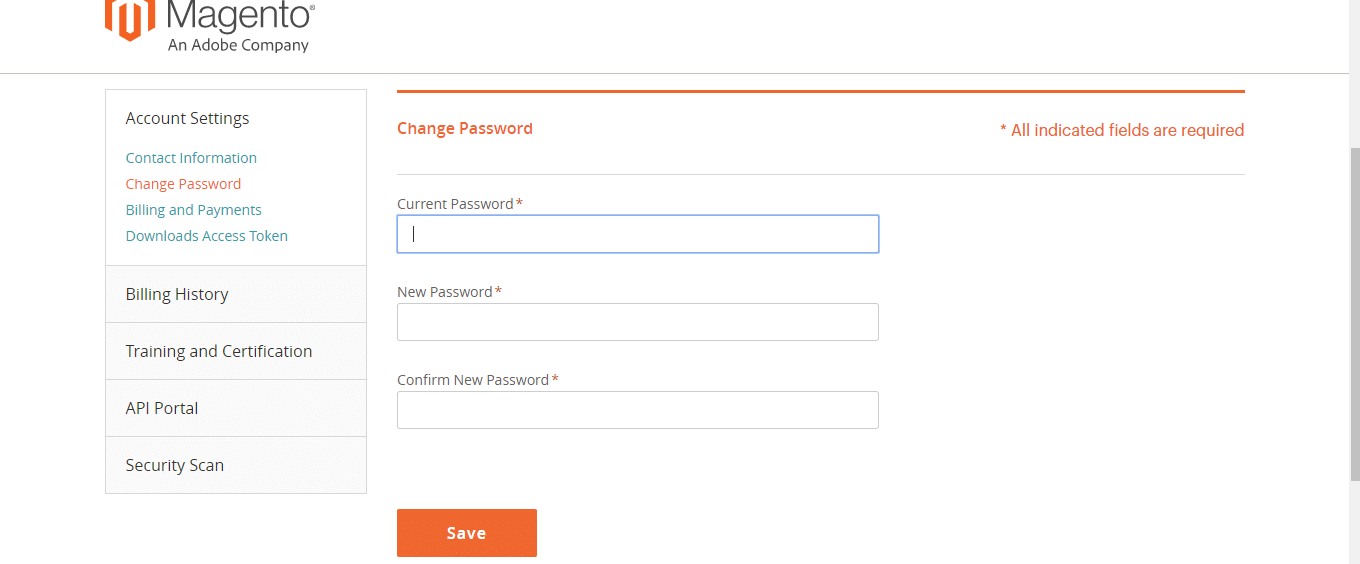
6. After changing the password, now set up the Billing and Payments. You can set up your billing address here and preferred payment method PayPal or credit card.
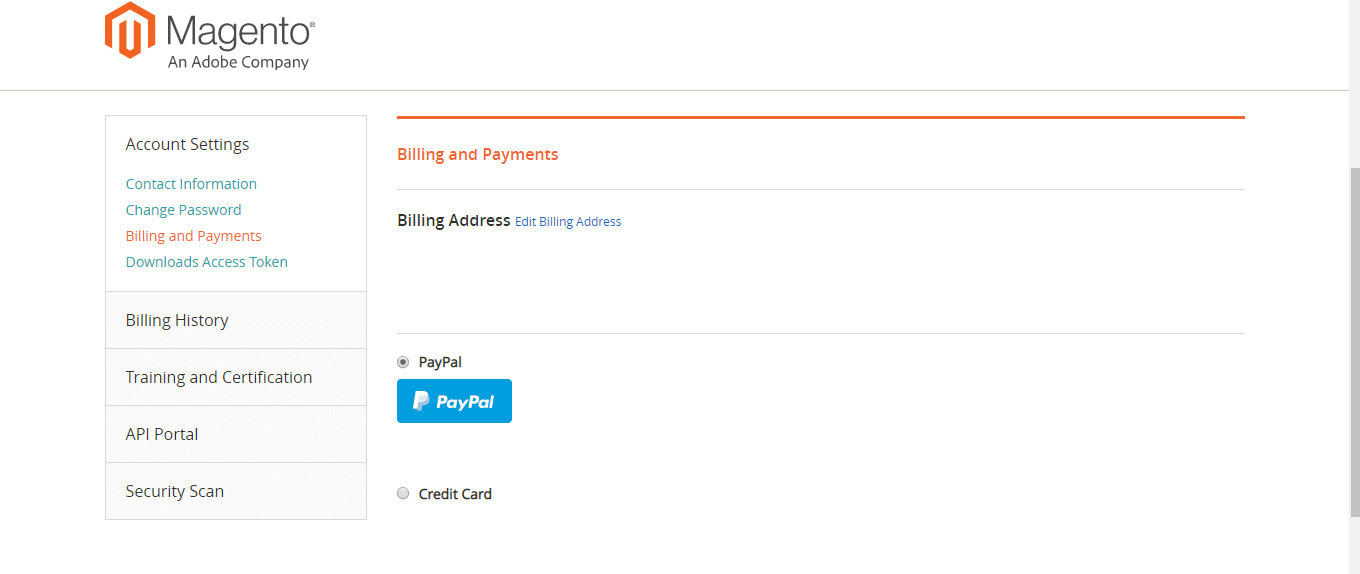
7. To download Magento releases using SSH, you must generate a Downloads Access Token. To generate a token, you must use your MAGEID plus your token to download a release. Your MAGEID is displayed at the top-left of your account page.
For example, curl -k https://MAGEID:TOKEN@www.magentocommerce.com/products/downloads/info/help
8. Billing history
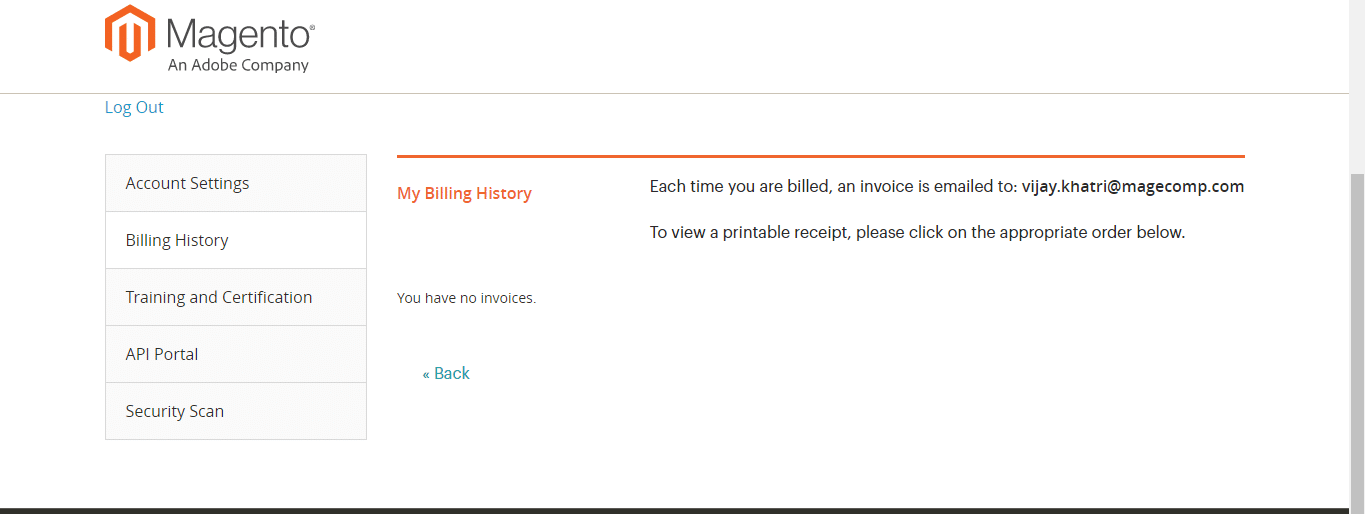
All the invoices from Magento will be sent to your email id, and you can see the history from here.
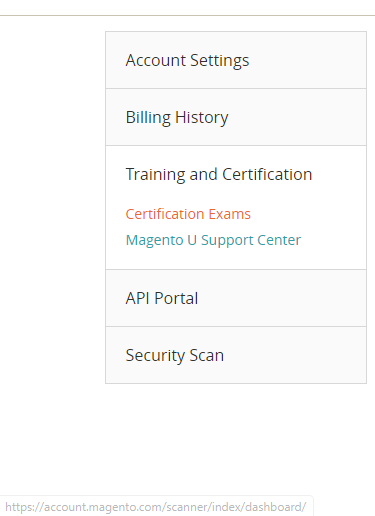
9.Training and Certification: IF you are a developer, this tab is for you, when you are planning to give the Magento certification exam, you need to register from here.
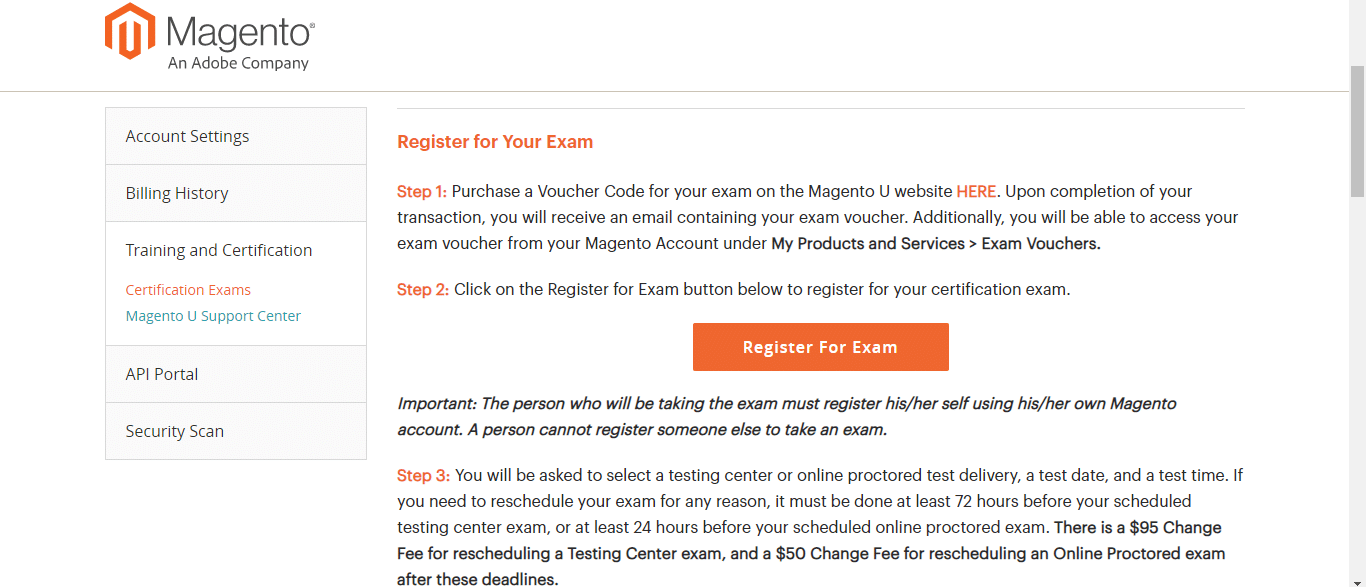
10. Magento U Support Center: From here, you can get the support related to training and certification. You can submit the ticket or read the knowledgebase.
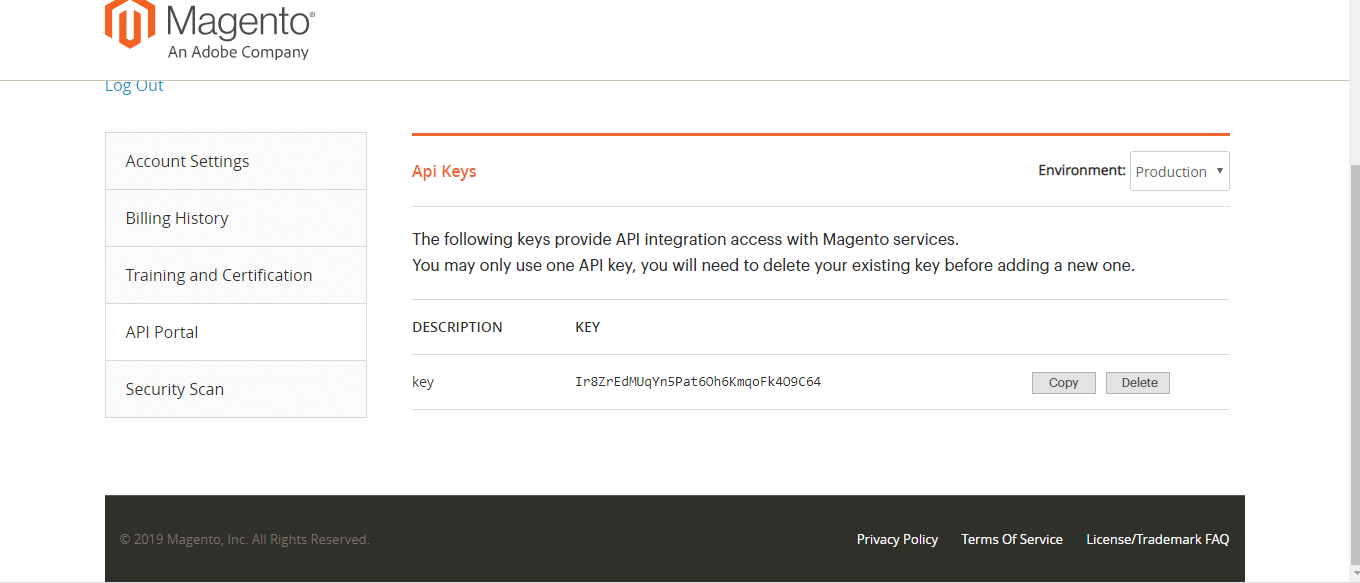
11. API keys: This key is for the integration access of Magento services, please note you can use only one key. If you want to regenerate, you need to delete existing to create a new one.
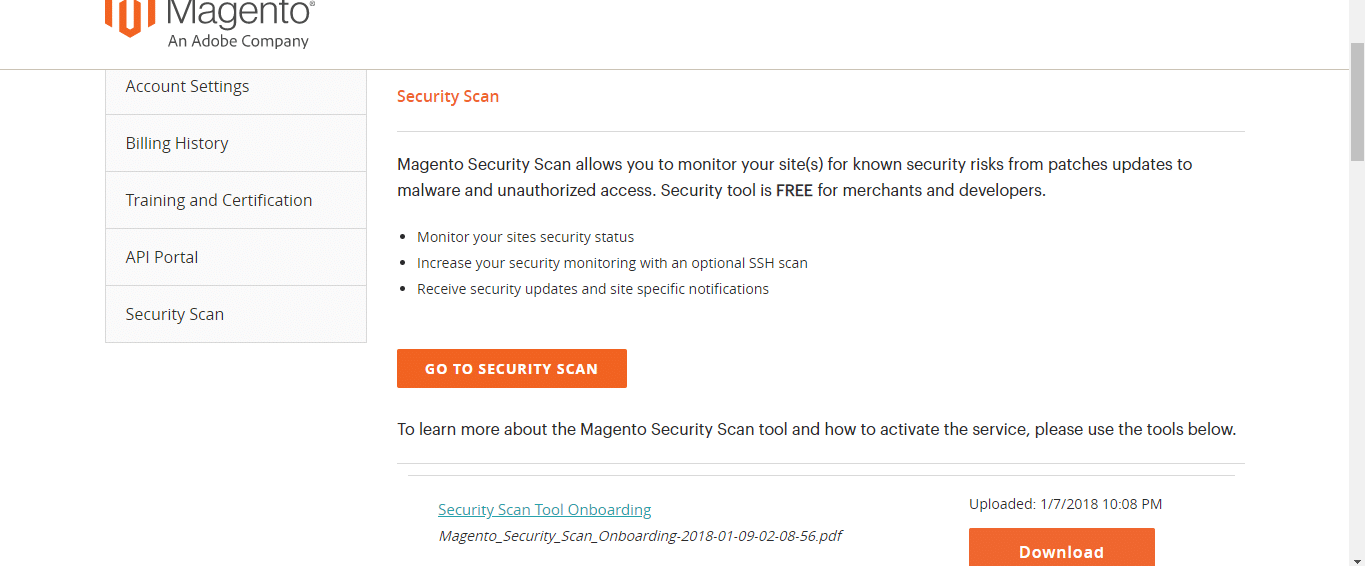
12. Security Scan: You can monitor your site(s) for known security risks from patches updates to malware and unauthorized access. The security tool is FREE for merchants and developers.
Magento guys have mentioned how to set it up for Magento 1 and Magento 2, but I will write another descriptive blog on it separately.
13. Now let’s go-to partner portal tab provided on the top.
If you are partner with Magento such as a solution partner, technology partner, or community insider, you will see yourself here.
In the opportunity tab, they have mentioned two tabs Web leads and Email Notifications.
Web Leads: Magento sends the leads to the extension vendor from here.
Email Notifications: You can set a frequency of web leads email to you.
Marketplace Tab
1. The final tab is for Marketplace so you will be redirected to
Marketplace.magento.com as soon as you click on the Marketplace tab.
2. Click on My Profile, and you will see Marketplace related options here now.
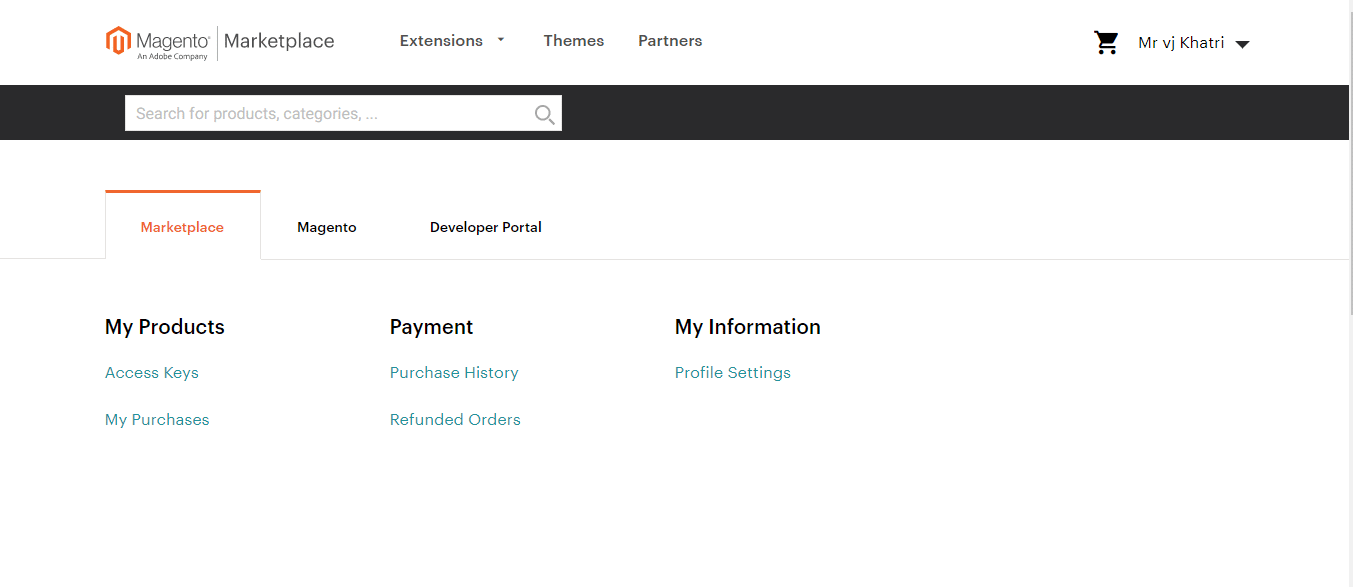
3. Access keys: These keys can be used to authorize downloads with Magento 2 for extension or theme installations. When you install the extension or theme using the composer, it asks for username and password, you need to enter the public key as a user and private key as a password to finish the installation.
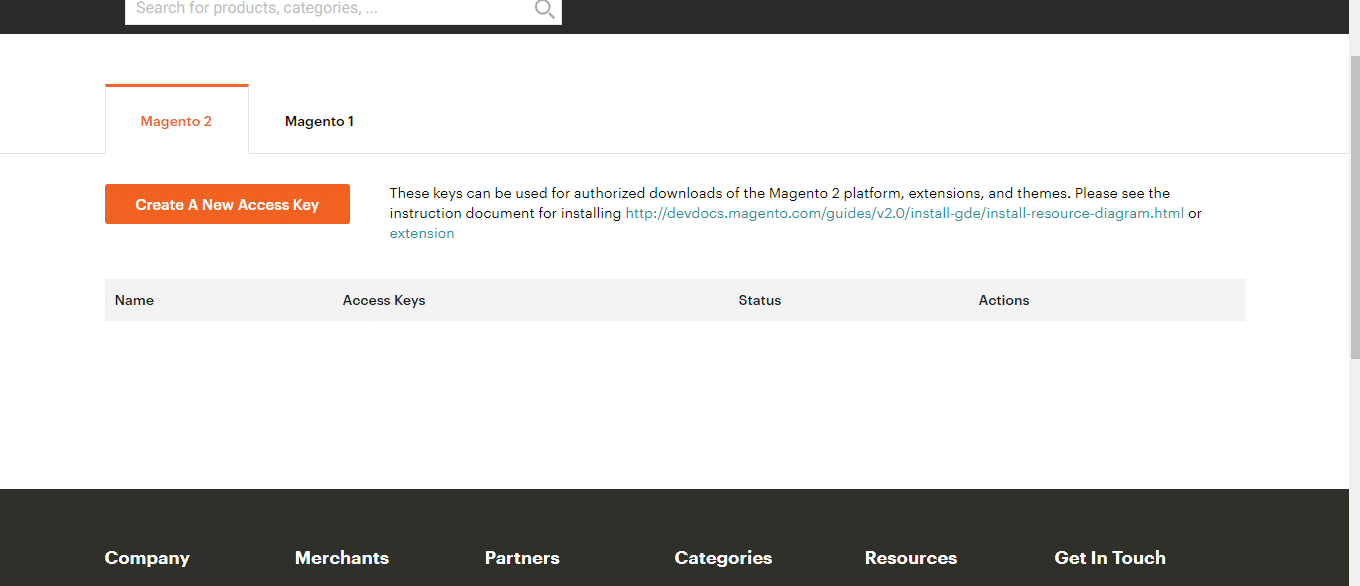
4. My Purchases: All the purchases you have done will be shown here. Whether free or paid extensions and themes.
5. Purchase History: Invoice, install button, download, contact seller all the options you will get from here.
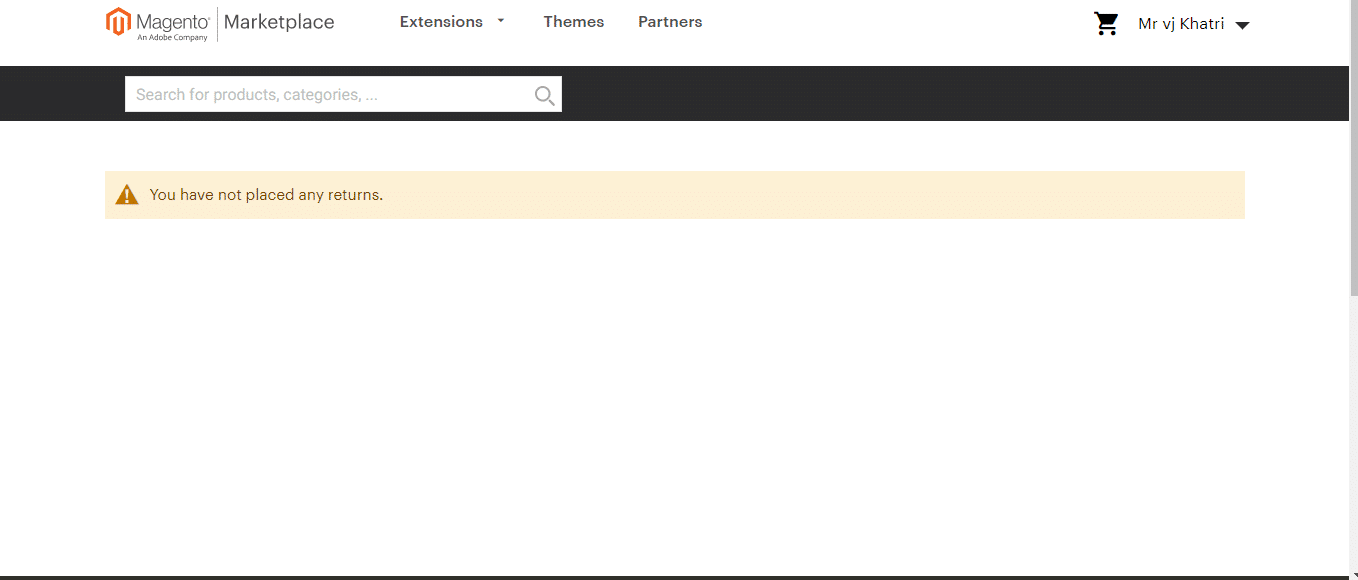
6. Refunded orders: It will show all the refunded orders you asked for.
7. Profile Information: This will redirect you to developer.magento.com
It’s for, if you want to upload your own extensions and theme to Marketplace, you can do it from this developer account, will discuss about it later in another blog.
8. Then you get the Magento tab, which will again redirect you to the previous section we already discussed about from the starting of this blog.
9. Developer portal: This will redirect you to developer.magento.com, and you can do as mentioned in point no.7
So, that’s it for the Magento account, we will discuss some points in detail in the next blogs. Till then, keep reading tutorials from the Magento tutorial series. If you have any queries, feel free to comment below. We will be happy to help you.
Happy Reading 🙂


