Hello Laravel Friends,
In this blog, I will illustrate How to Create GraphQL Mutation in Laravel 8.
In Laravel 8, a GraphQL mutation is a way to define and execute operations that modify data on the server. It allows you to perform create, update, and delete operations on your data through GraphQL.
Let’s find out How to Create GraphQL Mutation in Laravel 8?
Steps to Create GraphQL Mutation in Laravel 8:
Step 1: Create a New Laravel Project
To begin, we will create a new Laravel application using Composer by running the following command from the terminal:
composer create-project laravel/laravel:^8.0 graphql-app
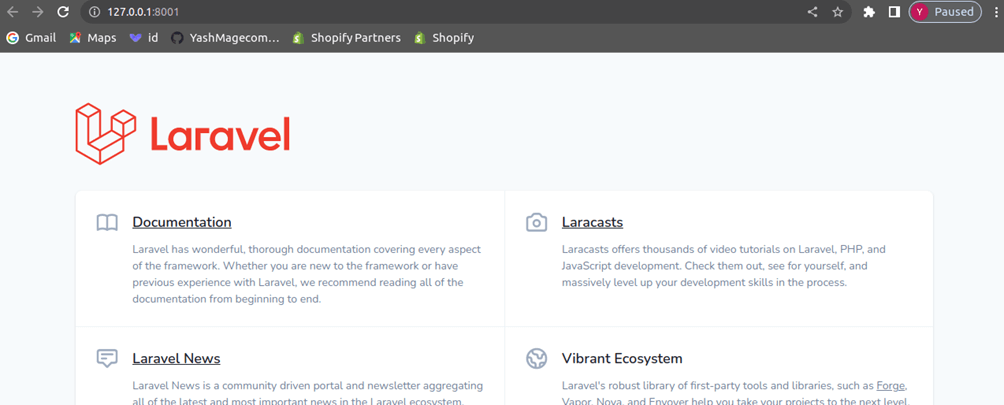
The preceding command will create a Laravel project in a new directory named lara-bookstore in your local development folder or whenever you run the command from. Go to the project folder and run the Laravel project to interact with the default functionality using the following command:
//move into project
cd graphql-app
//Run the project
php artisan serve

Step 2: Install GraphQL Laravel library
// Install library
$ composer require rebing/graphql-laravel
Once the installation is completed, publish a copy of the configuration file from the vendor folder using this command:
$ php artisan vendor:publish –provider="Rebing\GraphQL\GraphQLServiceProvider"
Output:

Step 3: Create Product Table
Using the below migration command, you can create a product table
php artisan make:migration create_products_table
Then add the following code
use Illuminate\Database\Migrations\Migration;
use Illuminate\Database\Schema\Blueprint;
use Illuminate\Support\Facades\Schema;

class CreateProductsTable extends Migration
{
    /**
     * Run the migrations.
     *
     * @return void
     */
    public function up()
    {
        Schema::create('products', function (Blueprint $table) {
            $table->id('product_id');
            $table->string('product_name');
            $table->string('product_description');
            $table->timestamps();
        });
    }

    /**
     * Reverse the migrations.
     *
     * @return void
     */
    public function down()
    {
        Schema::dropIfExists('products');
    }
}
Then run the following command:
$ php artisan migrate
Step 4: Create Product Model
Run the below command to create a book model
$ php artisan make:model Product
Then add the following code
namespace App\Models;

use Illuminate\Database\Eloquent\Factories\HasFactory;
use Illuminate\Database\Eloquent\Model;

class Product extends Model
{
    use HasFactory;

    protected $fillable = [
        'product_id',
        'product_name',
        'product_description',
    ];
}
Step 5: Building GraphQL Server
Begin by creating a GraphQL folder in the app folder of your application. Within this folder, create three new subfolders, namely:
- Mutations: This folder will house classes that will be used to carry out the insert, update, and delete operations.
- Queries: GraphQL queries will be used to fetch data from the database and the classes for that functionality will be defined here.
- Types: Types are objects that represent the kind of objects that can be retrieved from the database. The BookType class will be housed here.
Create Type:
Now we will create type to use for the GraphQL API. Use the following command to create type,
$ php artisan make:graphql:type GetProduct
Then add the code below
declare(strict_types=1);

namespace App\GraphQL\Types;

use GraphQL\Type\Definition\Type;
use Rebing\GraphQL\Support\Type as GraphQLType;

class GetProduct extends GraphQLType
{
    protected $attributes = [
        'name' => 'GetProduct',
        'description' => 'A type'
    ];

    public function fields(): array
    {
        return [
            "product_id" => [
                "type" => Type::int(),
                "description" => 'produt_id of product',
            ],
            "product_name" => [
                "type" => Type::string(),
                "description" => 'product_name of produc',
            ],
            "product_description" => [
                "type" => Type::string(),
                "description" => 'product_description of produc',
            ],
        ];
    }
}
Create Mutation:
Now we will create mutation to use for the GraphQL API. Use the following command to create mutation,
$ php artisan make:graphql:mutation AddProduct
After that, add the below code
declare(strict_types=1);

namespace App\GraphQL\Mutations;

use App\Models\Product;
use Closure;
use GraphQL\Type\Definition\ResolveInfo;
use GraphQL\Type\Definition\Type;
use Rebing\GraphQL\Support\Facades\GraphQL;
use Rebing\GraphQL\Support\Mutation;
use Rebing\GraphQL\Support\SelectFields;

class AddProduct extends Mutation
{
    protected $attributes = [
        'name' => 'addProduct',
        'description' => 'A mutation'
    ];

    public function type(): Type
    {
        return GraphQL::type("GetProduct");
    }

    public function args(): array
    {
        return [
	'product_name' => [
                "name" => "product_name",
                "type" => Type::string(),
            ],
            'product_description' => [
                "name" => "product_description",
                "type" => Type::string(),
            ],
        ];
    }

    public function resolve($root, array $args, $context, ResolveInfo $resolveInfo, Closure $getSelectFields)
    {
        /** @var SelectFields $fields */
        $fields = $getSelectFields();
        $with = $fields->getRelations();

        $product = Product::Create([
	‘product_name’ => $args[‘ product_name’],
	‘product_description’ => $args[‘ product_description’],
        ])->product_id;

       return $product;
    }
}
Now you need to add both files to config/graphql.php and then clear the config cache.
config/graphql.php
'schemas' => [
        'default' => [
            'query' => [

            ],
            'mutation' => [
                "addProduct" => \App\GraphQL\Mutations\AddProducts::class,
            ],
            // The types only available in this schema
            'types' => [
                "GetProduct" =>  \App\GraphQL\Types\GetProduct::class,
            ],

            // Laravel HTTP middleware
            'middleware' => null,

            // Which HTTP methods to support; must be given in UPPERCASE!
            'method' => ['GET', 'POST'],

            // An array of middlewares, overrides the global ones
            'execution_middleware' => null,
        ],
    ],
Now open Postman and try the below,
Graphql endpoint http://127.0.0.1/graphql.
       Body perameter  mutation {
                                  addProduct(
					product_name: "product 1",
					product_description: "this is description"
				)
				{
					product_id,
					product_name,
					product_description
				}
Output :
{
	“product_id” : 1,
	“product_name” :  “product 1”,
	“product_decription” : "this is description"
}
Conclusion:
That’s it! You have now created a GraphQL mutation in Laravel 8 to handle data modifications in a structured and efficient manner. You can add more mutations following a similar pattern and extend your GraphQL API as needed.
Also learn How to Create GraphQL API in Laravel 8.
Happy Coding!


