
Hello Shopify Friends,
I will explain How to Manage User & Permissions in Shopify Store in today’s tutorial guide.
To manage the Shopify store properly, you need staff members to carry out various tasks. You can set user permissions to determine what they can access and what not. Shopify user management allows admin to add users and give permissions. Managing users and permissions in a Shopify store involves controlling access to various store functionalities and determining what actions different users can perform.

Things to Consider before giving permissions in Shopify:
Carefully consider which permissions you give to your staff members. Take into consideration the below matters before giving access permission to your staff.
- Create only one staff login per staff for safety concerns.
- Sensitive information like order data and customer data can be accessed only by the most trusted staff members.
- It is a good practice to give sensitive administrative tasks to more than one user in order to avoid any vulnerable activities with their account.
- Encourage staff members to activate 2-step authentication for security purposes.
Steps to Manage Shopify Users and Permissions:
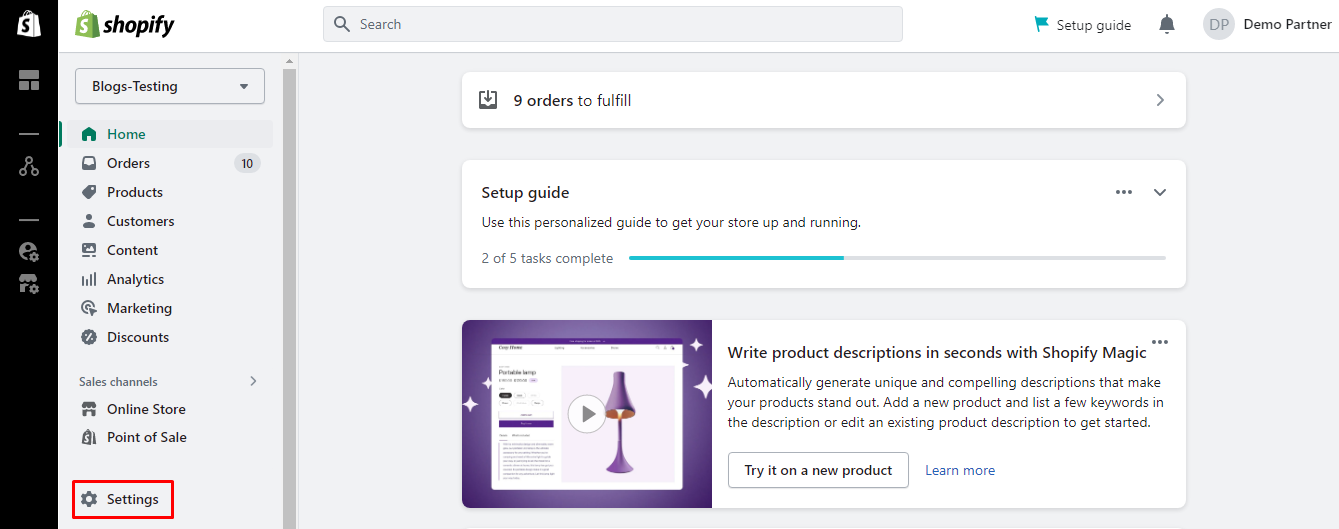
Step 1: Log in to your Shopify admin account.
Step 2: Locate the Settings option from the left menu.
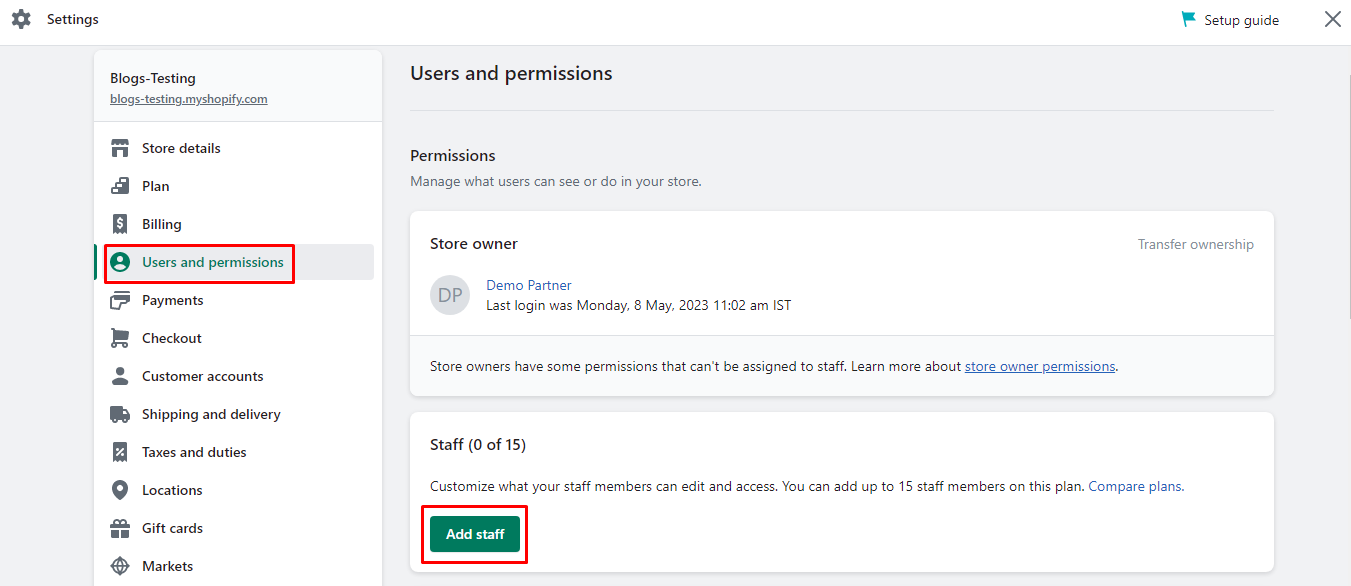
Step 3: Select the Users and permissions option and click the Add staff button.
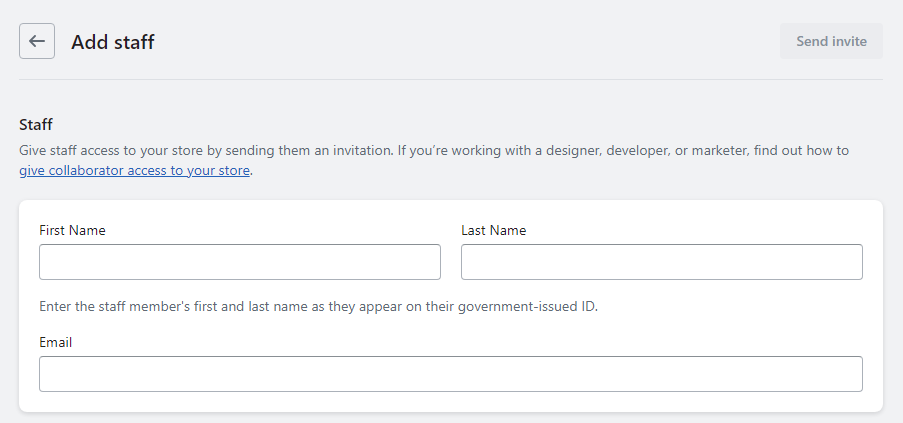
Step 4: Enter the staff’s First Name and Last Name as per the government ID. Now enter their Email.
Step 5: Next, set the Store permissions for different store areas.
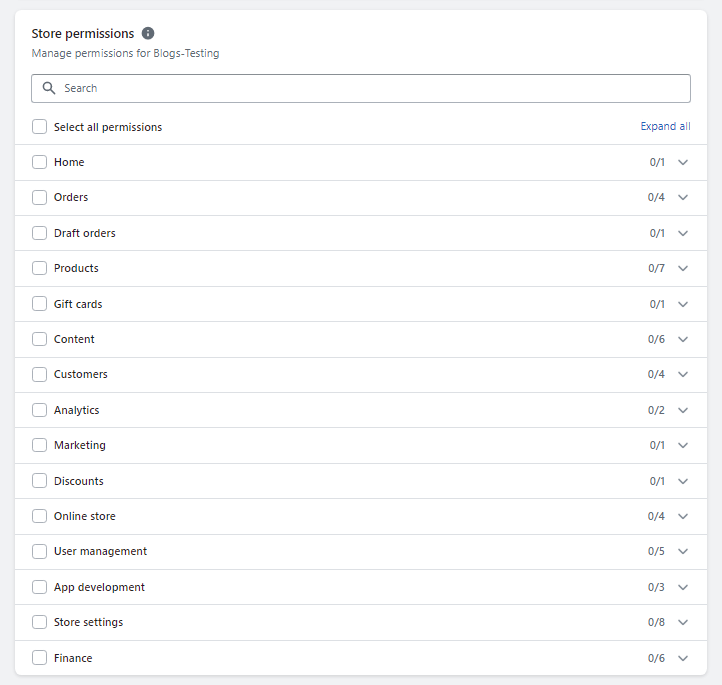
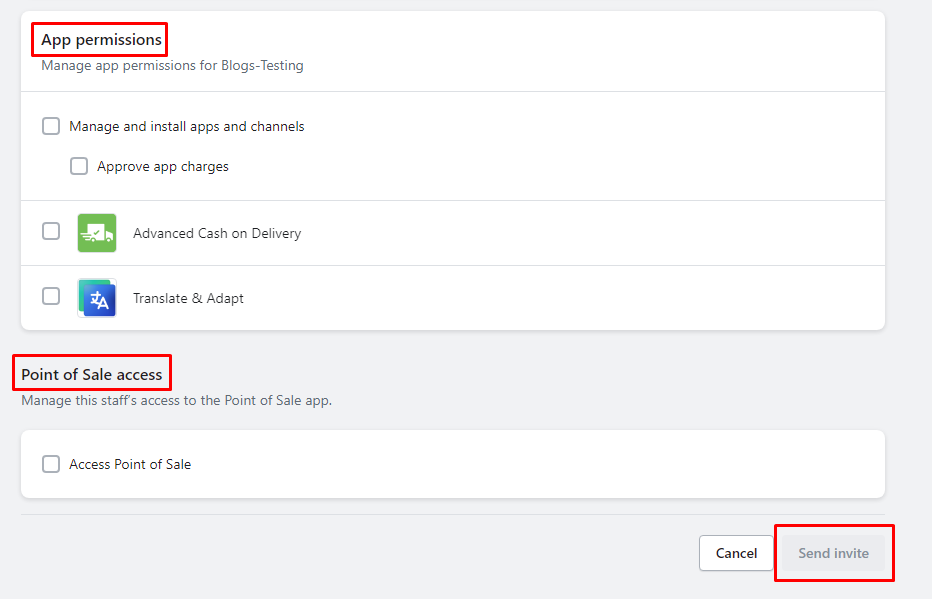
Step 6: Set App permissions and Point of Sale access. Once all the settings are done, click the Send invite button.
An email invitation will be sent to the staff member’s email address, allowing them to set up their account and access the store.
Manage existing staff accounts in Shopify
To modify or remove permissions for existing staff accounts, return to the “Staff accounts” page. From there, you can edit the staff account details, change roles, or remove staff accounts altogether.

Concluding Words:
Therefore, you can easily manage Shopify users and permissions using the above instructions. If you face any difficulty, you can connect with me through the comment box or Hire Shopify Developer for professional assistance.
Happy Reading!
—————————————————————————————————————————————–
Frequently Asked Questions
(1) What is Shopify store admin?
Answer: Your Shopify admin is home to all of the information about your business on Shopify, and where you complete most of your store management tasks. After logging in to Shopify, you can set up your store, configure your settings, and manage your business using the Shopify admin.
(2) How do I give permission to a user in Shopify?
Answer:
- From your Shopify admin, click Settings > Users and permissions.
- Click Add staff.
- Enter the staff members’s full name as it is displayed on any government-issued ID, and their email address.
- Do either of the following: Select which permissions you want to give the staff member.
- Click Send invite.
(3) How do I get admin access to my Shopify store?
Answer: You can access the Shopify organization admin by logging in to a store in your organization, and then using the global navigation menu to access and manage components of your organization, such as users and stores.
(4) Can you restrict access on Shopify?
Answer: You can restrict not-logged-in users from accessing any content in the store by creating a lock in our application which also allows you to control who can access your pages, products, collections, etc. of your Shopify store.

(5) How do I allow user permissions?
Answer:
- Access the Properties dialog box.
- Select the Security tab.
- Click Edit.
- In the Group or user name section, select the user(s) you wish to set permissions for.
- In the Permissions section, use the checkboxes to select the appropriate permission level.
- Click Apply.
- Click Okay.