
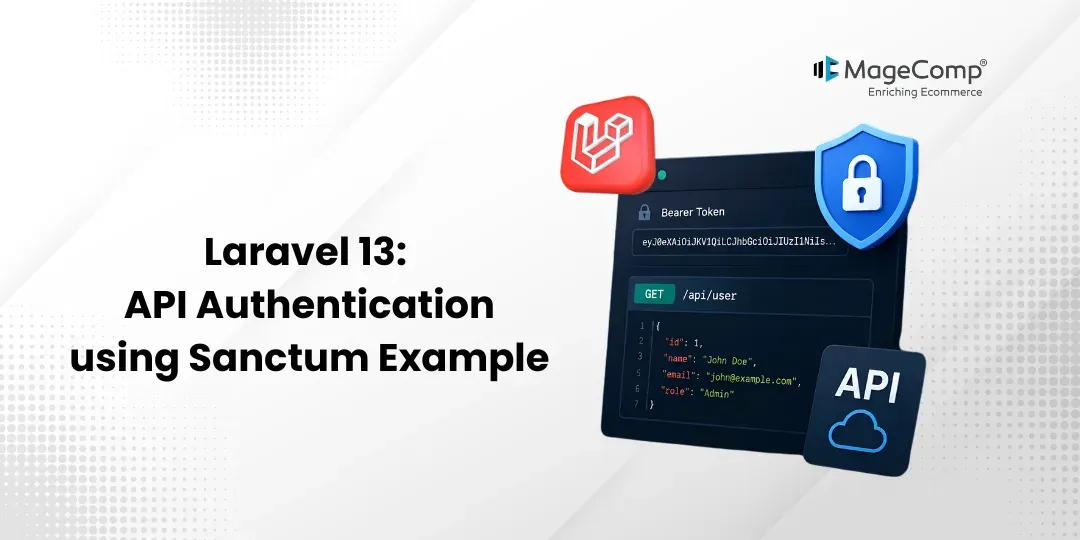
This blog will show you how to use Laravel 13 with Sanctum for API Authentication.
The simple and light API authentication provided by Sanctum allows for token authentication for SPA applications, mobile applications, and APIs in Laravel that use tokens. The user of the application can authenticate themselves through the use of the API token. With Laravel version 13, the framework itself uses Sanctum, making it straightforward to implement API authentication due to built-in packages. Here, we are going to demonstrate an example of PHP API authentication with the Laravel 13 Sanctum library.
Here, we are going to create a practical example of PHP API Authentication using the Laravel 13 Sanctum library.

Steps for Laravel 13 API Authentication using Sanctum
- Step 1: Install Laravel 13
- Step 2: Install Laravel Sanctum
- Step 3: Configure Sanctum
- Step 4: Run Migration
- Step 5: Create Authentication Controller
- Step 6: Create API Routes
- Step 7: Test API Authentication
- Run Laravel Application
Step 1: Install Laravel 13
To begin with, first create a new Laravel application from scratch using the following command:
composer create-project laravel/laravel example-appStep 2: Install Laravel Sanctum
Next, install the Laravel Sanctum package using the following command
composer require laravel/sanctumPublish the sanctum configuration file and migration by using the following command:
php artisan vendor:publish –provider="Laravel\Sanctum\SanctumServiceProvider"Step 3: Configure Sanctum
Now add Sanctum middleware and configuration.
Update the app/Models/User.php file:
<?php
namespace App\Models;
use Laravel\Sanctum\HasApiTokens;
use Illuminate\Foundation\Auth\User as Authenticatable;
use Illuminate\Notifications\Notifiable;
class User extends Authenticatable
{
    use HasApiTokens, Notifiable;
    protected $fillable = [
        'name',
        'email',
        'password',
    ];
    protected $hidden = [
        'password',
        'remember_token',
    ];
}
Step 4: Run Migration
Execute the migration using the following command:
php artisan migrateStep 5: Create Authentication Controller
Now, create an Authentication Controller using the following command:
php artisan make:controller Api/AuthControllerNow update the following code in:
app/Http/Controllers/Api/AuthController.php
<?php
namespace App\Http\Controllers\Api;
use App\Http\Controllers\Controller;
use Illuminate\Http\Request;
use Illuminate\Support\Facades\Auth;
use Illuminate\Support\Facades\Hash;
use App\Models\User;
class AuthController extends Controller
{
    /**
     * Register User
     */
    public function register(Request $request)
    {
        $request->validate([
            'name' => 'required|string|max:255',
            'email' => 'required|email|unique:users',
            'password' => 'required|min:6',
        ]);
        $user = User::create([
            'name' => $request->name,
            'email' => $request->email,
            'password' => Hash::make($request->password),
        ]);
        $token = $user->createToken('auth_token')->plainTextToken;
        return response()->json([
            'message' => 'User Registered Successfully',
            'token' => $token,
            'user' => $user
        ]);
    }
    /**
     * Login User
     */
    public function login(Request $request)
    {
        if (!Auth::attempt($request->only('email', 'password'))) {
            return response()->json([
                'message' => 'Invalid Credentials'
            ], 401);
        }
        $user = User::where('email', $request->email)->first();
        $token = $user->createToken('auth_token')->plainTextToken;
        return response()->json([
            'message' => 'Login Successfully',
            'token' => $token,
            'user' => $user
        ]);
    }
    /**
     * Get Authenticated User
     */
    public function profile(Request $request)
    {
        return response()->json($request->user());
    }
    /**
     * Logout User
     */
    public function logout(Request $request)
    {
        $request->user()->currentAccessToken()->delete();
        return response()->json([
            'message' => 'Logout Successfully'
        ]);
    }
}
Step 6: Create API Routes
Now update the following code in:
routes/api.php
<?php
use Illuminate\Support\Facades\Route;
use App\Http\Controllers\Api\AuthController;
Route::post('/register', [AuthController::class, 'register']);
Route::post('/login', [AuthController::class, 'login']);
Route::middleware('auth:sanctum')->group(function () {
    Route::get('/profile', [AuthController::class, 'profile']);
    Route::post('/logout', [AuthController::class, 'logout']);
});
Step 7: Test API Authentication
Now test the API routes using Postman.
Register API
Method: POST
http://127.0.0.1:8000/api/register
Request Body:
{
"name": "Admin",
"email": "admin@example.com",
"password": "123456"
}
Login API
Method: POST
http://127.0.0.1:8000/api/login
Request Body:
{
"email": "admin@example.com",
"password": "123456"
}
After successful login, you will receive an API token. Use this token in the Authorization Header:
Bearer YOUR_TOKENProfile API
Method: GET
http://127.0.0.1:8000/api/profile
Logout API
Method: POST
http://127.0.0.1:8000/api/logout
Run Laravel App
php artisan serveConclusion:
Using Laravel Sanctum is one of the easiest and most secure ways to implement API authentication in Laravel applications.

Happy Coding!
FAQ
1. What is Laravel Sanctum used for?
Laravel Sanctum is mainly used for token-based API authentication in Laravel applications.
2. Is Sanctum better than Passport?
If we consider weight, Laravel Passport is heavier than Sanctum. If you need a full OAuth2 authentication system, then use Passport.
3. Can I use Sanctum for mobile apps?
Yes, Laravel Sanctum can be used for mobile application API authentication, including Android and iOS apps.