Hello, Magento Friends!
This tutorial blog is a step-by-step guide on How To Install Cloudflare CDN For Magento 2. First, we will brief you all about what CDN is, then we will get going with its steps to install.
Let’s get going!
What is CDN?
CDN is an abbreviation of Content Delivery Network which implies a shared group of servers operating together to achieve fast internet content. It helps to provide content to the users through global networks and is the largest CDN provider worldwide. With the aid of CDN, enterprises can easily target customers from around the globe.
Steps To Install Cloudflare CDN For Magento 2
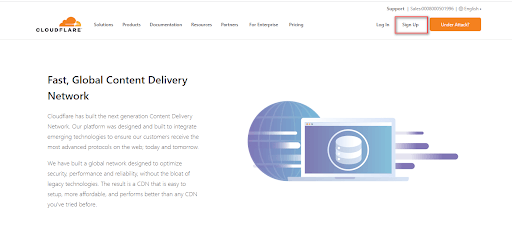
Step 1: Sign Up to the Cloudflare Account and Add your Domain Name
Navigate to the Global Content Delivery Network Service Cloudflare and create your cloudflare account by signing up with your email id and password.
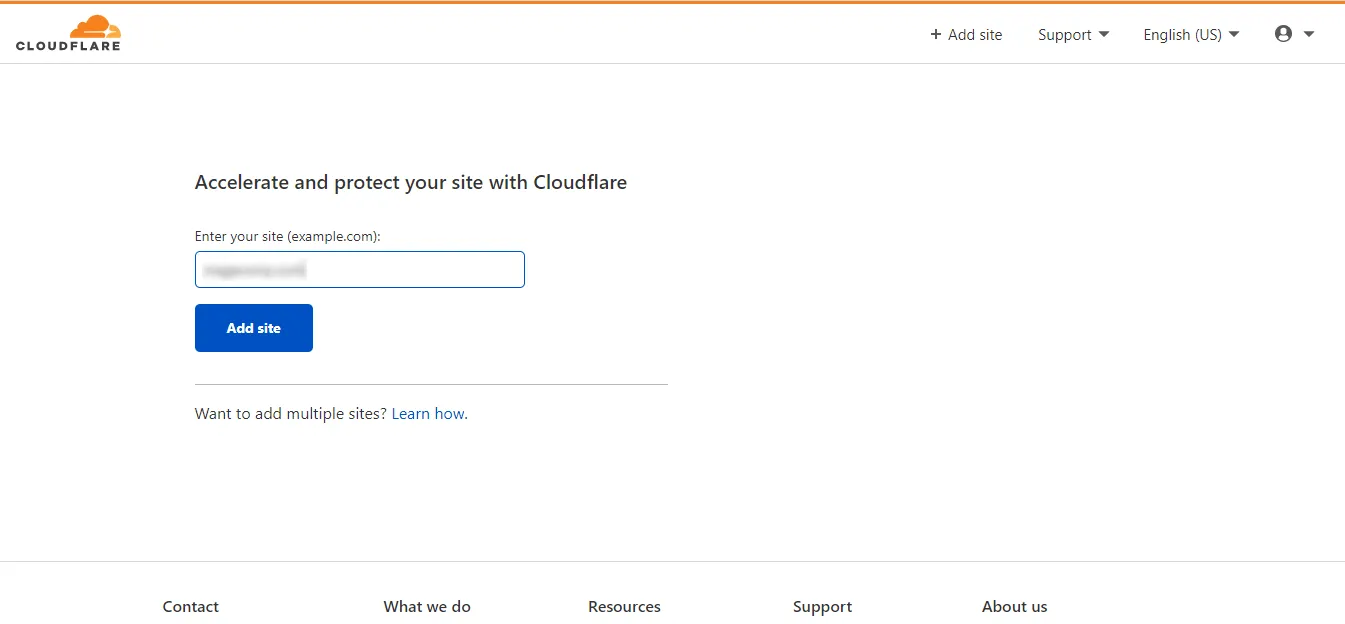
Then, add the domain name in the Enter Your Site field and click on the Add Site button.
Step 2: Replace your Domain Name Servers with Cloudflare
Change your nameservers to Cloudflare by navigating to the domain management page as per the guidance. Our changed domain name servers are as below:
magecomp1.ns.cloudflare.com
magecomp2.ns.cloudflare.com
Step 3: Configure CloudFlare to Server
Access the DNS tab in the Cloudflare
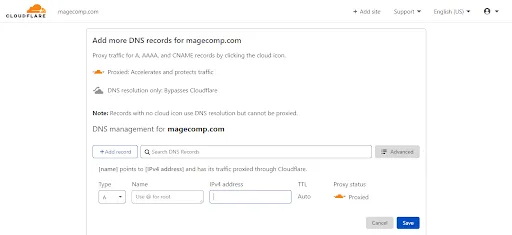
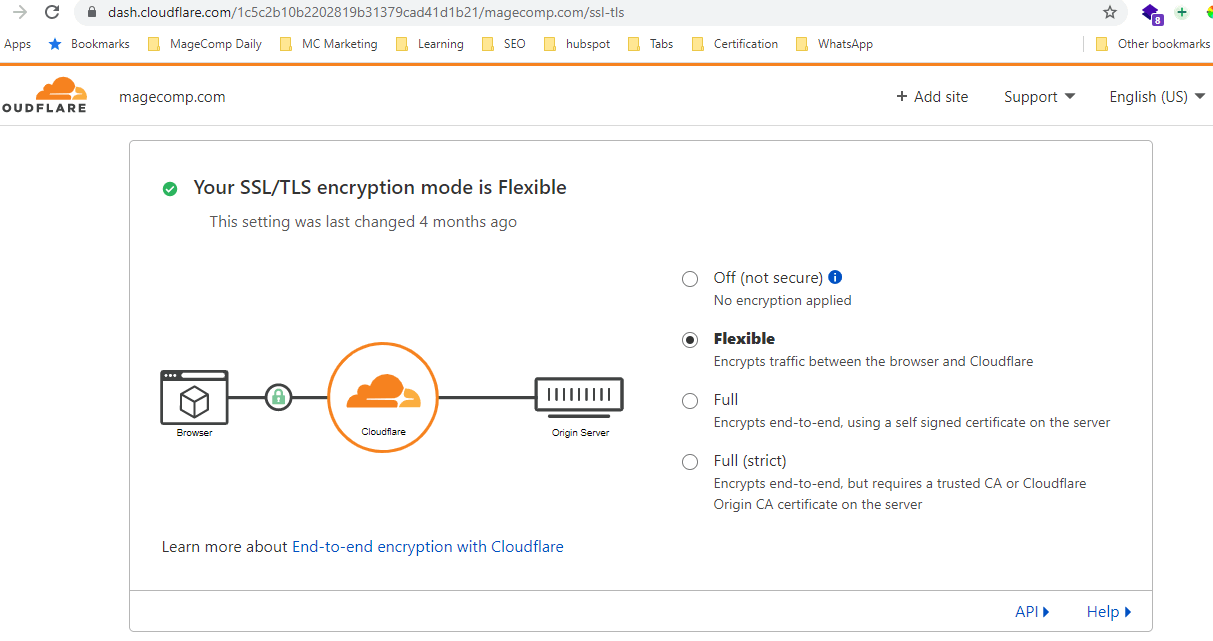
Fill in all the DNS records required indicating the server’s IP and enable Cloudflare, the yellow icon to utilize CDN of Cloudflare. Also, the IP changes if the CDN is turned on and the SSL won’t be allowed to be used and an error notification will be displayed. So, to resolve this problem, use Cloudflare’s SSL at the Crypto tab.
Step 4. Set Up Cloudflare Module For Magento 2
First, it is required to order modules from the marketplace and then set up the Cloudflare module through composer.
Follow this path for the module at the marketplace cloudflare/cloudflare-magento
Then, access the SSH and find the root folder of Magento. After that enter the below command:
composer require cloudflare/cloudflare-magento:1.3.4
Then, replace the 1.3.4 with the version you ordered from the marketplace.
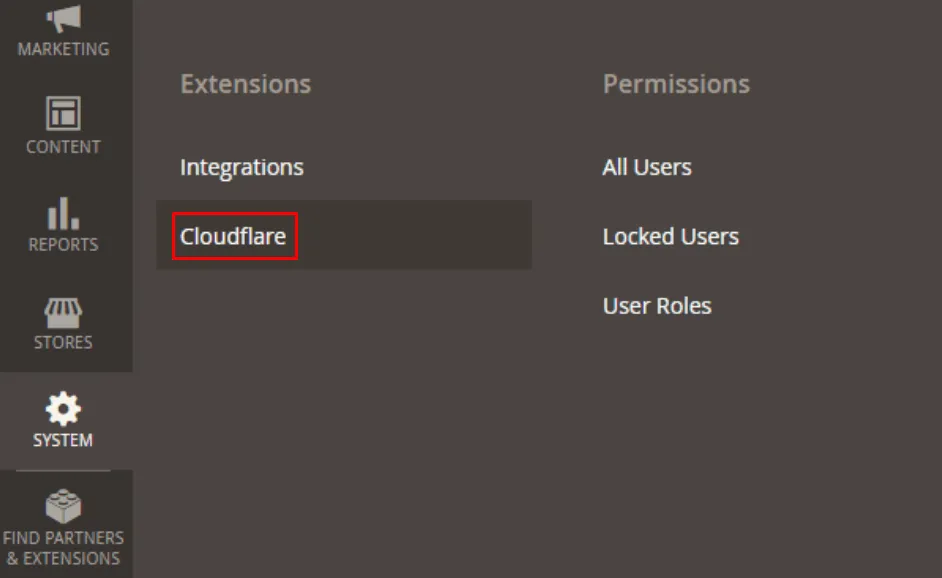
On finishing the set up of Cloudflare via composer, navigate to the admin panel
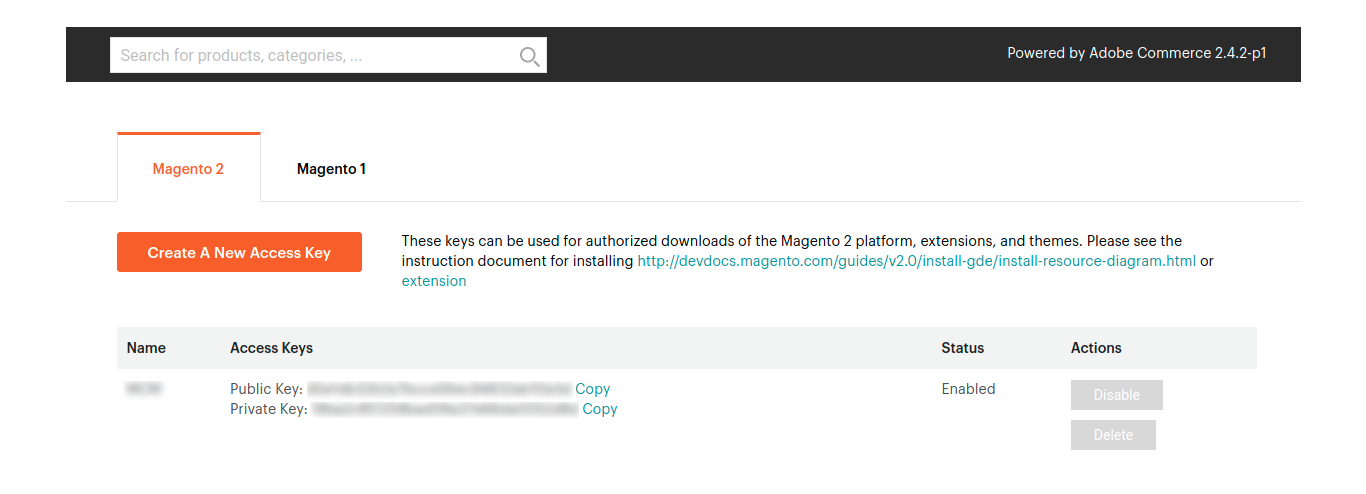
Now, log in to Cloudflare and click on the View button to get the API key. The below image shows the public and private access keys.
Closure:
So, this is how we can Install and Configure Cloudflare CDN for Magento 2. If you encounter any difficulty, reach out to us in the comments section below. Share this blog with your Magento buddies and via social media platforms.
Have a G’day!
Happy Reading!