This is merely an alternative step by step guide to install Magento 2 on Windows on XAMPP server with GIT.
We will keep this guide updated with the problems if you or we face and solutions of those.
With the latest GitHub push, Magento 2 can now be downloaded and installed completely using Composer! Composer is used to manage the dependency.
Check system Configuration
Apache Version: 2.2 or 2.4 and Enable: mod_rewrite.mod_rewrite enables the server to perform URL rewriting.
PHP: 5.4.x where x = 11 or later 5.5.x and
Enable PHP Extension: PDO/MySQL,mbstring, mcrypt, mhash, simplexml, curl, gd2, ImageMagick 6.3.7 (or later) or both soap. XAMPP doesn’t have all the php dll installed, you may need to download some like php_imagick.dll, php_mcrypt.dll, php_mhash.dll
MySQL Version : 5.6.x and upper
- Download the Git GUI software from https://git-scm.com/download/win
- Install on your windows OS normally.
- Once installed you will see following screen
- Click on Clone Existing Repository

- Enter Source Location : https://github.com/magento/magento2.git
- Target Directory will be your XAMPP htdocs, something like this

- Let Process finish
- Once finished, you will see the Magento 2 clone files at the Target Directory. Files are something like

- Download composer set up for windows https://getcomposer.org/download/
- Once downloaded, copy Composer-Setup.exe and paste it in the root of Magento2 files. See above screenshot.
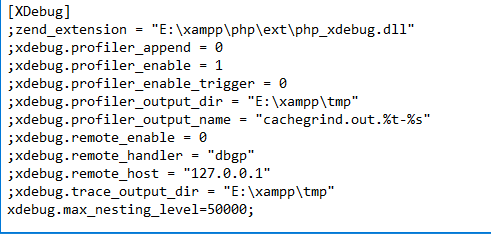
- add xdebug.max_nesting_level=50000; at php.ini

- Open Command Prompt with administrator privileges.
- Go to the path of Magento 2 directory in htdocs of XAMPP
- Run this command
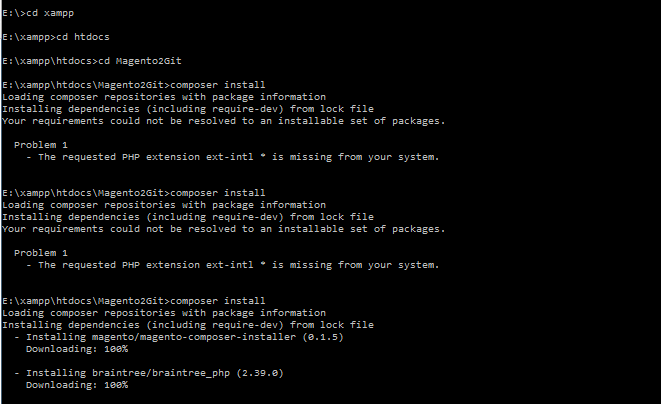
1composer install - Process shall be started,

- Once complete, you should get this screen

- If you want to install the Magento with sample data. There are 3 methods for it.
a. Method 1
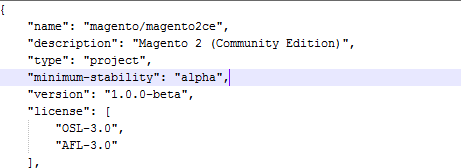
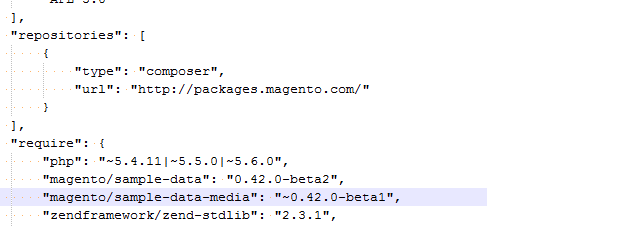
Enable the sample data. Find the composer.json in the root of Magento2 files. Open it and add.
1"minimum-stability": "alpha",
- Now run following command
1composer config repositories.magento composer http://packages.magento.com - Run composer require magento/sample-data:~1.0.0-beta

- Wait for the process to finish.
- The final step would be to install the sample data itself. Run the magento executable in the bin folder of your Magento 2 installation like the following:
b. Method 2123php magento setup:upgradephp magento sampledata:install <your Magento administrator user name>
1. Find composer.json in the root of Magento
2. Search for the “repositories” section, if it is available in the file and add following block. If not available then add the whole block.
3. Save the composer.json file
4. Open Command Prompt and go to Magento installation directory.
Run command1composer update5. Now run the installation steps.
C. Method 3
1. Find the composer.json to include the new Sample Data repository. If you don’t want to directly edit this file. You run the following command to complete this action:1composer config repositories.magento composer http://packages.magento.com2. Run following command to add the sample data and sample data media packages
1composer require magento/sample-data:0.42.0.beta1 magento/sample-data-media:0.42.0-beta1 –dev3. Install the sample data using following command.
1php dev/tools/Magento/Tools/SampleData/install.php –admin_username=adminadmin is the username here, change it to yours.
Process may take sometime, be patient. If you interrupt, it can corrupt or crash the Magento. - Head over to browser now and go to the url : http://localhost/magento2
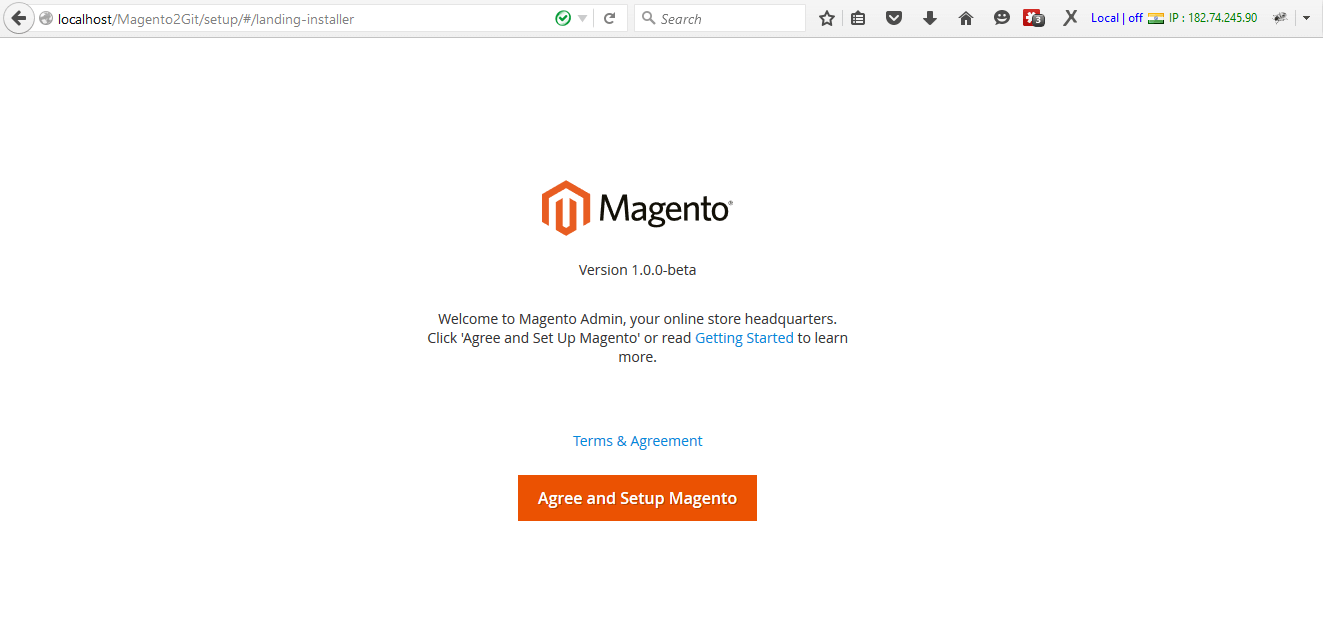
You should be able to seen this screen
- Click on Agree and Setup Magento and click Next
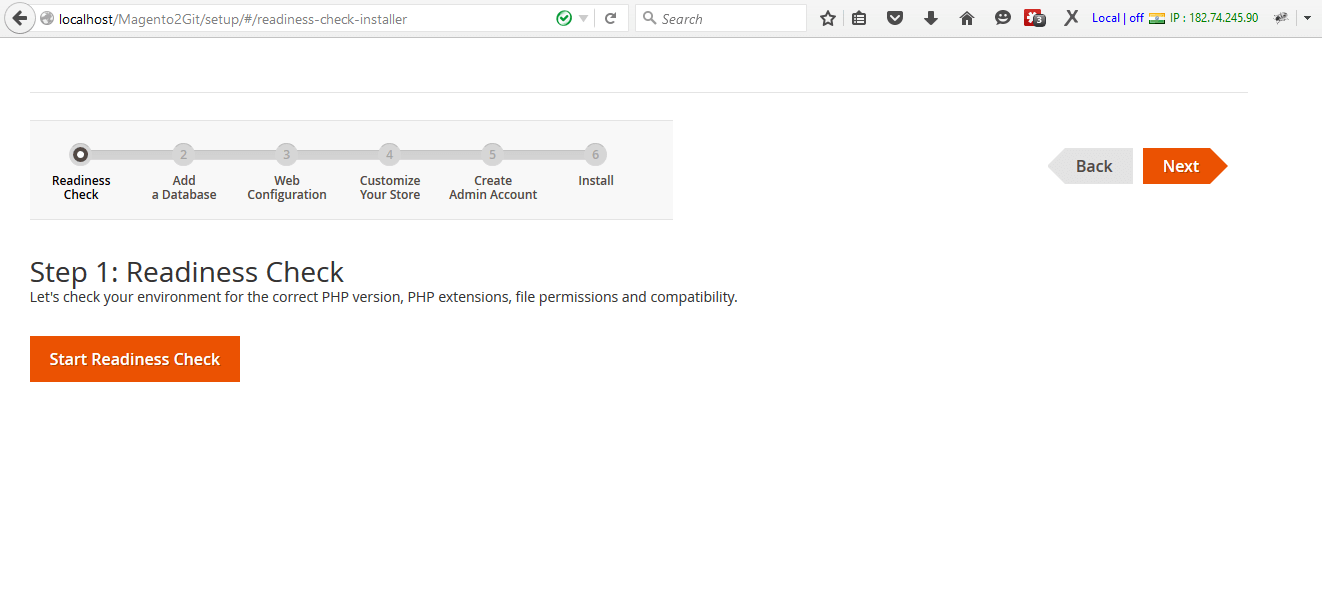
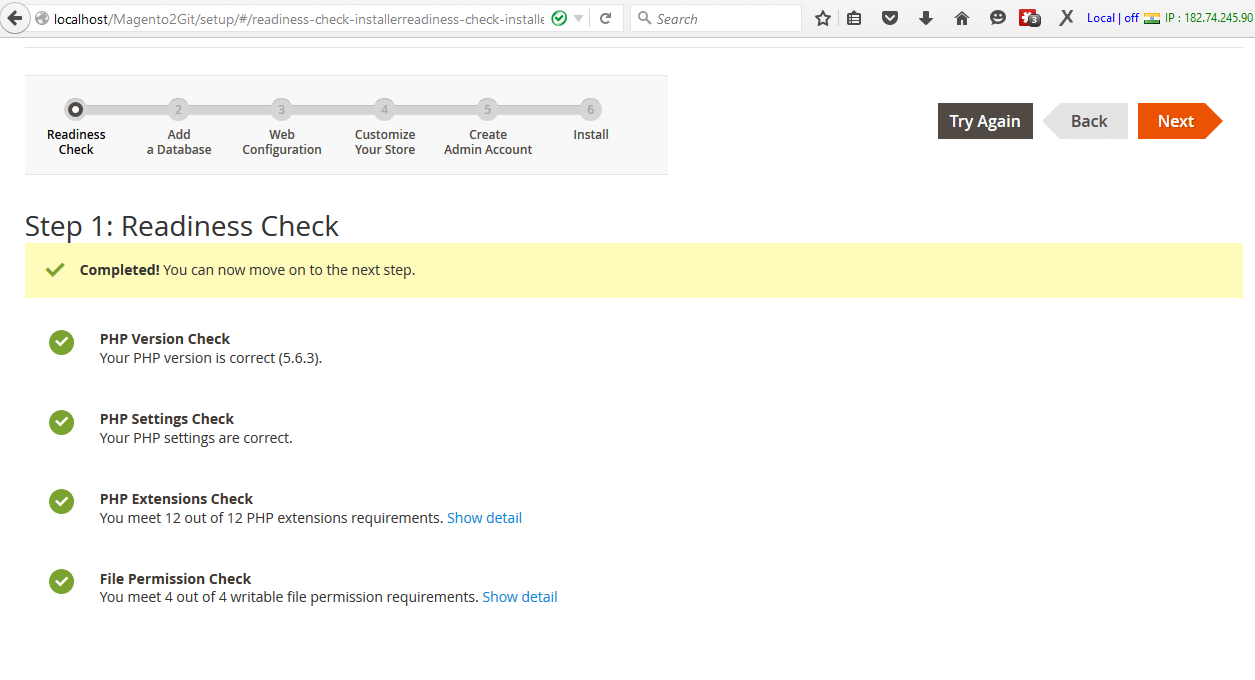
- It will start Readiness Check, like php version, php settings check, Php extensions check, File permission check.

- You should receive following screen if everything goes fine. Click Next.

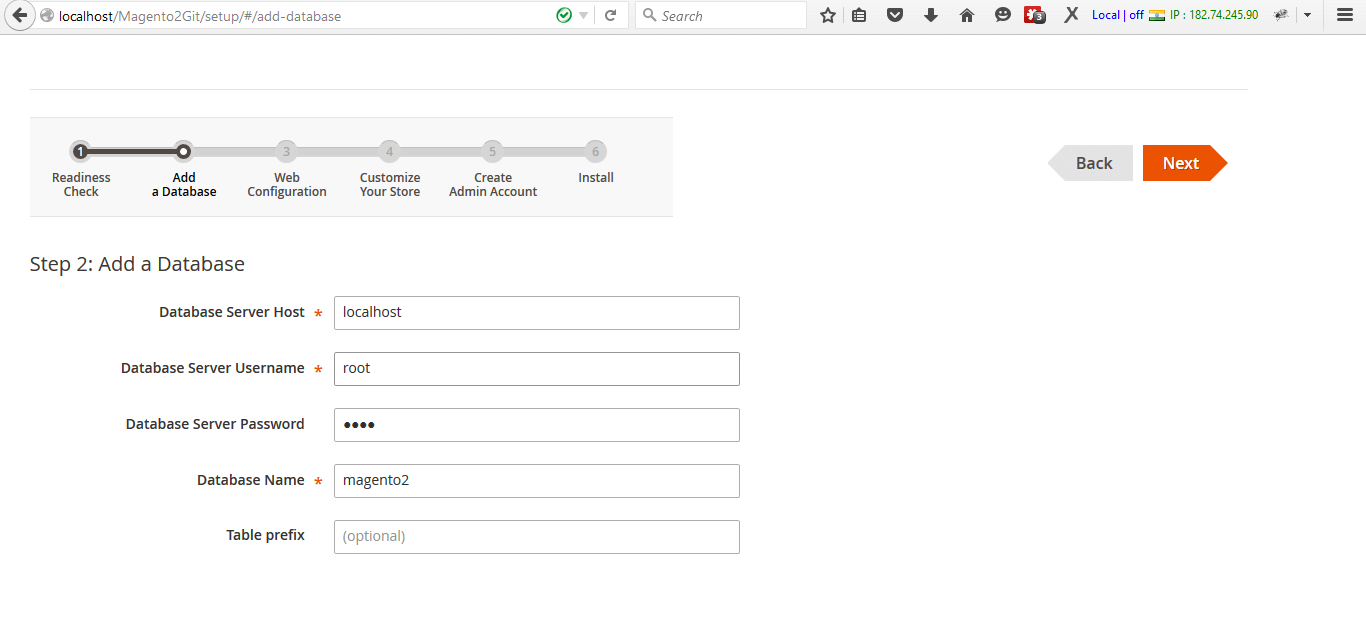
- Next screen is to configure the database details.

- Web configuration screen

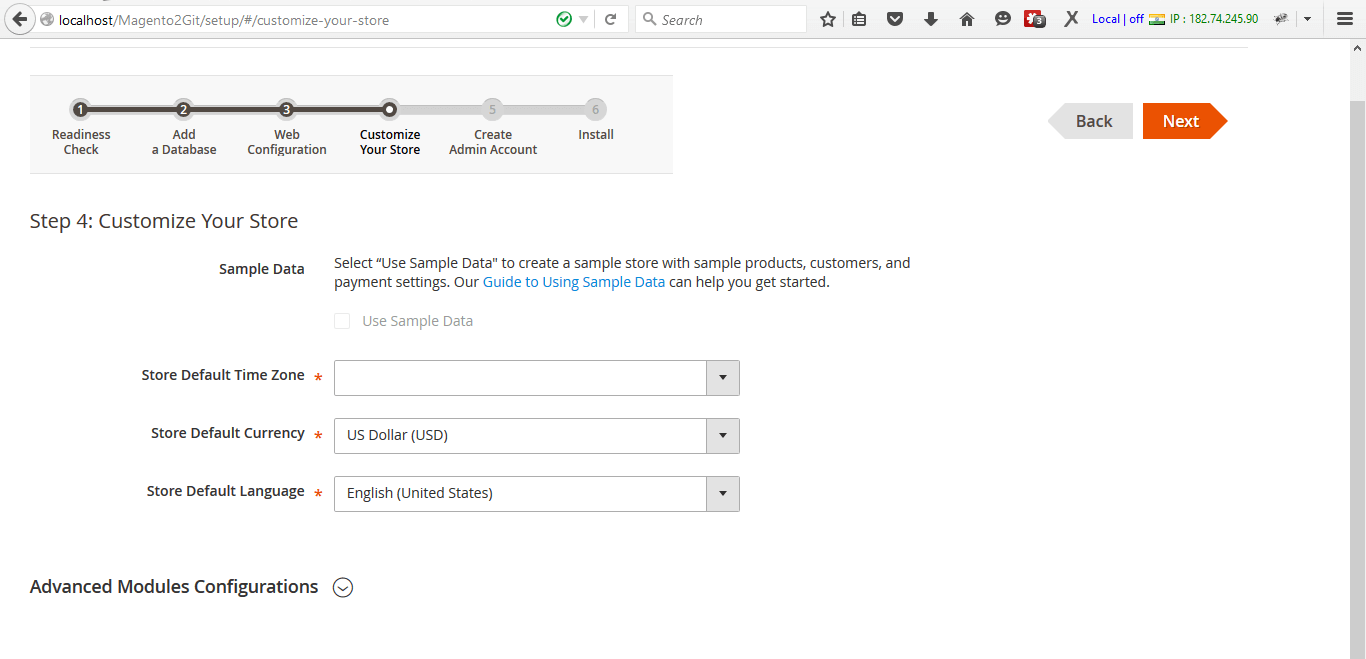
- If you have already donloaded sample data then this screen will show the option. Set default time zone and click on Next.

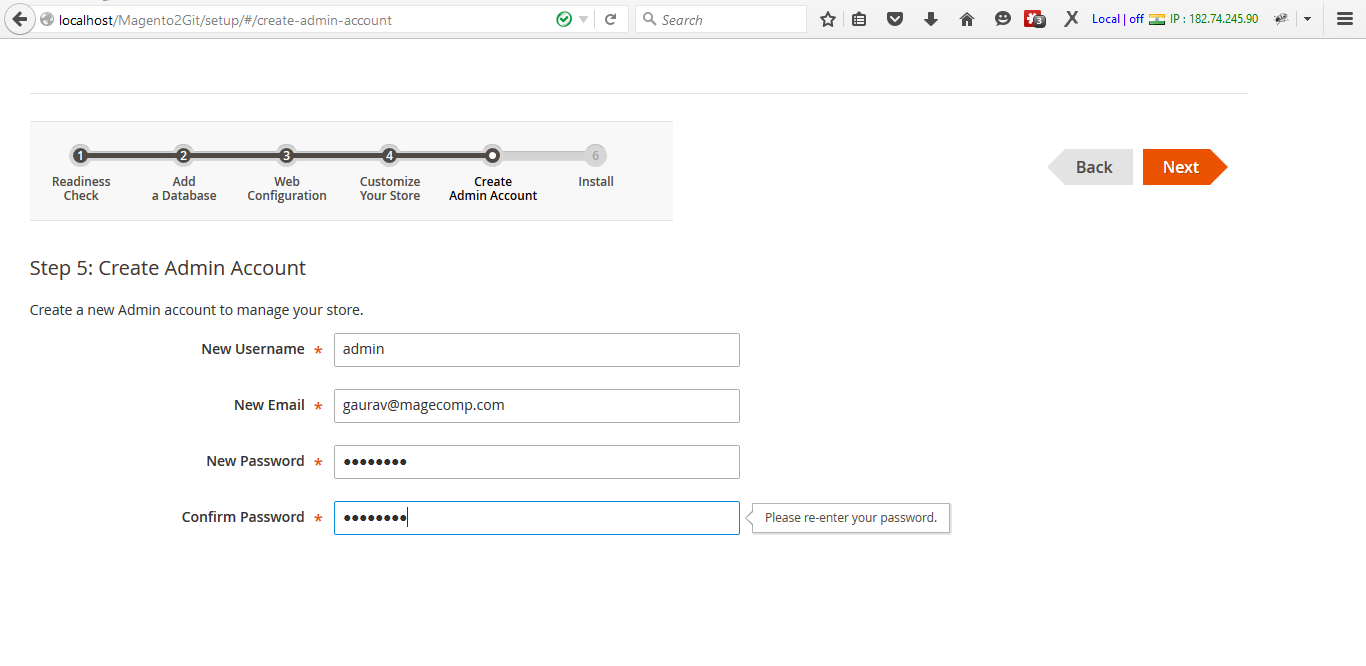
- Create admin account and configure it.

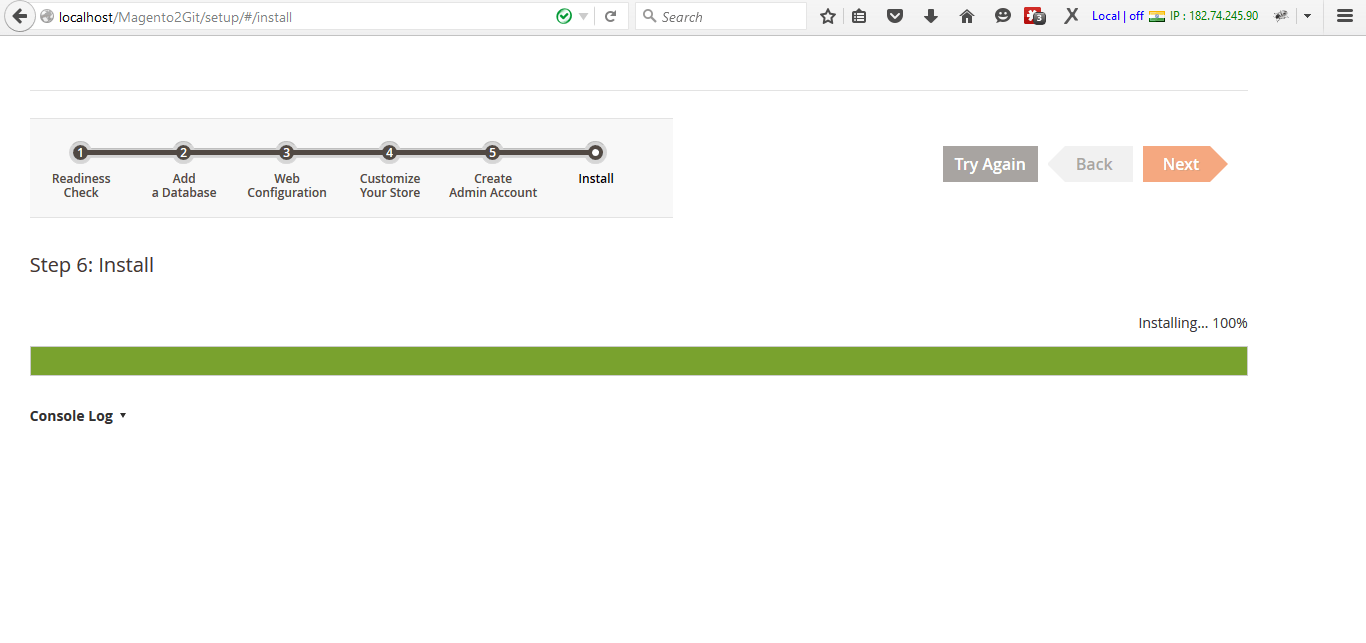
- Click Next you will see, Ready Install button, go ahead and let process finish.

- Once installed, go to frontend and backend to check the brand new Magento 2.0.
Problems I faced.
-
- I got error first time,
Problem 1
- I got error first time,
– The requested PHP extension ext-intl * is missing from your system.
Solution : Go to php.ini and enable uncomment the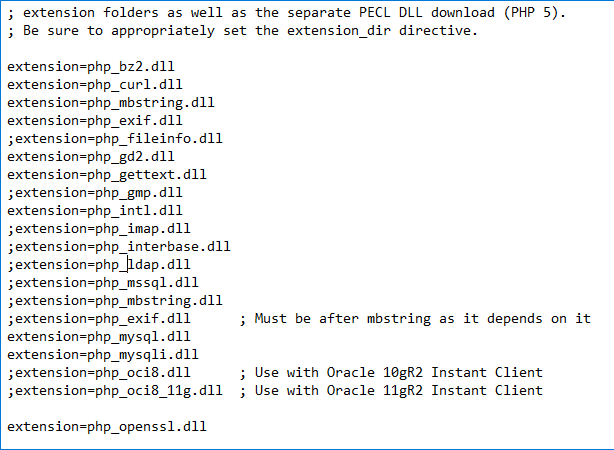
2. If you are stuck with the token and getting error something like,
Could not fetch https://api.github.com/repos/{module} , please create a Github QAuth token to go over the API rate limit. Head to https://github.com/settings/tokens/new?=scope……..To retrieve token. It will be stored in “C:/user/appdata/user/roaming/composer/auth.js” for future use by composer.
Solution:
Go to the link in browser which is written after “Head to” , login with your password in github. Click on generate token. Get token > copy it > paste it SSH where it is asking for the token (hidden).
Process will be resumed.
3. I have successfully installed Magento2 but CSS and JS are missing. Getting this error “NetworkError 404 Not Found – path of Css or JS.
Solution 1:
You get 404 responses probably because you don’t have mod_rewrite enabled.
Solution 2:
It might be because of pub/static folder. There is a ‘cache’ system for these static resources. Every time Magento requests a resource from pub/static, if the file does not exist the request is rewritten to ../static.php?resource={resource name here}.
Run this command,
|
1 2 |
php bin/magento setup:static-content:deploy |
The command will copy all the static resources from each module to the pub/static folder. This process will take time so have patience. So everytime even you made change in any static content of module, don’t forget to run above command to see the effect.





Thanks for this! This helped me alot. The Bitnami install was missing something from my end so I had to reinstall it again. This time I used your tutorial.
Glad to hear 🙂
Hi,
i followd to point 13. But if i want to start “composer install” in my command line, i get this message:
“C:\xampp\htdocs\Mangento2>composer install
Der Befehl “composer” ist entweder falsche geschrieben oder
konnte nicht gefunden werden.”
Where is the Problem?
Thanks
Best Regrads
Rene
Do you have followed step 9?
Download composer set up for windows https://getcomposer.org/download/
Hi,
yes i did. I think it’s a Problem of the php.ini or the console.
thanks
Thank you for providing this walk through.
I got all the way to installing Sample Data and tried Method 1 and the result was “Key minimum-stability is a duplicate in ./composer.json at line 243”
Any clue on getting past this?
Thanks in advance for any help you can offer.
Hi, I installed magento 2 successfully. But my backend\en_US, frontend\Magento\luma\en_US asset files are not there in those 2 folders.
So, please tell me how can i get those files
Try running this command
php bin/magento setup:static-content:deploy
Hi, in “add xdebug.max_nesting_level=50000; at php.ini”. I can’t find my php.ini. Only “php.ini.sample”
You will need to ask your hosting provide to extend it.
in ” b. Method 2 ” when I run
“composer update” command , cmd asks me for inserting username and password!
I can insert username but when it is time to insert password I stroke Keys on keyboard but don’t type anything in cmd?
Is there any solution?
You will need to enter your public and private key as a username and password from magento connect account.
Password won’t be displayed, if you have copied in clipboard, just paste it by right click and press enter.
When doing composer install, it installs some of the modules, then it gives the error –
Installing magento/composer
Downloading 100%
Failed to download magento/composer from dist: The checksum verification of the file failed
Runtime exception
Failed to clone https://github.com/magento/composer.git, git was not found , check that it is installed and in your path env
Any help would be appreciated
Did you try following this url?
https://stackoverflow.com/questions/17792588/composer-says-git-not-found
i’m a bit of topic but i’m wondering if you have a solution. I installed magento 2.2 on a live server but the backend css is missing so everything is blanc but usable. Any idea how to fix this?
Did you try running this command?
php bin/magento setup:static-content:deployphp bin/magento cache:flush
php bin/magento indexer:reindex
I have installed magneto 2 successfully. Thanks for this post. This post is very helpful and very user friendly to understand. Thanks once again for this post. 🙂
You are welcome 🙂 Keep visiting for more information on Magento2.
Its Really a nice doc for Installing Magento2.Thank you so much .
Thank you 🙂 Keep visiting for more information on Magento2.
Where i do i have to run this command ?
from command promt or in php files ?
php bin/magento setup:static-content:deploy
i installed magento 2 but facing problem 404 not found. tried the first solution but its not working could you please tell me that where i suppose to run this solution 2 code
You will need to run this command in command promt, you can also try shell in XAMPP. You can find it while starting the XAMPP program on your windows.
Thanks! Really helpful post you got here! Easier to understand
You are most welcome 🙂 keep visiting for more update.
Hi, I was installed Magento without using Git on Windows successfully. But I was stuck on 404 files missing error. Your 2nd solution worked like a charm. Thank you.
Glad to hear that it worked for you 🙂
Thanks for sharing Magento 2 installation on WAMP stack.
In case if you are looking for Magento 2 installation on MEMP stack you can follow this article:
http://www.blog.magepsycho.com/magento-2-installation-on-memp-mac-os-x-nginx-mysql-php-fpm-stack/