Hello Magento Folks?,
How’s everything going on? Welcome back to the How-To series where I am going to help you all in solving Magento 2: How to change active tabs on the admin order view page with its codes. Don’t forget to go through the most recent blog published for learning How to Add Available Quantity Per Product in The Catalog On Magento 2.3
Introduction:
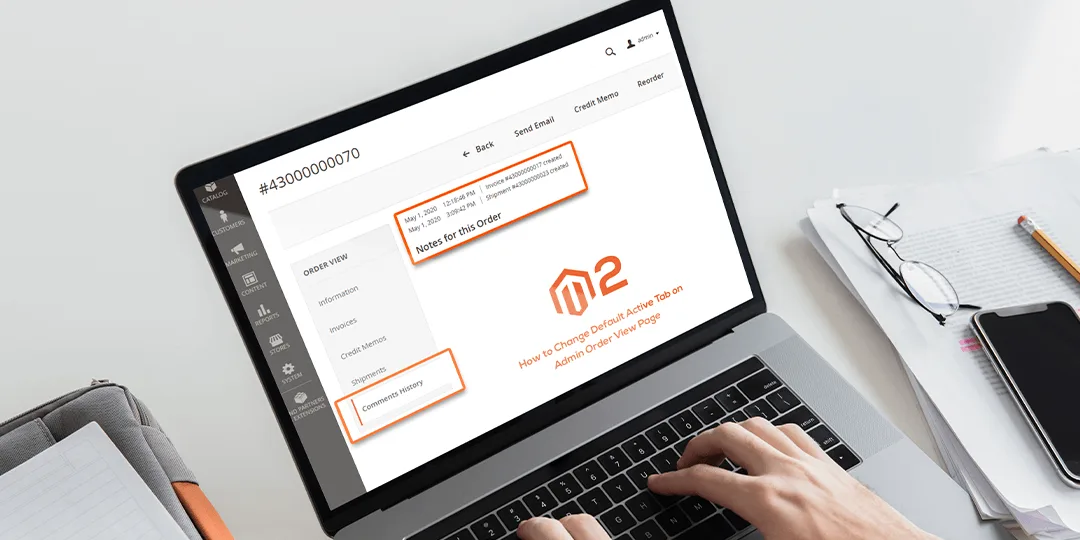
As we all know Magento 2 provides order information in order to view a page on the admin side. Here mainly, Magento 2 distinguishes order information in different parts for e.g. order basic information, order invoices, order shipments, order credit memo, etc. And for that Magento 2 creates some tabs to differentiate order information and from all of them there is one tab known as “Information”, and this is by default active tab. But if we require to select any other tab as by default tab and not the “Information”. No Worries, the given below code of solution will help you to change the default active tab as per your requirement.
Steps to Code:
Step 1: First, we need to create di.xml file at the following path,
app\code\Vendor\Extension\etc and add the below code.
<?xml version="1.0"?>

<config xmlns:xsi="http://www.w3.org/2001/XMLSchema-instance" xsi:noNamespaceSchemaLocation="urn:magento:framework:ObjectManager/etc/config.xsd">

<type name="Magento\Backend\Block\Widget\Tabs">

        <plugin name="change_tab_selection_block" type="Vendor\Extension\Plugin\Block\Widget\Tabs" sortOrder="10" />

    </type>

</config>
Step 2: After that, we need to create a Tabs.php file inside the below path.
app\code\Vendor\Extension\Plugin\Block\Widget and add below code
<?php

namespace Vendor\Extension\Plugin\Block\Widget;

class Tabs

{

  public function afterAddTab(\Magento\Backend\Block\Widget\Tabs $subject, $result)

  {

     $subject->setActiveTab("order_history"); // you can set any tab name here

     return $result;

  }

}
Step 3: Lastly, refresh the cache from the cache management option.
With the help of the above codes, you will be able to change the default tab to your required tab in Magento 2.
Over to You:
I hope there are no difficulties faced to you during the implementation of the above-given solution and in case any difficulties then feel free to contact our Support Team for further guidance. I hope the above solution helped if YES then do share with your Magento friends and also let us know your reviews regarding this solution in the comment section below.
Stay Home & Stay Safe – Happy Coding?


