Hello Magento Friends,
In today’s blog, we will learn How to Create a Custom jQuery Widget in Magento 2.

In Magento 2, a jQuery widget is a modular and reusable JavaScript component that encapsulates a specific behavior or functionality. Creating custom jQuery widgets enhances the user experience and adds interactive elements to your storefront.
Let’s learn How to Create a Custom jQuery Widget in Magento 2.
Steps to Create Custom jQuery Widget in Magento 2:
Step 1: Create one front action to call the template. Create one routes.xml file at the below path.
{{magento_root}}/app/code/Vendor/Module/etc/frontend/routes.xml
Then add the code as follows
<?xml version="1.0"?>
<config xmlns:xsi="http://www.w3.org/2001/XMLSchema-instance" xsi:noNamespaceSchemaLocation="urn:magento:framework:App/etc/routes.xsd">
    <router id="standard">
        <route id="demo" frontName="demo">
            <module name="Vendor_Module" />
        </route>
    </router>
</config>
Note – In our routes.xml file, we have set frontname as demo. So we can access our template using storeUlr/demo/ControllerfoldeName/actionPhp
Step 2: Now create Controller action file called Index.php file at the following path
{{magento_root}}/app/code/Vendor/Module/Controller/Index/Index.php
Then add the below-mentioned code
<?php
namespace Vendor\Module\Controller\Index;

class Index extends \Magento\Framework\App\Action\Action
{
    /**
     * Index action
     *
     * @return $this
     */
    public function execute()
    {
        $this->_view->loadLayout();
        $this->_view->getLayout()->getBlock('page.main.title')->setPageTitle('DemoWidget');
        $this->_view->renderLayout();
    }
}
Step 3: Create an action handle in the layout folder.
{{magento_root}}/app/code/Vendor/Module/view/frontend/layout/demo_index_index.xml
And add the code as given below
<?xml version="1.0"?>
<page xmlns:xsi="http://www.w3.org/2001/XMLSchema-instance" layout="1column" xsi:noNamespaceSchemaLocation="urn:magento:framework:View/Layout/etc/page_configuration.xsd">
    <body>
        <referenceContainer name="content">
            <block class="Magento\Framework\View\Element\Template" name="demo.page" template="Vendor_Module::magento-widget.phtml"></block>
        </referenceContainer>
    </body>
</page>
Step 4: Create a requirejs-config.js file for js declaration.
{{magento_root}}/app/code/Vendor/Module/view/frontend/requirejs-config.js
Then add the below-mentioned code
var config = {
    "map": {
        "*": {
            "myCustomWidget": "Vendor_Module/js/my-custom-widget"
        }
    }
};
Our widget name is myCustomWidget.
Step 5: Create a my-custom-widget.js file for declaring widget.
{{magento_root}}/app/code/Vendor/Module/view/frontend/web/js/my-custom-widget.js
Use the code mentioned below
define([
    'jquery',
    'jquery/ui'
    ], function($){
        $.widget('mage.myCustomWidget', {
            options: {
                abcd: 1,
                passvalue:'test'
            },
            /**
             * Widget initialization
             * @private
             */
             _create: function() {

            }
        });

    return $.mage.myCustomWidget;
});
Step 6: Create a template magento-widget.phtml file.
{{magento_root}}/app/code/Vendor/Module/view/frontend/templates/magento-widget.phtml
And finally, add the below code-snippet
<div class="maindiv">
<div class="secondary">
Widget Example using Magento 2
</div>
</div>
<script type="text/x-magento-init">
{
".maindiv": {
"myCustomWidget": {
"passvalue": "custom message",
"abcd": 123
}
}
}
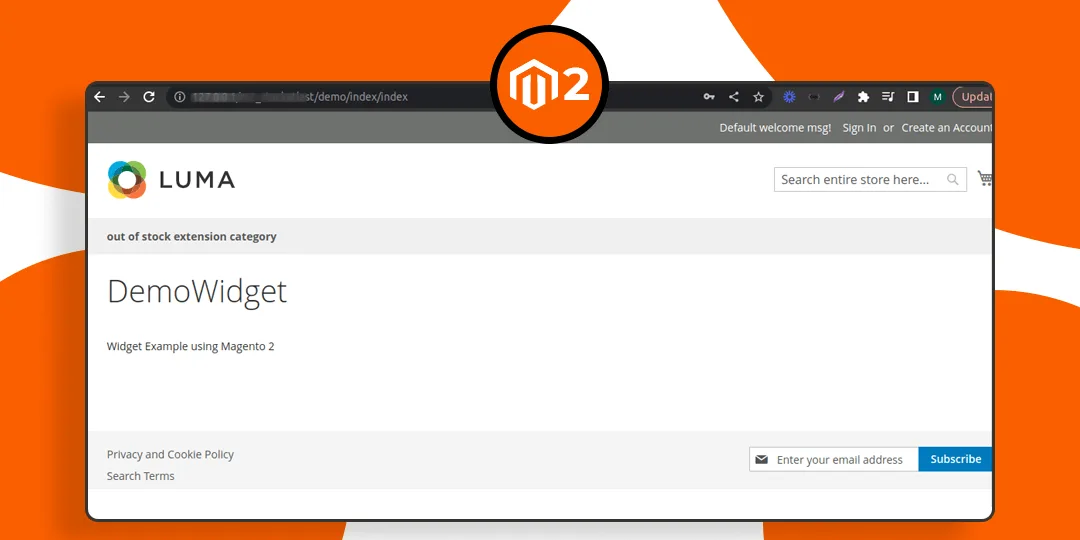
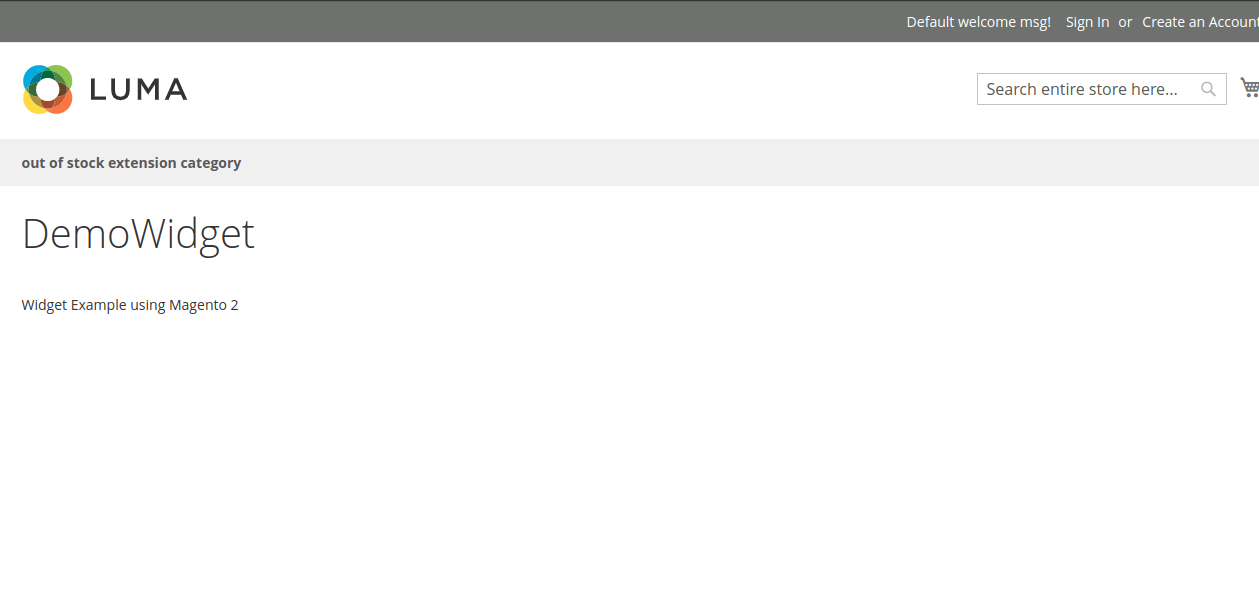
</script>Output:
Conclusion:
Hence, using the above method, you can successfully create and integrate your own custom jQuery widgets into your Magento 2 website. Experiment with different widget functionalities to enhance the user experience and make your online store more dynamic and user-friendly.

Also Learn How to Create a Widget Programmatically in Magento 2.
If you come across any error while performing the above steps, you can easily connect with me through the comment section and I will quickly provide you with the solution for it.
Happy Coding!