Hello Laravel Friends,
The concept of error pages is not exclusive to web development as it serves as one of the critical aspects of enhancing the user experience on your website or web application. When users get any errors or messages, they have to get some instructions or messages from a professional-looking error page.
When setting up a fresh Laravel application, it already comes with the default error views for several HTTP status codes, including 404 for page not found and the 500 internal server error, among others. However, by creating your own error pages, you can address these messages to your users and offer them other ways of interacting with your application, which enhances their results greatly.
In this blog post of the day, we will teach you the process of building your own error page in Laravel 11 and how they can be modified to attract more users to your brand.
Default 500 Error Page

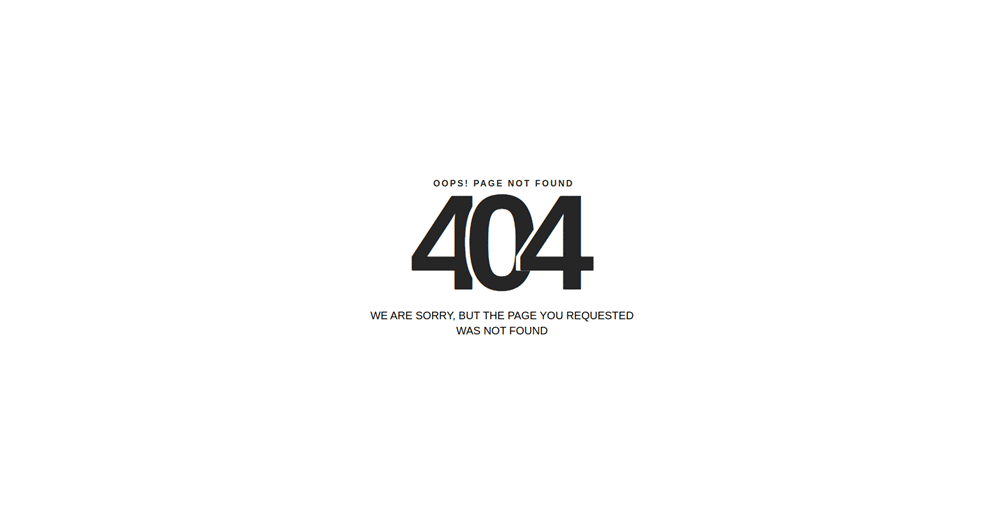
Default 404 Error Page

Laravel allows developers to create custom error pages that align with the application’s design and branding. Custom error pages provide a consistent and user-friendly experience for your Laravel application’s users.
Let’s learn how to customize error pages in Laravel 11.
Steps to Create Custom Error Page in Laravel 11:
We need some prerequisites before starting.
For that, you need a well-set Laravel project of any version.
Step 1: Create the Errors Folder
Navigate to the following path in your Laravel project:
resources/views/errors
If the errors folder does not already exist, create it manually.
Step 2: Add a Custom 404 Error Page
Inside the errors folder, create a file named:
404.blade.php
And add the code as follows
<!DOCTYPE html>
<html lang="en">
<head>
     <meta charset="UTF-8">
     <meta name="viewport" content="width=device-width, initial-scale=1.0">
    <title>Page Not Found</title>
   <style>
       body { display: flex; justify-content: center; align-items: center; height: 100vh; font-family: Ar
        .content { text-align: center; }
       h1 { font-size: 120px; margin: 0; color: #e3342f; }
       p { font-size: 20px; color: #555; }
   </style>
</head>
<body>
   <div class="content">
   <h1>404</h1>
   <p>Oops! The page you’re looking for doesn’t exist.</p>
   <a href="{{ url('/') }}">Back to Home</a>
</div>
</body>
</html>
Step 3: Add a Custom 500 Error Page
Similarly, create another file:
500.blade.php
Now add the code as follows
<!DOCTYPE html>
<html lang="en">
<head>
            <meta charset="UTF-8">
            <meta name="viewport" content="width=device-width, initial-scale=1.0"><title>Server   Error</title>
            <style>
            body { display: flex; justify-content: center; align-items: center; height: 100vh; font-family:             Ar.content { text-align: center; }h1 { font-size: 120px; margin: 0; color: #e3342f; }
            p { font-size: 20px; color: #444; }
            </style>
</head>
<body>
            <div class="content">
                 <h1>500</h1>
                <p>Sorry, something went wrong on our server.</p>
               <a href="{{ url('/') }}">Go Back Home</a>
           </div>
</body>
</html>
Step 4: Test the Pages
- For 404 Error: visit a non-existing route, e.g. http://127.0.0.1:8000/some-random-page
- For 500 Error: trigger a server error (like breaking a controller on purpose).
Output:
Now serve your Laravel app with production mode to see the output
Custom 500 Error Page
http://127.0.0.1:8000/ (in that case, I generate an internal server error)

Custom 404 Error Page
http://127.0.0.1:8000/any-route

Conclusion:
By following this step-by-step guide, you’ve learned how to create and integrate custom error views in Laravel 11, enhancing your application’s overall user interface and experience.
Custom error pages in Laravel 11 are very easy to implement — no need to touch the Handler.php. By simply placing Blade files in the resources/views/errors directory, Laravel automatically loads them for the corresponding HTTP error codes. This allows you to keep your branding consistent and improve the overall user experience, even when something goes wrong.
If you have difficulty creating custom error pages for Laravel, get in touch with the Laravel developer or just leave a comment here.
Share the tutorial for the custom error page in Larvael 10 with your friends, and stay updated with us.
Happy Coding!
FAQ
1. Where should I put custom error pages in Laravel 11?
Place them inside resources/views/errors/.
2. What is the purpose of a custom error page?
Custom error pages provide a user-friendly message when something goes wrong instead of showing Laravel’s default error screen. They also allow you to maintain consistent branding.


Thank you