Hello Magento Folks,
Today we are going to learn steps to configure Price Filter – Price Navigation for your Magento 2 store.
Magento 2’s default Layered Navigation is intended to serve as a sitemap for your Magento 2 store. The navigation is normally located on the left side of the category page, and it includes a list of categories as well as a price range for filtering the possibilities.
Customers’ main concern while purchasing the product is the affordable price. Customers may filter goods based on price when using Magento 2’s default Layered Navigation. Instead of walking around your business, clients may instantly acquire item listings with the desired price range by describing their needs using the price filter. Successfully configuring a price filter/price navigation involves categorizing the product in the navigation based on price.
Price navigation can be calculated using one of three methods: Equalize Price Ranges, Equalize Product Counts, or Manual. The first two techniques calculate automatically, and the manual option requires you to set the price interval.
Let’s see a step-by-step guide on How to Configure Price Filter – Price Navigation in Magento 2 including all 3 methods.
Steps to configure Price navigation in Magento 2
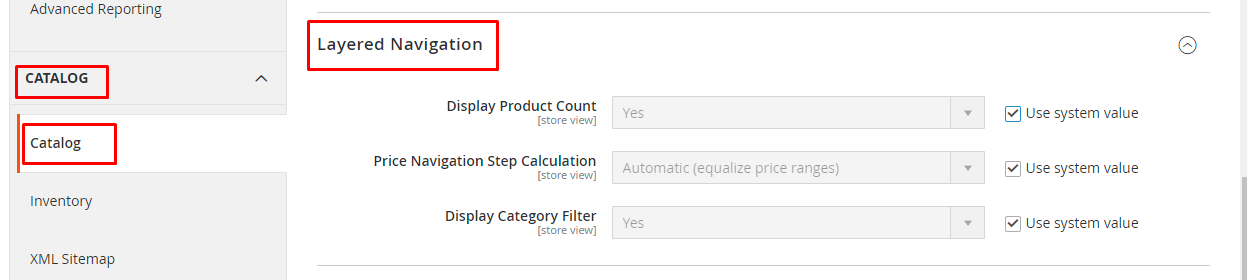
Step 1: Log in to your store backend and go to the admin panel, select Stores > Settings > Configuration
Step 2: In the left panel expand the Catalog menu, select Catalog. From that enlarge the Layered Navigation option.
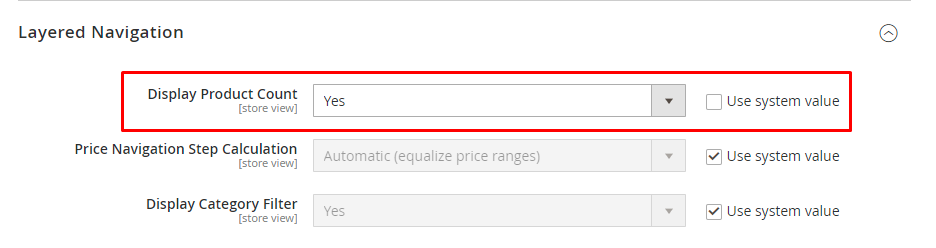
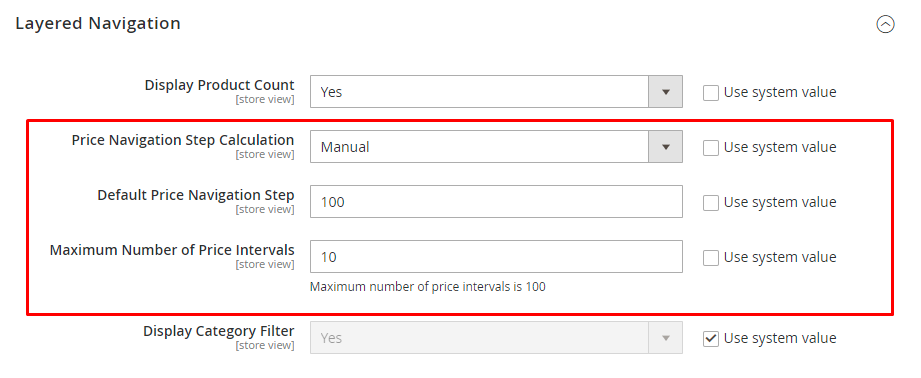
Step 3: Uncheck the Use system value and select the Yes for Display Product Count option to enable other options.
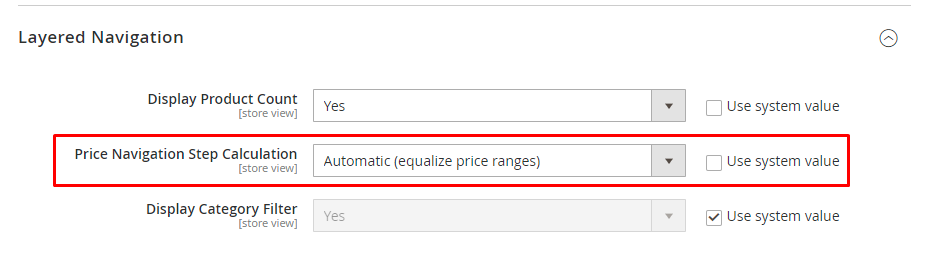
Step 4: Price Navigation Step Calculation, select from three methods.
- Automatic (equalize price ranges): For pricing navigation, use the standard filtering technique. In this way, the price navigation steps are determined automatically.
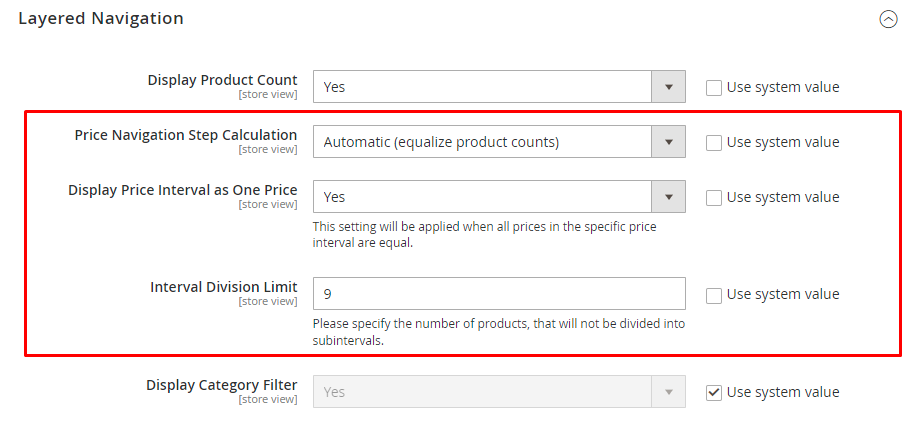
- Automatic (equalize product counts): This solution ensures that many goods with the same price are put together into a single price navigation step.
Display Price Interval as One Price: It displays an only cost when many products have the same cost.
Interval Division Limit: The price limit for a group of items within a given price range. This field’s default value is 9.
- Manual: If you want to adjust your navigation step or the maximum number of pricing intervals, use this option.
Default Price Navigation Step: Select the number of price navigation steps.
Maximum Number of Price Intervals: Select a price interval limit for your pricing intervals (up to 100)
Step 5: To Display Category Filter unchecks system value and select the Yes option.
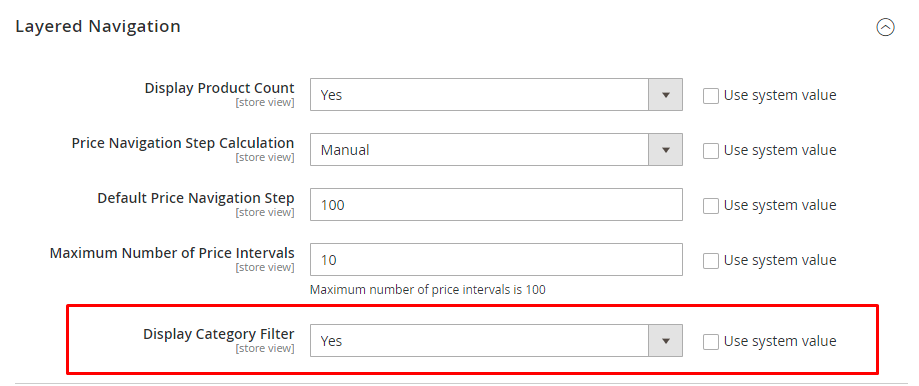
To apply it click the Save Config button.
Final Say:
Layered Navigation’s special features can help you improve your filtering system as per product price. Also, you can Enable Product Sorting As Per Their Price Range in Magento 2. Increase the User Experience of your Magento store by applying these features.
Please share this post with your Magento friends and stay in touch with us!
Happy Reading!