Hello, Magento Folks,
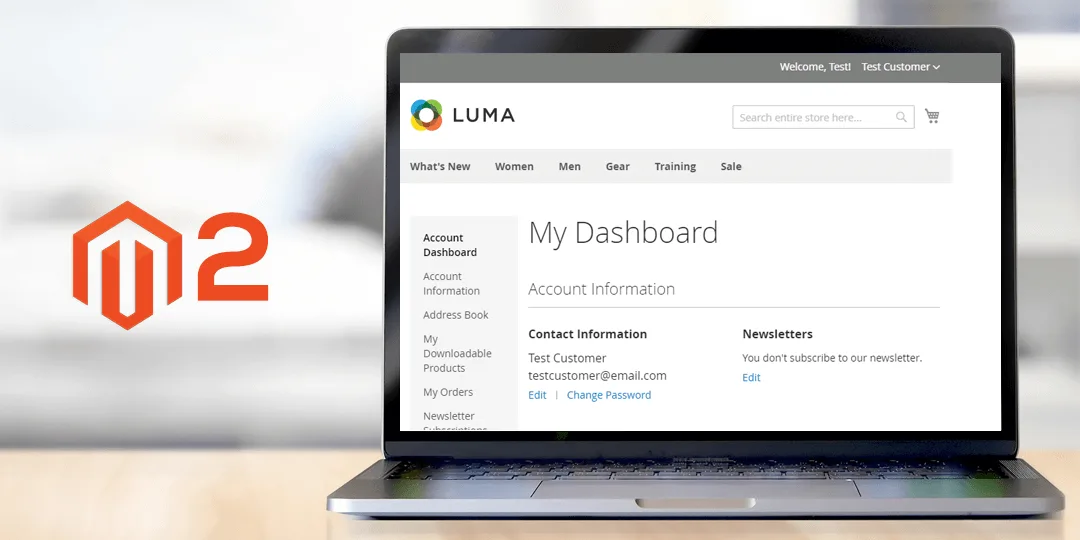
I am back with another article on Magento development. Last time, We have learned how you can add dynamic row multiselect in Magento 2 system configuration. Today, I am going to explain to you how you can change My Account navigation links title dynamically in Magento2.
Whenever you create my account dashboard navigation link in default Magento, you need to create a customer_account.xml file, and in this file, you need to add title as static. But sometimes you may need to change this title dynamically. And you are not able to do that by hook or cook in the Magento system configuration.
But don’t worry, we have a solution for that, and to make the title link dynamically, you need to have a code that can make the work simple for you. It would help if you had a bit of coding knowledge to achieve this in your Magento 2 store. If you do, then add this following code in your custom extension.
1] First, we need to add customer_account.xml file at the following path,
app\code\Vendor\Extension\view\frontend\layout\customer_account.xml
Now, add the below code to this file.
<?xml version="1.0"?>

<page xmlns:xsi="http://www.w3.org/2001/XMLSchema-instance" xsi:noNamespaceSchemaLocation="urn:magento:framework:View/Layout/etc/page_configuration.xsd">
    <body>
        <referenceBlock name="customer_account_navigation">
                        <block class="Magento\Framework\View\Element\Html\Link\Current" name="customer-account-navigation-mycard">
                <arguments>
                    <argument name="path" xsi:type="string">router
/controller/action </argument>
                    <argument name="label" xsi:type="string">Next Level</argument>
                </arguments>
            </block>
        </referenceBlock>
    </body>
</page>
2] Now you need to create plugin add di.xml file at the following path,
app\code\Vendor\Extension\etc\di.xml
Add the below code to this file.
<config xmlns:xsi="http://www.w3.org/2001/XMLSchema-instance" xsi:noNamespaceSchemaLocation="urn:magento:framework:ObjectManager/etc/config.xsd">
<type name="Magento\Customer\Block\Account\Navigation">
    <plugin name="account_tab_plugin" type="Vendor \Extension\Plugin\Changetabtitle" sortOrder="10" disabled="false"  />
</type>
</config>
3] Now, you need to create Changetabtitle.php file at the following path,
app\code\Vendor\Extension\Plugin\Changetabtitle.php
Add the below code to this file.
<?php

namespace Vendor\Extension\Plugin;

class Changetabtitle
{


 public function afterGetLinks(\Magento\Customer\Block\Account\Navigation $subject, $result)
    {

        foreach($result as $item) {
            $tarray = $item->getData();
            if ($tarray['type'] != 'Magento\\Customer\\Block\\Account\\Delimiter') {
                if ($tarray['label'] == "Next Level") {
                    $item->setLabel("Add title dynamic"); //You add title dynamically here.
                }
            }
        }

        return $result;

    }

}
So, this was it. Simple, isn’t it?
With the help of these codes, you will be able to create dynamic My Account navigation title links. If you had any problem while implementing these codes, then contact us at our support desk. We will be happy to help you.
Lastly, if you like this article, then let us know in the comments section. Also, do share this with your Magento colleagues and friends. If you faced issues or suggestions about code implement we love to hear from you! You may contact our support team here.
Happy Reading?


