Hello, Magento Mates.?
Welcome to MageComp’s Magento tutorials.
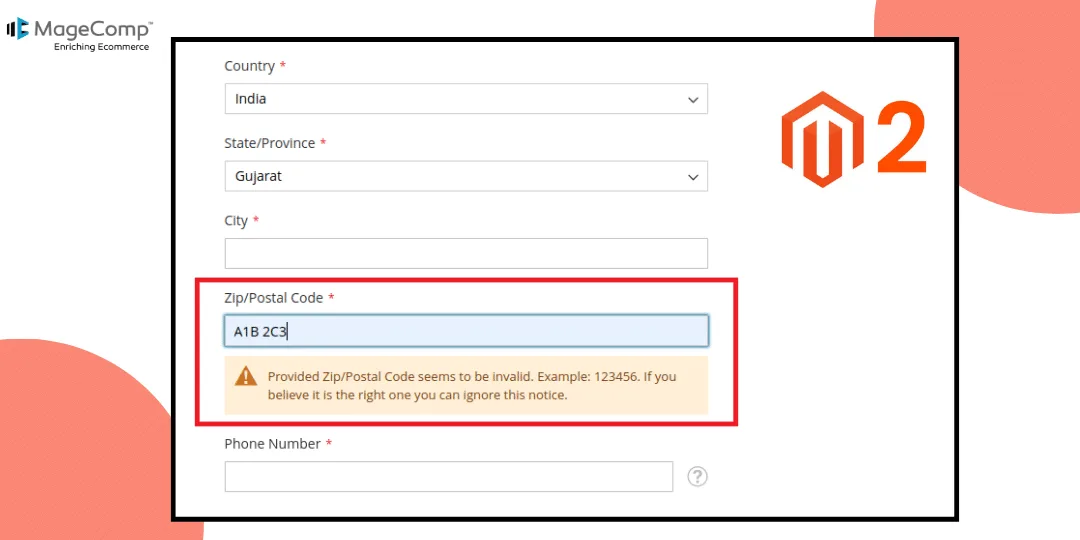
Today, in this Magento 2 tutorial, we will learn to add a custom input mask for ZIP code into your Magento 2 store.

What is a Custom Input Mask for ZIP Code in Magento 2?
In Magento 2, a custom input mask for a ZIP code refers to a formatting pattern applied to the ZIP code input field on the frontend of your Magento 2 store. The input mask helps users enter the ZIP code in a specific format, making it easier for them and ensuring data consistency.
An input mask is a string of characters that defines a pattern for the input. When users enter data into the ZIP code field, the input mask guides them by automatically formatting the input according to the specified pattern. This can include adding separators, specifying the number of digits, or enforcing a particular format.
Steps to Add Custom Input Mask for ZIP Code
Step 1 –
First, we need to create a file in the path given below ?
{{magento_root}}\app\code\Vendor\Extension\etc\zip_codes.xml
Now, enter the following code in the path ?
<?xml version="1.0"?>
<config xmlns:xsi="http://www.w3.org/2001/XMLSchema-instance" xsi:noNamespaceSchemaLocation="urn:magento:module:Magento_Directory:etc/zip_codes.xsd">
    <!-- Enter Specify country ISO code-->
    <zip countryCode="IN">
        <codes>
            <code id="pattern_1" active="true" example="123456">^[0-9]{6}
lt;/code> </codes> </zip> <zip countryCode="GG"> <codes> <code id="pattern_1" active="true" example="AB1 2CD">^[a-zA-Z]{2}[0-9]{1}\s[0-9]{1}[a-zA-Z]{2}lt;/code> </codes> </zip> </config>

Step 2 –
Once you have entered the code correctly, run the commands given below ?
 php bin/magento bin/magento setup:di:compile
 php bin/magento cache:flush
Bottom Line
That’s it. Short and sweet.
Using ZIP codes can be very useful for Magento 2 stores that are looking for a solution to implement a specific ZIP code format for billing and shipping addresses.
By using input masks, merchants can improve the user experience, reduce data entry errors, and ensure that the ZIP code information collected conforms to the required format for accurate processing of orders and shipping.

But kindly keep in mind that the specific steps to set a Custom Input Mask may vary depending on the version of Magento 2 and any extensions or customizations applied to the platform.
We hope this tutorial was helpful to you, and if you have queries regarding this tutorial, kindly contact us or hire our Magento developers to help you out with that.

Happy Coding!!!