The checkout and order placement process must be optimized to improve the user experience. Sometimes you need additional information on orders for better order processing. For this, default checkout fields are not enough. You require to add additional fields to collect more information for the orders.
You can easily add custom fields to checkout by using the Magento 2 Custom Checkout Fields Extension.
Benefits of Custom Checkout Fields:
- Collect additional information on orders for smooth order processing of your store.
- Get comments from customers of your store using the custom fields and get to know their views.
- Based on additional information, you can precisely target customers.
- Improve the customer experience of the store by fulfilling their orders correctly.
- Satisfy client requirements by collecting more information at the checkout time.
Steps to Add Custom Fields to Checkout Page in Magento 2:
Step 1: Firstly, you need to install the Magento 2 Custom Checkout Fields module in your store.
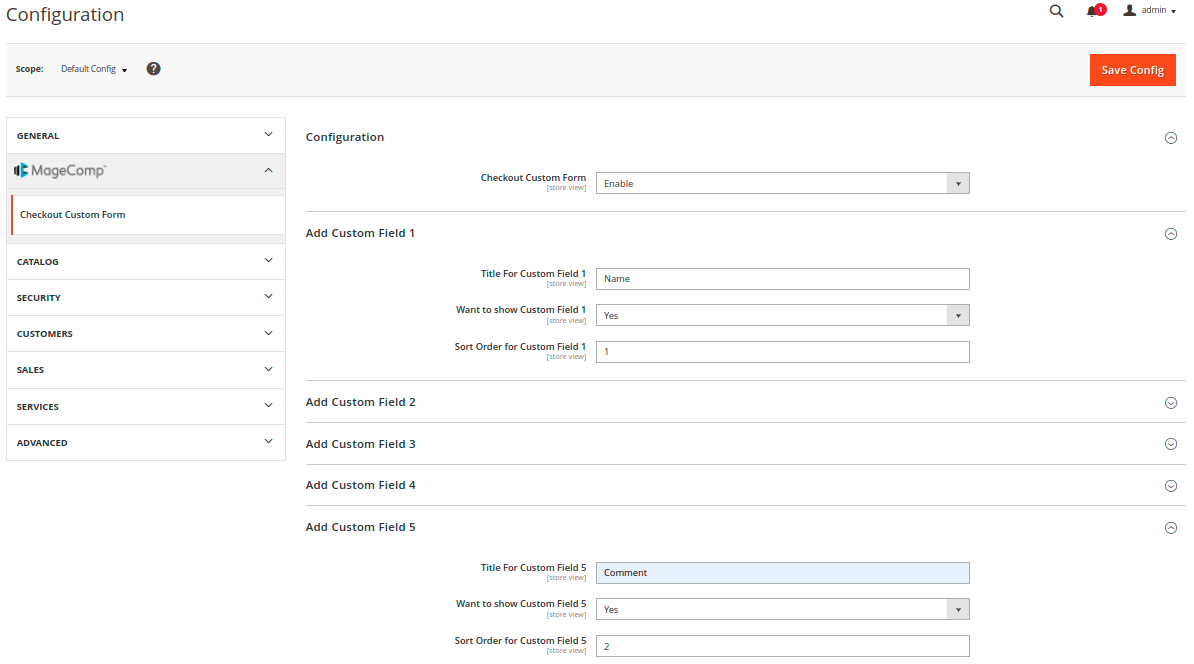
Step 2: Then from the Admin Panel, move to Stores > Configuration
Configuration:
- Checkout Custom Form – You can easily enable or disable the extension when required.
Add Custom Field 1:
It is the configuration for the text field. You can add up to 4 text fields using the extension.
- Title For Custom Field 1 – Give a title for the custom text field.
- Want to show Custom Field 1 – Select YES or NO whether the custom text field should be displayed in the front.
- Sort Order for Custom Field 1 – Set the sequence of the custom text field.
Add Custom Field 5:
It is the configuration for the textarea field. You can add up to 4 textarea fields using the extension.
- Title For Custom Field 1 – Give a title for the custom textarea field.
- Want to show Custom Field 1 – Select YES or NO whether the custom textarea field should be displayed in the front.
- Sort Order for Custom Field 1 – Set the sequence of the custom textarea field.
Once you are done with the configuration, click Save Config.
Frontend Display of Custom Checkout Fields in Magento 2:
Custom checkout fields are displayed on the checkout page.
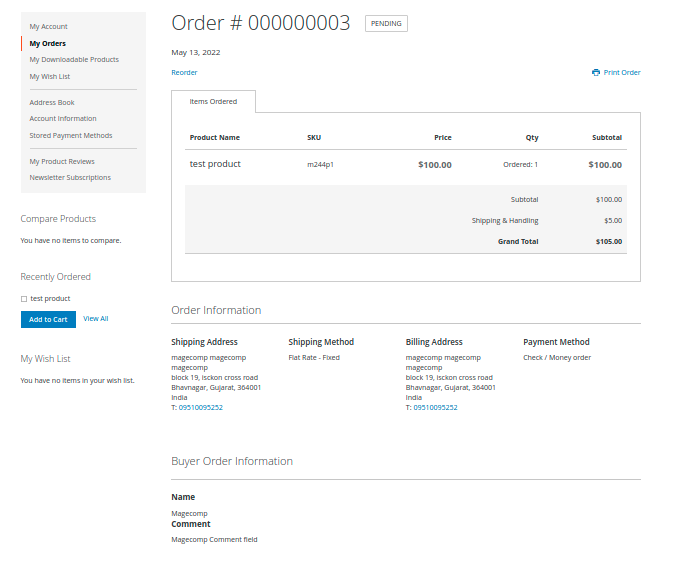
Customers can also get the information of custom checkout fields from the My Orders section.
Backend Display of Custom Checkout Fields in Magento 2:
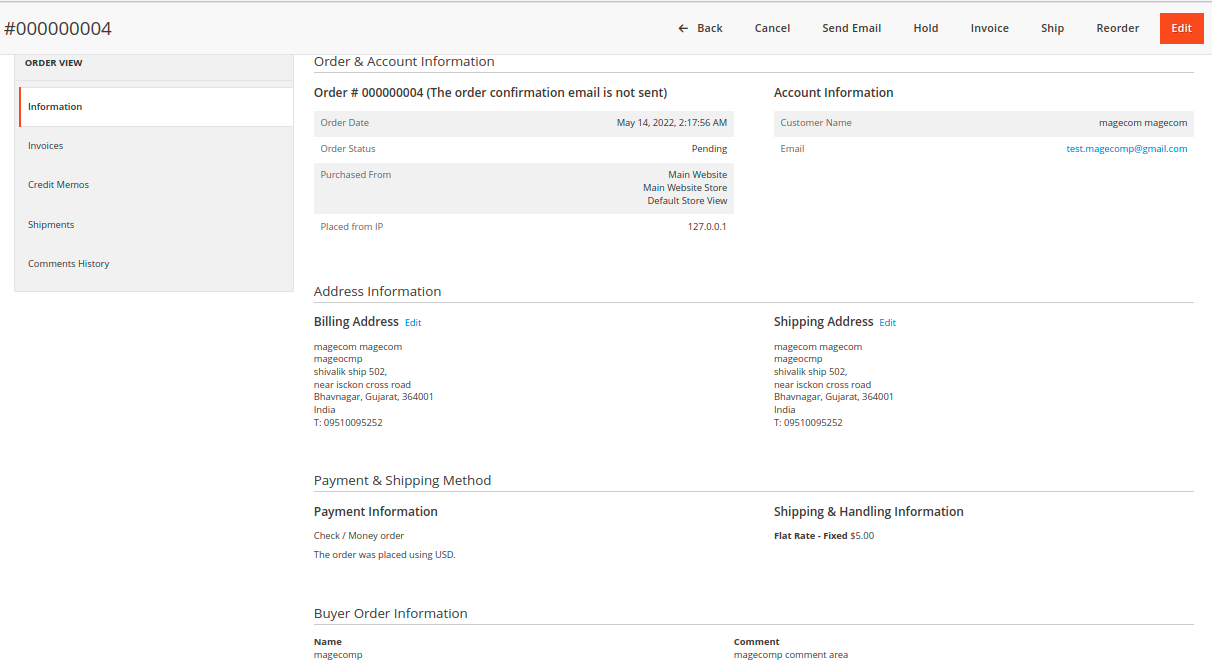
Admin can view the custom checkout fields information from the backend order view page.
Final Words:
This way you can easily add custom fields to the checkout page of your Magento 2 store by integrating the Custom Checkout Fields Extension. Share the information with your friends and stay in the know.
Happy Reading!


