Hello Shopify Friends,
This Shopify tutorial is about uploading SVG icons in Shopify.
Scalable Vector Graphics (SVG) icons can be uploaded in Shopify. This is a feature where high-quality display is available without pixelation or blurring. So, SVGs are versatile and fancy design elements that are used to make graphics in your Shopify store.

Understanding SVG Icons
SVG icons are graphic elements written in the file format of XML. Contrary to common practice, SVGs are resolution-independent, which means they can be scaled to any size without losing clarity. This makes them very usable for responsive web designing and high-definition displays. But you should ensure that you‘re using SVG icons in your Shopify store following the best practice and guidelines of the site.
Let’s learn how to upload SVG icons in your Shopify store.
Steps to Upload SVG Icons in Shopify:
Step 1: Login to your Shopify dashboard.
Step 2: From the left sidebar, choose Online Store then click on Themes.

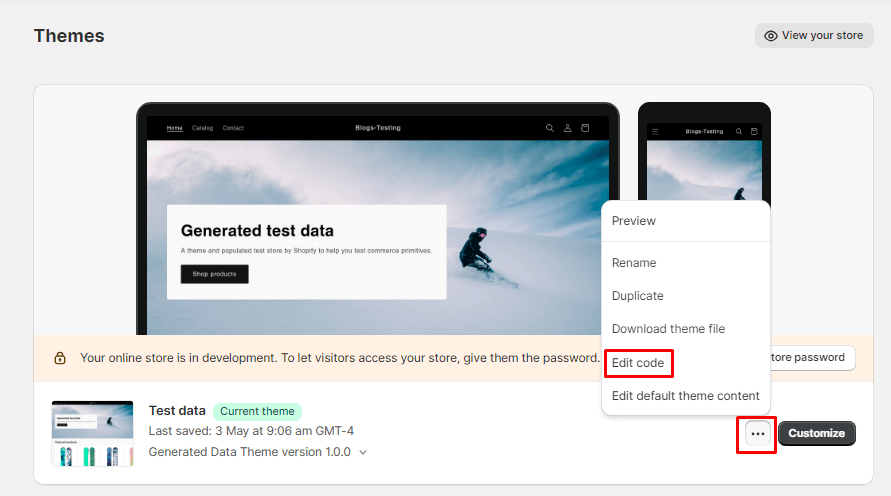
Step 3: Locate your active theme and click on the Actions button that looks like three dots next to it. Click on Edit code from the dropdown.
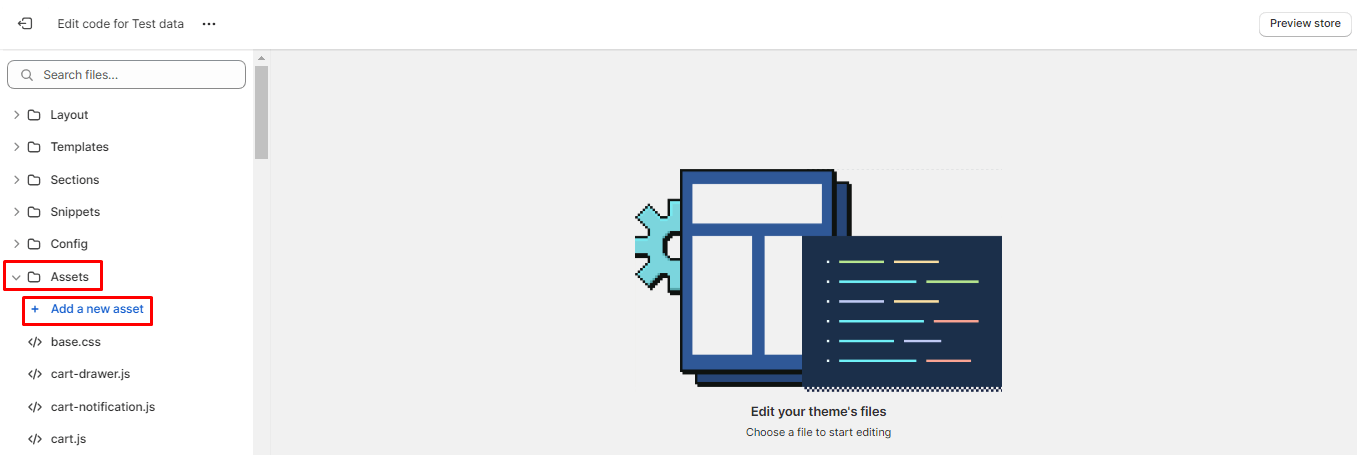
Step 4: Go to the Assets folder and click on the Add a New asset button.

Step 5: Upload your SVG icon file.
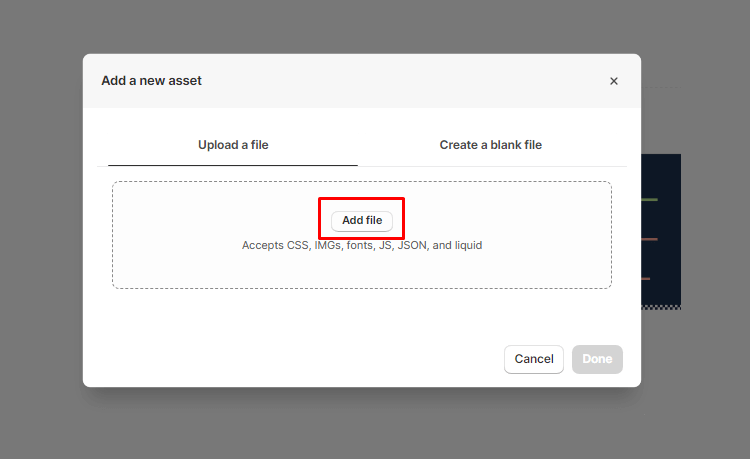
Step 6: Once you are finished uploading, click Done to save it.

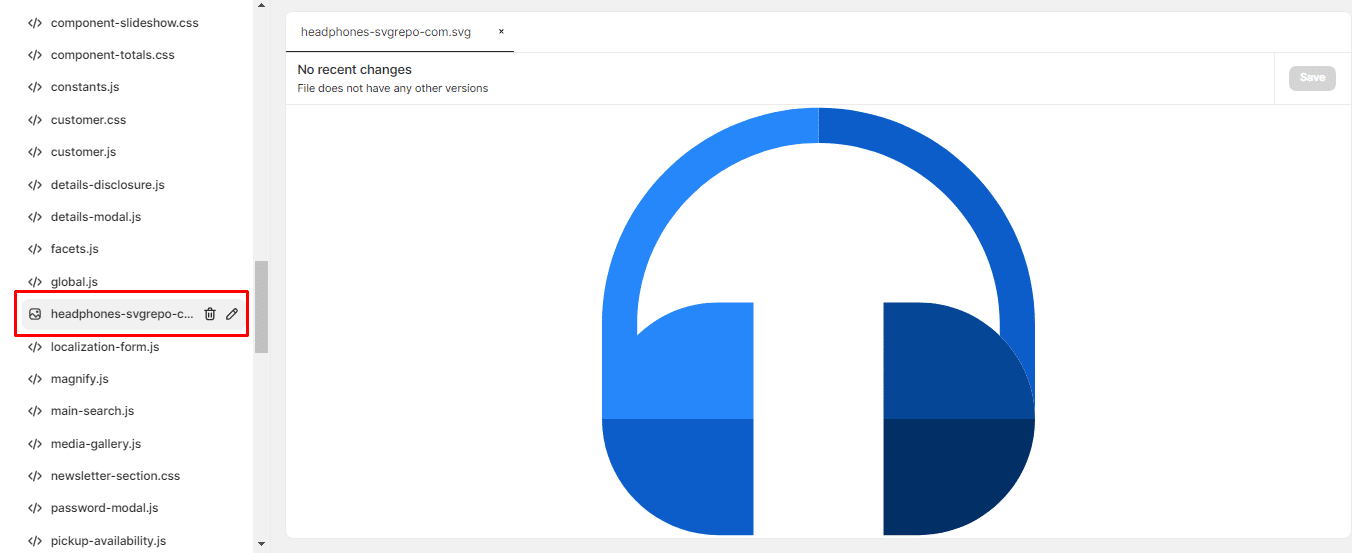
Step 7: You have successfully uploaded the SVG file into the assets folder.
Wrapping Up:
Using SVG icons in your Shopify store does enhance visual appeal and overall user experience. Follow these steps on how to upload and incorporate SVGs into your theme very easily.

Happy Reading!