Hello Magento friends,
In today’s Magento 2 tutorial, I will show How to Hide the Product Gift Option Tab Based on System Configuration.

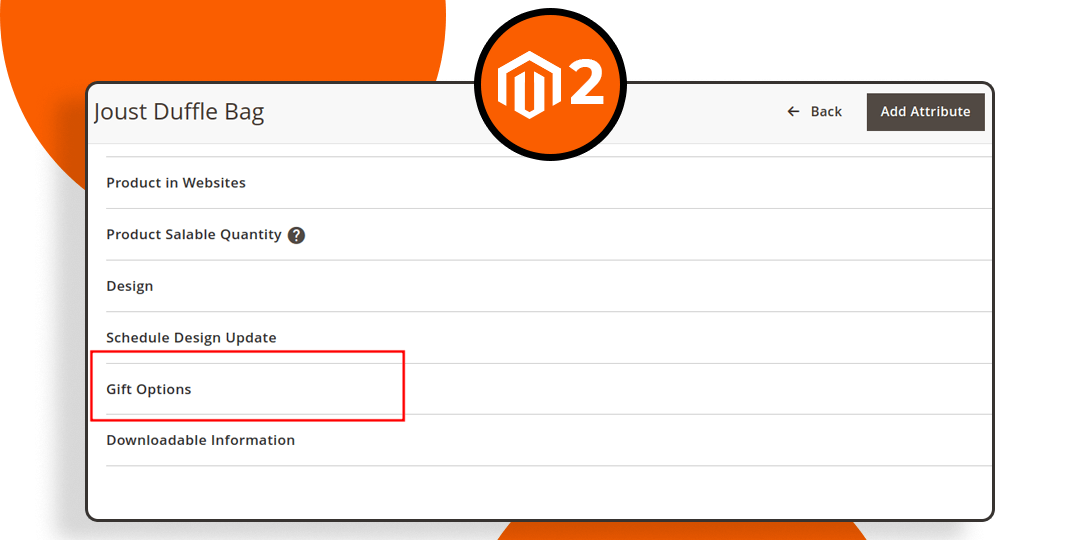
Magento 2 provides a gift options tab in the backend configuration of products to allow store owners to let customers add gift messages to their purchases. While some products may not require gift options, at that time you do not require a gift options tab in the backend configuration. Follow the below steps to Hide Product Gift Option Tab Based on System Configuration in Magento 2.
Steps to Hide Product Gift Option Tab Based on System Configuration in Magento 2:
Step 1: Create a di.xml file in the given below path
{{magento_root}}\app\code\Vendor\Extension\etc\adminhtml\di.xml
Then add the code as follows
<?xml version="1.0"?>
<config xmlns:xsi="http://www.w3.org/2001/XMLSchema-instance" xsi:noNamespaceSchemaLocation="urn:magento:framework:ObjectManager/etc/config.xsd">
    <virtualType name="Magento\Catalog\Ui\DataProvider\Product\Form\Modifier\Pool">
        <arguments>
            <argument name="modifiers" xsi:type="array">
                <item name="advancedCustomOptions" xsi:type="array">
                    <item name="class" xsi:type="string">Vendor\Extension\Ui\DataProvider\ProductForm</item>
                    <item name="sortOrder" xsi:type="number">20</item>
                </item>
            </argument>
        </arguments>
    </virtualType>
</config>
Step 2: Create a system.xml in the following path
{{magento_root}}\app\code\Vendor\Extension\etc\adminhtml\system.xml
Now add the given below code
<?xml version="1.0"?>
<config xmlns:xsi="http://www.w3.org/2001/XMLSchema-instance" xsi:noNamespaceSchemaLocation="urn:magento:module:Magento_Config:etc/system_file.xsd">
    <system>
        <tab id="vendor" translate="label" sortOrder="100">
            <label>Vendor</label>
        </tab>
        <section id="general_settings" translate="label" type="text" sortOrder="10" showInDefault="1" showInWebsite="1" showInStore="1">
            <label>General Settings</label>
            <tab>vendor</tab>
            <resource>Vendor_Extension::config</resource>
            <group id="general" translate="label" type="text" sortOrder="10" showInDefault="1" showInWebsite="1" showInStore="1">
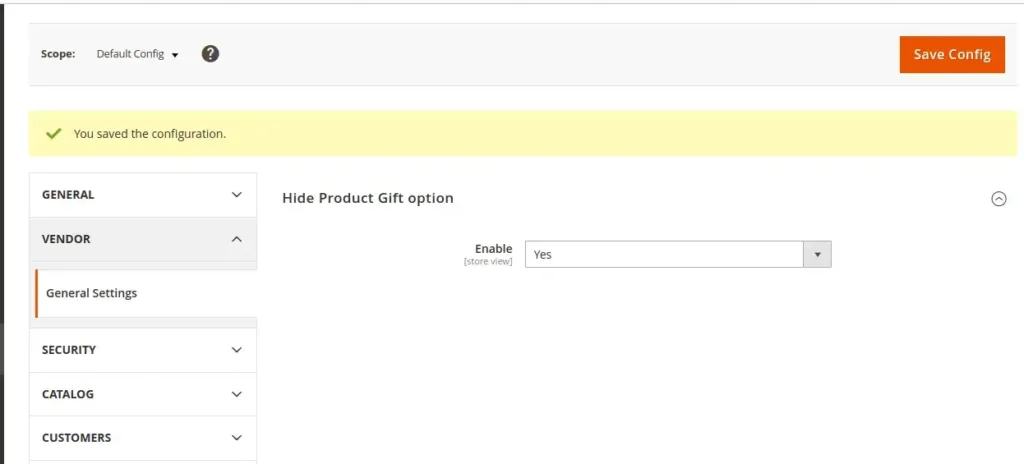
                <label>Hide Product Gift option</label>
                <field id="enabled" translate="label" type="select" sortOrder="10" showInDefault="1" showInWebsite="1" showInStore="1">
                    <label>Enable</label>
                    <source_model>Magento\Config\Model\Config\Source\Yesno</source_model>
                </field>
            </group>
        </section>
    </system>
</config>
Step 3: Create an acl.xml in below-mentioned path
{{magento_root}}\app\code\Vendor\Extension\etc\acl.xml
Now add the following piece of code
<?xml version="1.0"?>
<config xmlns:xsi="http://www.w3.org/2001/XMLSchema-instance" xsi:noNamespaceSchemaLocation="urn:magento:framework:Acl/etc/acl.xsd">
    <acl>
        <resources>
            <resource id="Magento_Backend::admin">
                <resource id="Magento_Backend::stores">
                      <resource id="Magento_Backend::stores_settings">
            <resource id="Magento_Config::config">
                        <resource id="Vendor_Extension::config" title="Vendor Extension Configuration" sortOrder="10"/>
                    </resource>
                </resource>
        </resource>
            </resource>
        </resources>
    </acl>
</config>
Step 4: Create a ProductForm.php in the given below path.
{{magento_root}}\app\code\Vendor\Extension\Ui\DataProvider\ProductForm.php
Then add the code as below
<?php
namespace Vendor\Extension\Ui\DataProvider;

use Magento\Catalog\Ui\DataProvider\Product\Form\Modifier\AbstractModifier;
use Magento\Catalog\Model\Locator\LocatorInterface;
use Magento\Framework\App\RequestInterface;
use Magento\Framework\View\LayoutFactory;
use Magento\Framework\App\Config\ScopeConfigInterface;

class ProductForm extends AbstractModifier
{
    /**
     * @var LocatorInterface
     */
    protected $locator;

    protected $scopeConfig;

    /**
     * @var RequestInterface
     */
    protected $request;

    /**
     * @var LayoutFactory
     */
    private $layoutFactory;

    public function __construct(
        LocatorInterface $locator,
        RequestInterface $request,
        LayoutFactory $layoutFactory,
        ScopeConfigInterface $scopeConfig
    ) {
        $this->locator = $locator;
        $this->request = $request;
        $this->layoutFactory = $layoutFactory;
        $this->scopeConfig = $scopeConfig;
    }

    public function modifyMeta(array $meta)
{
    // Check if the configuration flag is enabled
    $isEnable = $this->scopeConfig->isSetFlag(
        'general_settings/general/enabled',
        \Magento\Store\Model\ScopeInterface::SCOPE_STORE
    );

    if ($isEnable && isset($meta['gift-options'])) {
        $meta['gift-options']['arguments']['data']['config']['visible'] = false;
        $meta['gift-options']['arguments']['data']['config']['canShow'] = false;
    }

    return $meta;
}


    /**
     * {@inheritdoc}
     */
    public function modifyData(array $data)
    {
        return $data;
    }

    /**
     * Get product type
     *
     * @return null|string
     */
    private function getProductType()
    {
        return (string)$this->request->getParam('type', $this->locator->getProduct()->getTypeId());
    }
}
Output:
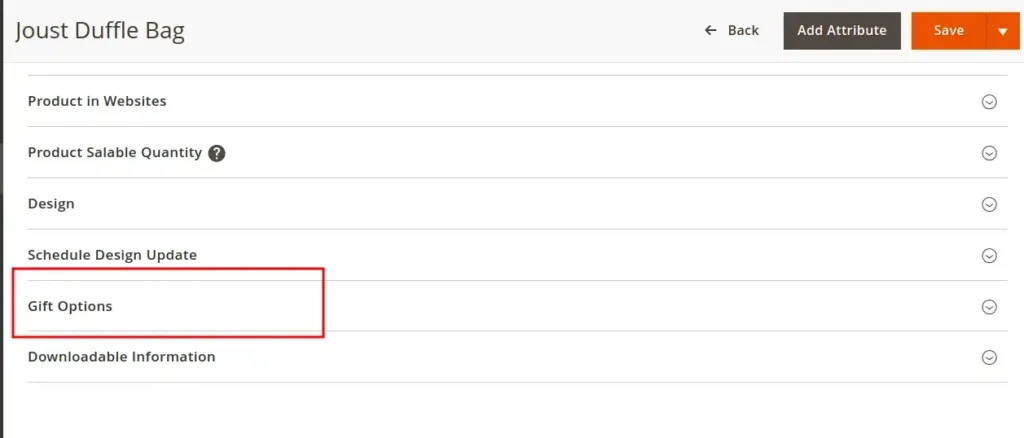
If the Hide Product Gift Option is set to No,
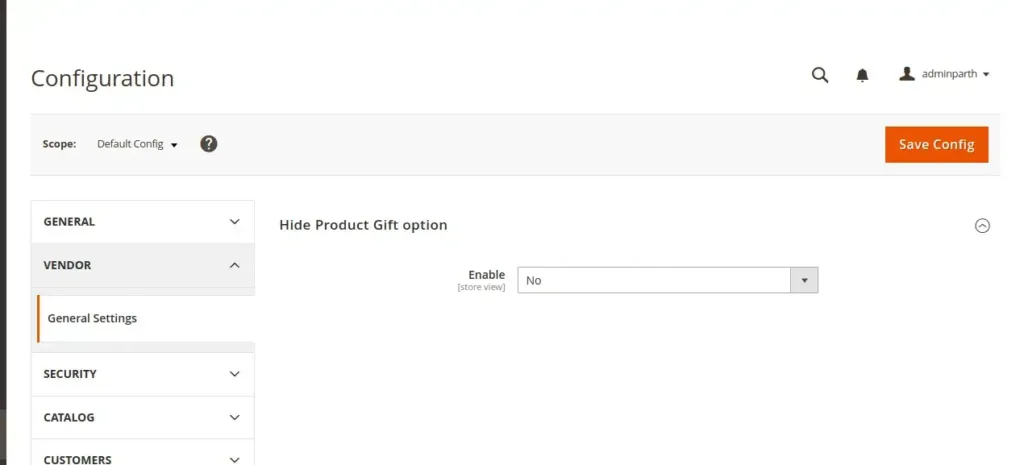
it will display the Gift Options tab for the product
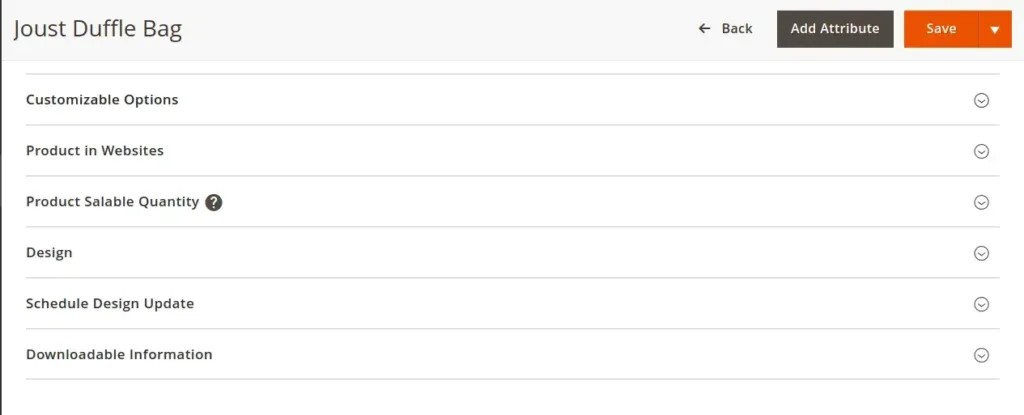
If the Hide Product Gift Option is set to Yes,
it will not display the Gift Options tab for the product

Conclusion:
Hence, this way you can hide and unhide the product gift option tab based on system configuration in Magento 2. Share your doubts through the comment box and stay with us for more such tutorials.
Happy Coding!


