Hello Magento Friends,
Throughout the admin interface for Magento 2, UI components are used extensively to create a consistent and easy-to-use experience. There’s UI Select, a component that allows users to pick options from a dropdown. The default UI-Select component is useful enough but when working with big set of choices, adding a search filter will make this component very usable. The search filter makes it easy for administrators to search and pick relevant options from huge datasets, making for productive and efficient work.
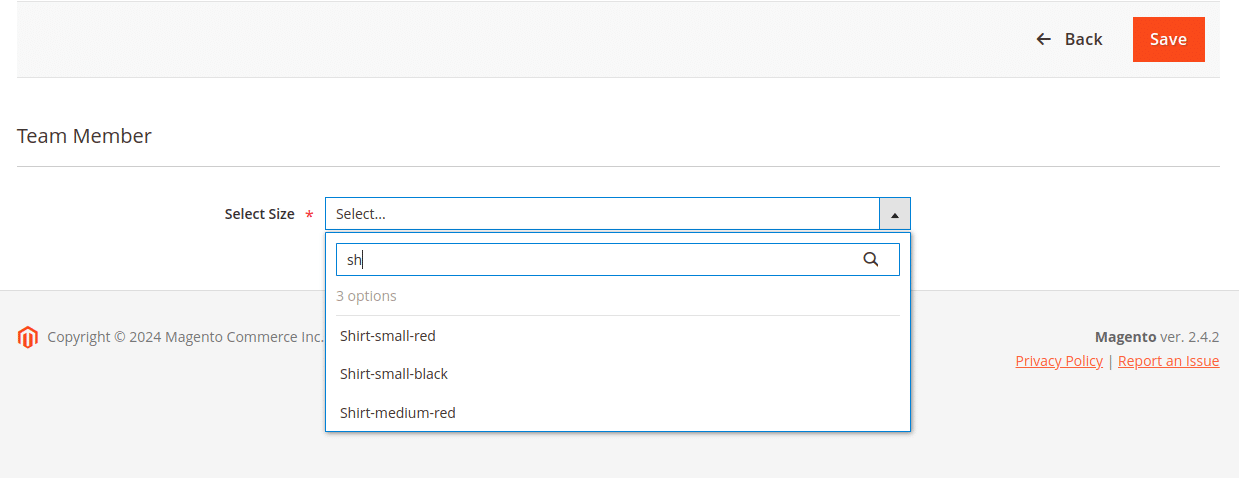
Today, we will explore the process of adding the UI Select component to Magento 2 admin forms to add a search filter for administrators to have a pleasant experience at all times.
To incorporate the UI-Select component with a search filter into a Magento 2 admin form, follow these steps:
Steps to Add UI-Select Component with Search Filter in Magento 2 Admin Form:
First of all, create grid using uiComponent
Follow the below guide –
How to Create UI Component Grid and Form in Magento 2
Step 1: Create a file in the path given below.
{{magento_root}}\app\code\Vendor\Extension\view\adminhtml\ui_component\your_uigrid_name.xml
Then add the code as given below
<?xml version="1.0"?>
<form xmlns:xsi="http://www.w3.org/2001/XMLSchema-instance" xsi:noNamespaceSchemaLocation="urn:magento:module:Magento_Ui:etc/ui_configuration.xsd">
    <argument name="data" xsi:type="array">
      <!-- your argument code -->
    </argument>
    <dataSource name="grid_record_grid_list_data_source">
       <!-- here add datasource -->
    </dataSource>
    <fieldset name="data_data">
        <argument name="data" xsi:type="array">
            <item name="config" xsi:type="array">
                <item name="collapsible" xsi:type="boolean">false</item>
                <item name="label" xsi:type="string" translate="true">Team Member</item>
                <item name="sortOrder" xsi:type="number">20</item>
            </item>
        </argument>
           <field name="size" component="Vendor_Extension/js/components/select-swatches" sortOrder="20"
               formElement="select">
            <argument name="data" xsi:type="array">
                <item name="config" xsi:type="array">
                    <item name="filterOptions" xsi:type="boolean">true</item>
                    <item name="multiple" xsi:type="boolean">false</item>
                    <item name="showCheckbox" xsi:type="boolean">true</item>
                    <item name="disableLabel" xsi:type="boolean">true</item>
                </item>
            </argument>
            <settings>
                <required>true</required>
                <validation>
                    <rule name="required-entry" xsi:type="boolean">true</rule>
                </validation>
                <elementTmpl>ui/grid/filters/elements/ui-select</elementTmpl>
                <label translate="true">Select Size</label>
                <dataScope>data.size</dataScope>
                <componentType>field</componentType>
                <listens>
                    <link name="${ $.namespace }.${ $.namespace }:responseData">setParsed</link>
                </listens>
            </settings>
            <formElements>
                <select>
                    <settings>
                        <options class="Vendor\Extension\Ui\Component\Form\Size\Options"/>
                    </settings>
                </select>
            </formElements>
        </field>

    </fieldset>
</form>
Step 2: Create a file in the following path.
{{magento_root}}\app\code\Vendor\Extension\view\adminhtml\web\js\components\select-swatches.js
And include the below-mentioned piece of code
define([
    'Magento_Ui/js/form/element/ui-select'
], function (Select) {
    'use strict';
    return Select.extend({
        /**
         * Parse data and set it to options.
         *
         * @param {Object} data - Response data object.
         * @returns {Object}
         */
        setParsed: function (data) {
            var option = this.parseData(data);
            if (data.error) {
                return this;
            }
            this.options([]);
            this.setOption(option);
            this.set('newOption', option);
        },
        /**
         * Normalize option object.
         *
         * @param {Object} data - Option object.
         * @returns {Object}
         */
        parseData: function (data) {
            return {
                value: data.size.id,
                label: data.size.name
            };
        }
    });
});
Step 3: Create a file in the following path.
{{magento_root}}\app\code\Vendor\Extension\Ui\Component\Form\Size\Options.php
Now, add the code as follows
<?php

namespace Vendor\Extension\Ui\Component\Form\Size;

use Magento\Framework\App\RequestInterface;
use Magento\Framework\Data\OptionSourceInterface;
use Magento\Eav\Model\Config;

class Options implements OptionSourceInterface
{
    /**
     * @var RequestInterface
     */
    protected $request;

    /**
     * @var Config
     */
    protected $_eavConfig;

    /**
     * @param Config $eavConfig
     * @param RequestInterface $request
     */
    public function __construct(
        Config           $eavConfig,
        RequestInterface $request
    )
    {
        $this->_eavConfig = $eavConfig;
        $this->request = $request;
    }

    /**
     * {@inheritdoc}
     */
    public function toOptionArray()
    {
        $coloOptions = $this->getSizeOption();
        return $coloOptions;
    }

    protected function getSizeOption()
    {
        $attribute = $this->_eavConfig->getAttribute('catalog_product', 'size');//size is a product attribute
        $options = $attribute->getSource()->getAllOptions();
        return $options;
    }

}
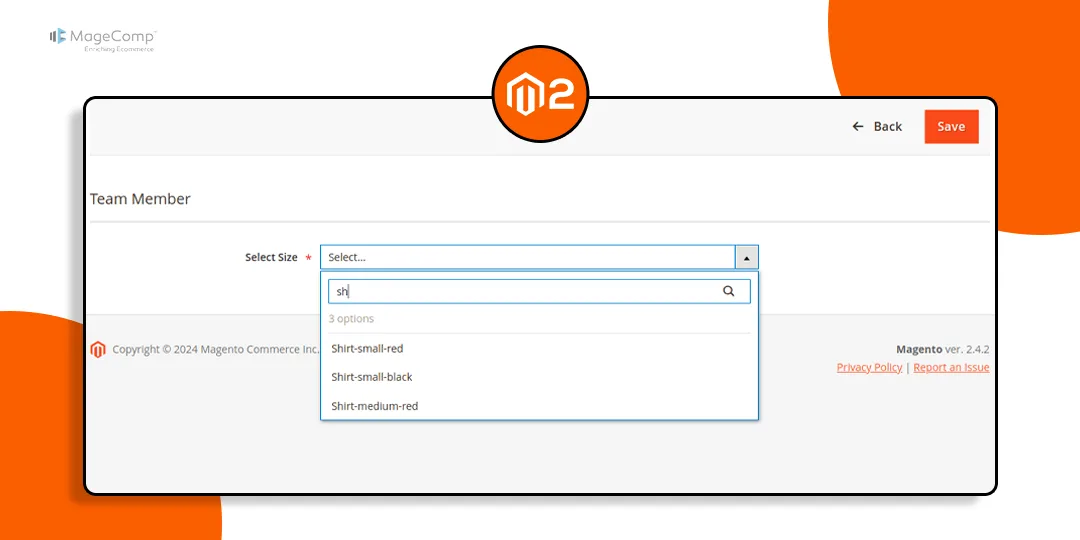
Output:

Conclusion:
Integrating the UI-Select component with a search filter into Magento 2 admin forms empowers administrators with a more efficient and intuitive user experience. If you would take these steps, then you’ll be able to improve Magento 2 backend operations and simplify administrative tasks.
In case you are unable to add a UI-Select Component with Search Filter in Magento 2 Admin Form, do get in touch with me through the comment section.
Happy Coding!


