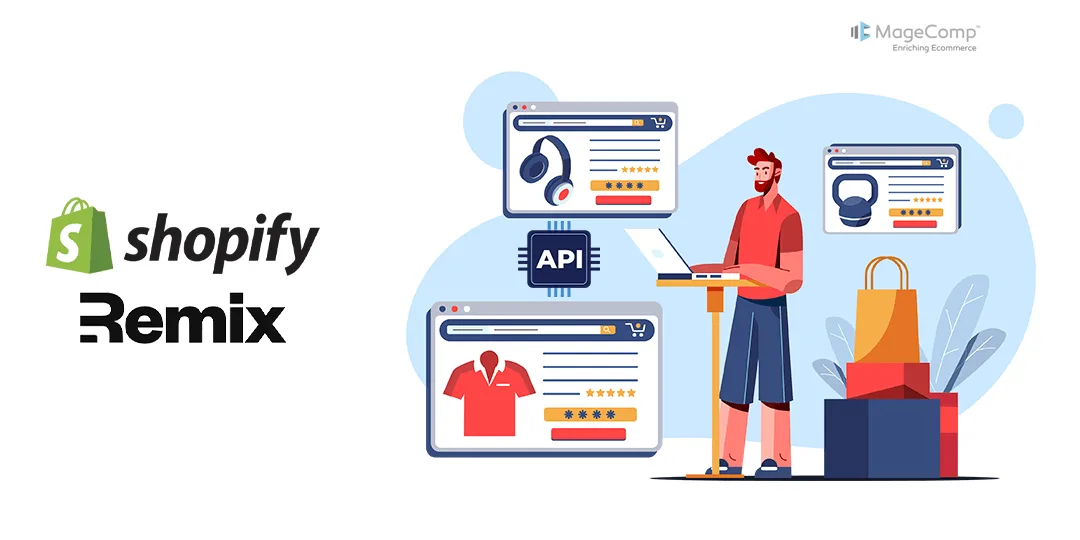
In this article, we will learn about How to Get Shopify Store all Products using Admin Rest API in the Remix App.
Shopify does offer a robust REST API that allows you to interact with various aspects of your Shopify store programmatically. With the Shopify REST API, you can perform tasks such as managing products, orders, customers, and more.
If by “Remix” you mean integrating Shopify with another platform or technology, you would typically use the Shopify REST API to achieve this. Depending on what you’re trying to accomplish, you would make HTTP requests to the appropriate endpoints provided by the Shopify API.
- Register Your Application: Obtain API credentials by creating a private app or a custom app in your Shopify Partners dashboard.
- Authenticate: Use OAuth or API key/secret to authenticate your requests.
- Make Requests: Use HTTP requests (GET, POST, PUT, DELETE) to interact with the Shopify API endpoints.
- Handle Responses: Parse the responses from Shopify to extract the data you need.
Steps to Get Shopify Store Product using Rest API in Shopify Remix App:
Step 1: Create rest route file in your app directory.
Step 2: Then write the following code in your rest file.
import shopify from 'app/shopify.server';
import { json } from '@remix-run/node';
import { useLoaderData } from '@remix-run/react';
import { IndexTable, ButtonGroup, Button } from '@shopify/polaris';
import { useState } from 'react';

export async function loader({ request }) {
  const { admin, session } = await shopify.authenticate.admin(request);
  const data = await admin.rest.resources.Product.all({ session , limit:200});

  return json(data);
}

export default function rest() {
  const { data } = useLoaderData();
  console.log(data)
  const itemsPerPage = 5;

  const [currentPage, setCurrentPage] = useState(1);
  const startIndex = (currentPage - 1) * itemsPerPage;
  const endIndex = startIndex + itemsPerPage;

  const currentItems = data.slice(startIndex, endIndex);

  const totalPages = Math.ceil(data.length / itemsPerPage);

  const handlePageChange = (newPage) => {
    setCurrentPage(newPage);
  };

  const rowMarkup = currentItems.map(
    (
      { image, id, title},
      index,
    ) => (
      <IndexTable.Row id={id} key={id} position={index} >
        <IndexTable.Cell> <img height={"40px"} src={image.src} /> </IndexTable.Cell>
        <IndexTable.Cell>{id}</IndexTable.Cell>
        <IndexTable.Cell> {title} </IndexTable.Cell>

      </IndexTable.Row>
    ),
  );
  return (
    <>
      <IndexTable
        itemCount={data.length}
        headings={[
          { title: 'Image' },
          { title: 'Id' },
          { title: 'Title' },
        ]}
        selectable={false}
      >
        {rowMarkup}
      </IndexTable>

      <div className='polaris-btn'>
          <ButtonGroup segmented>
            <Button primary onClick={() => handlePageChange(currentPage - 1)}
              disabled={currentPage === 1}>
              Previous Page
            </Button >
            <span className='space-page'>{currentPage} </span><span> / </span> <span className='space-page'>{totalPages}</span>
            <Button primary onClick={() => handlePageChange(currentPage + 1)}
              disabled={currentPage === totalPages}
            >
              Next Page
            </Button>
          </ButtonGroup>
        </div>
    </>
  )
}
Imports:
- shopify: Imports a module named shopify from the app/shopify.server file.
- json: Imports the json function from @remix-run/node, likely for formatting the data to be returned in the loader.
- useLoaderData: Imports a hook from @remix-run/react to access the data returned by the loader.
- IndexTable, ButtonGroup, Button: Imports components from @shopify/polaris for building the UI.
- useState: Imports the useState hook from React for managing state within the component.
Loader Function (loader):
- This function is responsible for fetching data from the Shopify store.
- It authenticates with the Shopify API using shopify.authenticate.admin(request), likely extracting authentication details from the incoming HTTP request.
- Then it fetches product data using the admin.rest.resources.Product.all() method, limiting the result to 200 products.
- The fetched data is then formatted as JSON using the json function and returned.
Rest Component (rest):
- This is the main React component that renders the fetched product data.
- It uses the useLoaderData hook to access the data returned by the loader.
- It sets up state variables using the useState hook to manage pagination. currentPage tracks the currently displayed page, and it updates when the user navigates to a different page.
- It calculates startIndex and endIndex to determine which subset of products to display based on the current page and items per page.
- It calculates the total number of pages (totalPages) based on the total number of products and items per page.
- It maps over the current subset of products (currentItems) and renders each product as a row in the IndexTable, displaying the product image, ID, and title.
- It renders a pagination control (ButtonGroup) with “Previous Page” and “Next Page” buttons, allowing the user to navigate between pages. The buttons are disabled when appropriate.
- Additionally, it displays the current page number and total number of pages.
Overall, this component provides a user interface for browsing products from a Shopify store in a paginated manner, leveraging data fetched from the Shopify Admin API and displaying it using Polaris components within a Remix application.
Conclusion:
By following this guide, you have learned How to Get Shopify All Products using Admin Rest API in Remix.
Also learn, How to Get Shopify Store all Product using Pagination in Shopify Remix.
Share the tutorial with your friends to help them learn and stay updated with us for more such solutions.
Happy Coding!


