Hello Magento Friends,
Hello there! I am here with another Magento 2 tutorial, How to Add Watermarks to Product Images in Magento 2. Missed our previous blog? Not to worry. It is right here. How to Add Order ID, Customer IP Address in Invoice in Magento 2.
Quick Intro:
Applying a watermark to product images eliminates unauthorized access to your product images. You can use your business logo as a watermark to your product images in order to make it your property. Magento 2 allows adding watermarks to product images of your store. The watermark images can be uploaded in jpeg, gif, or png format. The admin can also set the opacity, size, and position of the watermark image. Watermark images are not only used for the security of your product images but also to increase your brand awareness.
Let us look at the steps on How to Add Watermarks to Product Images in Magento 2.
Steps to Add Watermarks to Product Images in Magento 2:
Step 1: From the Admin Dashboard, navigate to Content > Design > Configuration.
Step 2: Select your desired theme and open it in Edit mode.
Step 3: Expand the Product Image Watermarks option.
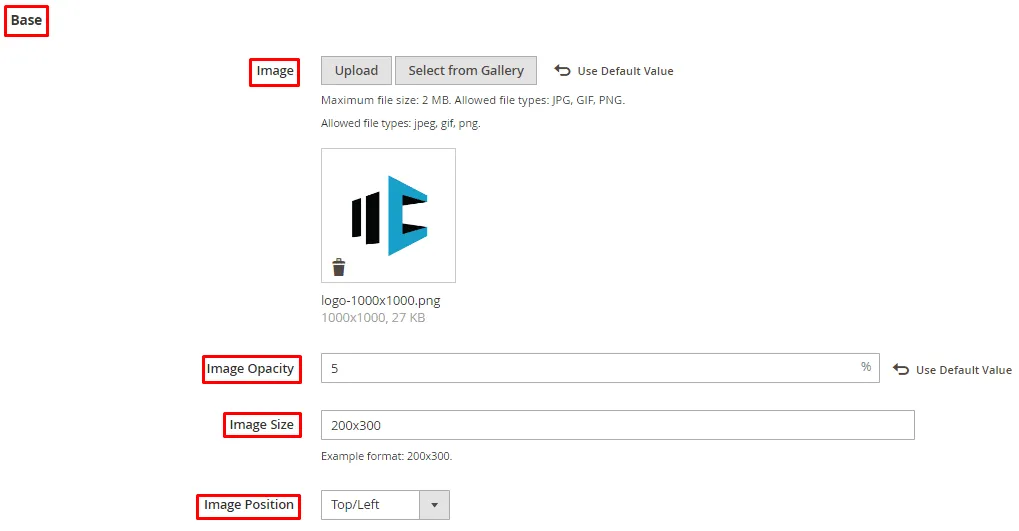
Step 4: Complete the following options for Base images
- Image – Upload the image to be displayed as a watermark.
- Image Opacity – Set the opacity of the image in percentage.
- Image Size – Set the size of the image in pixels.
- Image Position – Select the position of the watermark image from the available options.

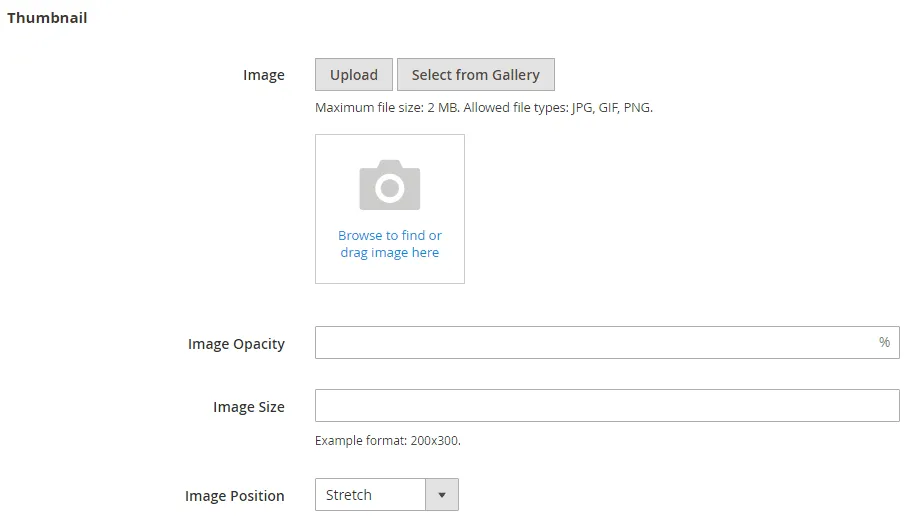
Complete the configuration for Thumbnail images.

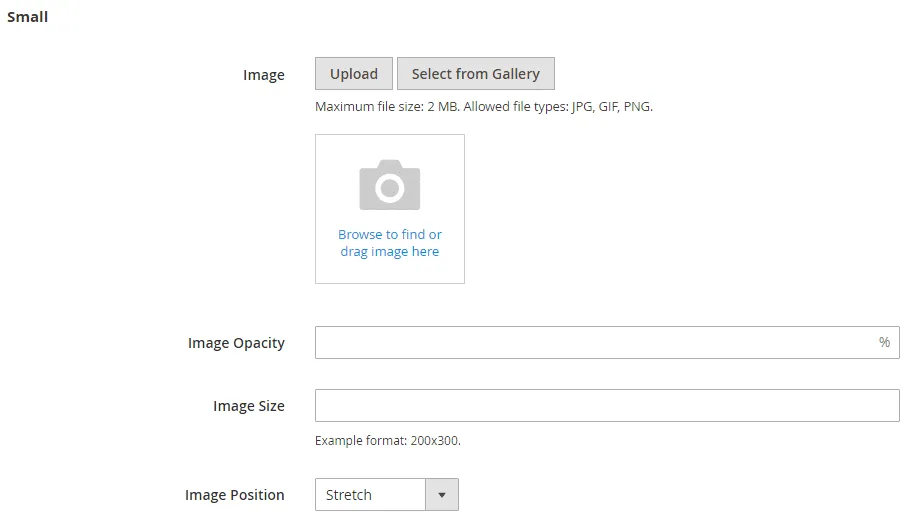
Complete the configuration for Small images.

Step 5: When done, click Save Configuration. Go to cache management and refresh cache.
The watermark effect is successfully applied to your product images as shown below.

How to Delete Watermarks of Product Images in Magento 2?
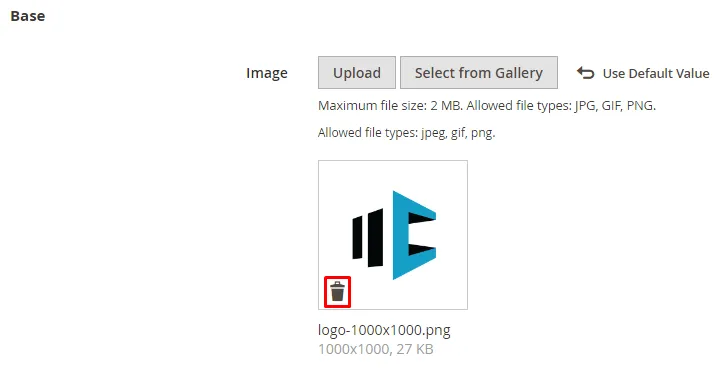
- To delete the watermark, simply click on the bin icon as shown below:

- Then Save Configuration
- Go to cache management and refresh cache.
Wrap-up:
Hence, with the help of the above steps, you can successfully Add Watermarks to Product Images in Magento 2 or Delete the Watermarks of Product Images in Magento 2. Apart from this, delete unwanted product images from your store database with the Image Clean Extension for Magento 2. If you face any difficulty, notify me in the comment section below. Do share the article with your Magento colleagues and via your social media platforms. Stay happy stay tuned!
Happy Reading!


